
One of my favorite local thrift stores happens to have an amazing linens department, and I always check it out whenever I stop by. I recently found this table runner that looked like brocade fabric and I KNEW I needed to upcycle it somehow. It had some red wine stains in the center, but that was fine by me. Because I planned on making an envelope clutch and only needed a third of the runner to do that!

The vision in my head was clear as a bell. I just wasn’t sure if it would be as easy to pull off as I thought, but I was willing to give it a try!
This post contains affiliate links for your crafting convenience. As an Amazon Affiliate, I earn from qualifying purchases. All blue, bold, and underlined text is a clickable link, either to a product or to a related post.
How to Make a Clutch Purse
First things first, I removed a tassel and folded the pointy end over like an envelope flap.
Then, I measured (basically the height of the flap triangle, if that makes sense), multiplied it by 3, and cut off the length of table runner that I’d need for an envelope clutch.

Ultimately, this is the look I would be going for when I was all done. Imagine the piece of table runner that I cut off, folded over itself in thirds.

To give my clutch purse some body, I traced out my piece of brocade table runner on some ultra firm interfacing or fabric stabilizer.

Next, I slipped the stiff interfacing inside the table runner end, between the brocade fabric on top and the lining. Think of the interfacing as a pillow and the table runner as a pillowcase.
At this point, I just needed to make sure that it fit inside.

Once I knew it fit inside, I could add the hidden closures!
I purchased some sew-in magnets that I would attach to the interfacing.

The sharpie-written X’s mark the magnetic sides of each magnet.
Sewing an Envelope Clutch
Using my sewing machine, I stitched on one sew-in magnet near the corner of my interfacing (“X side” facing out).
Then, I stitched the other magnet on the flip side of the interfacing (again, “X side” facing out), approximately 6” in from the end. Just like an envelope!

With the brocade side facing down, I slid the interfacing in with the corner magnet facing up. I then verified that it would magnet-snap close when tri-folded (being an envelope clutch and all).
Next, I folded over the open end twice to close the interfacing inside. After that, I pinned it and carefully stitched it closed on my sewing machine.

Next, I turned up the flat edge and pinned it for stitching the sides shut.

My upcycling idea for an envelope clutch was actually working out perfectly!
And then that was it! Once it was magnetically “snapped” closed and I lined up the stripes of the fabric together, I gave the top flap a little press with my iron.

Not a full crease, mind you, but just something to give the fabric and interfacing some memory when opened and closed.
This jacquard table runner was seriously PERFECT for upcycling into an envelope clutch. The original lining of the table runner is now the liner of my evening bag.
And because the sew-in magnets are attached to the secret interfacing between the layers of fabric, you don’t see them.

Bottom line…MY CRAZY UPCYCLING IDEA WORKED!
Making an Envelope Clutch from a Table Runner
In typical Sadie fashion, I thought the envelope clutch needed one more thing to really bring it home. So, I added a vintage brooch to the corner of the flap. NOW it was perfect.

See what mean? It looks like it was meant to be pinned onto the brocade fabric…

I simply adore it and can’t wait to squire it around town one night in the near future.

Who knew bag making could be so simple?

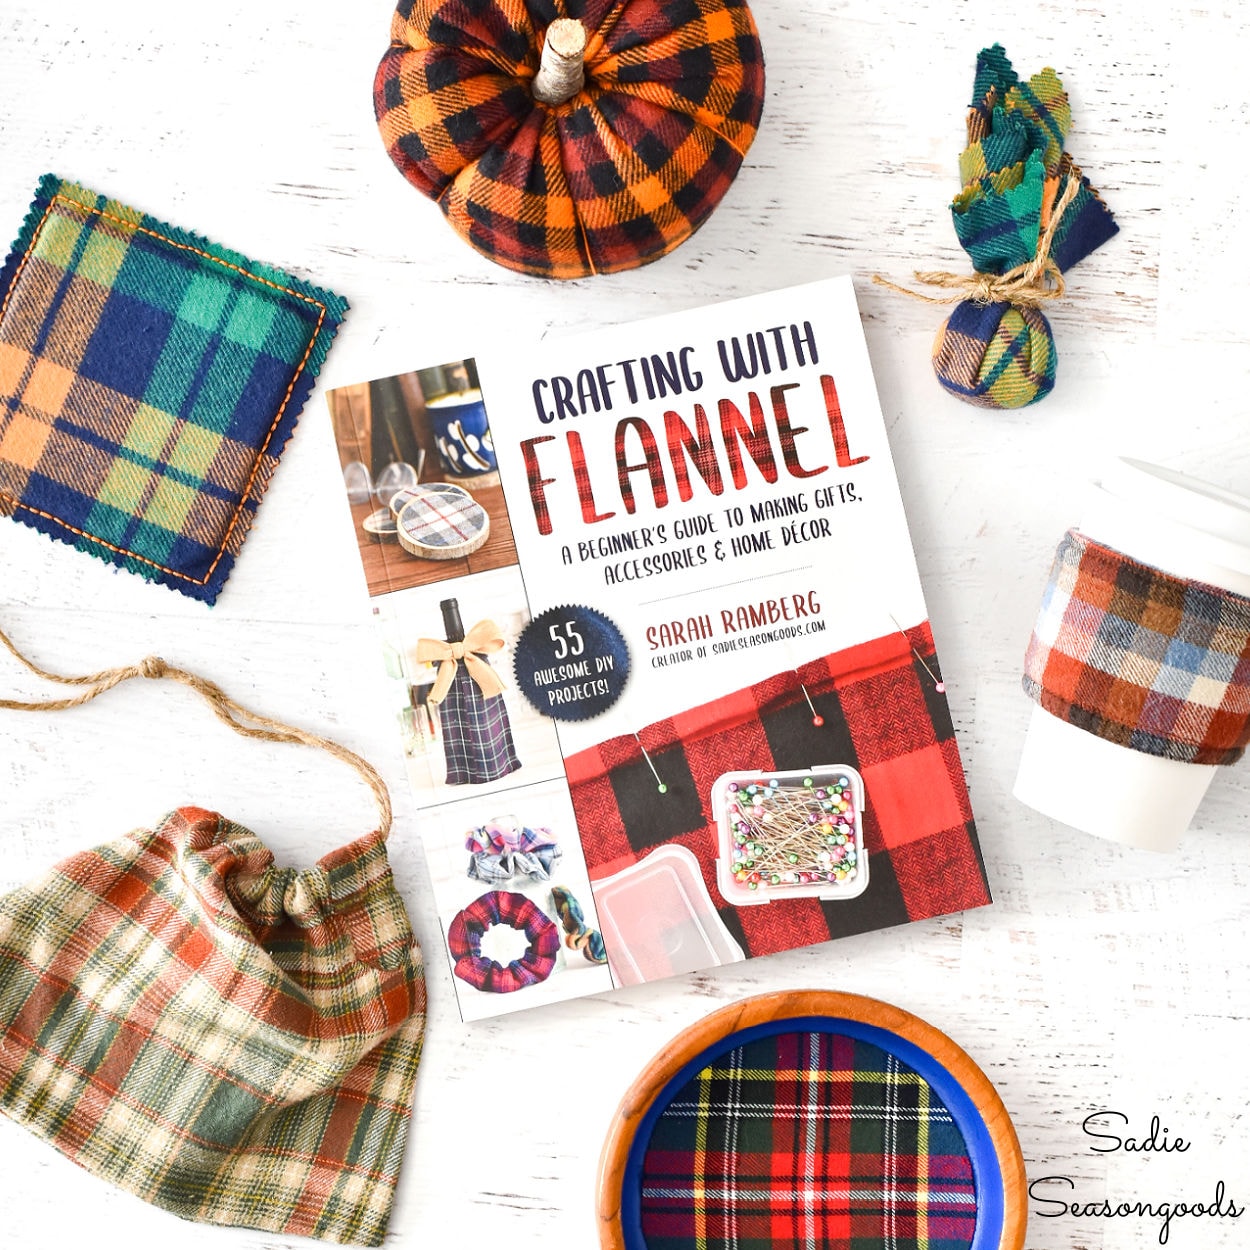
If you enjoyed this upcycling idea for a simply sewing project, then you may be very interested in my first book! It contains 55 project tutorials using flannel fabric- some sewing projects, some not!
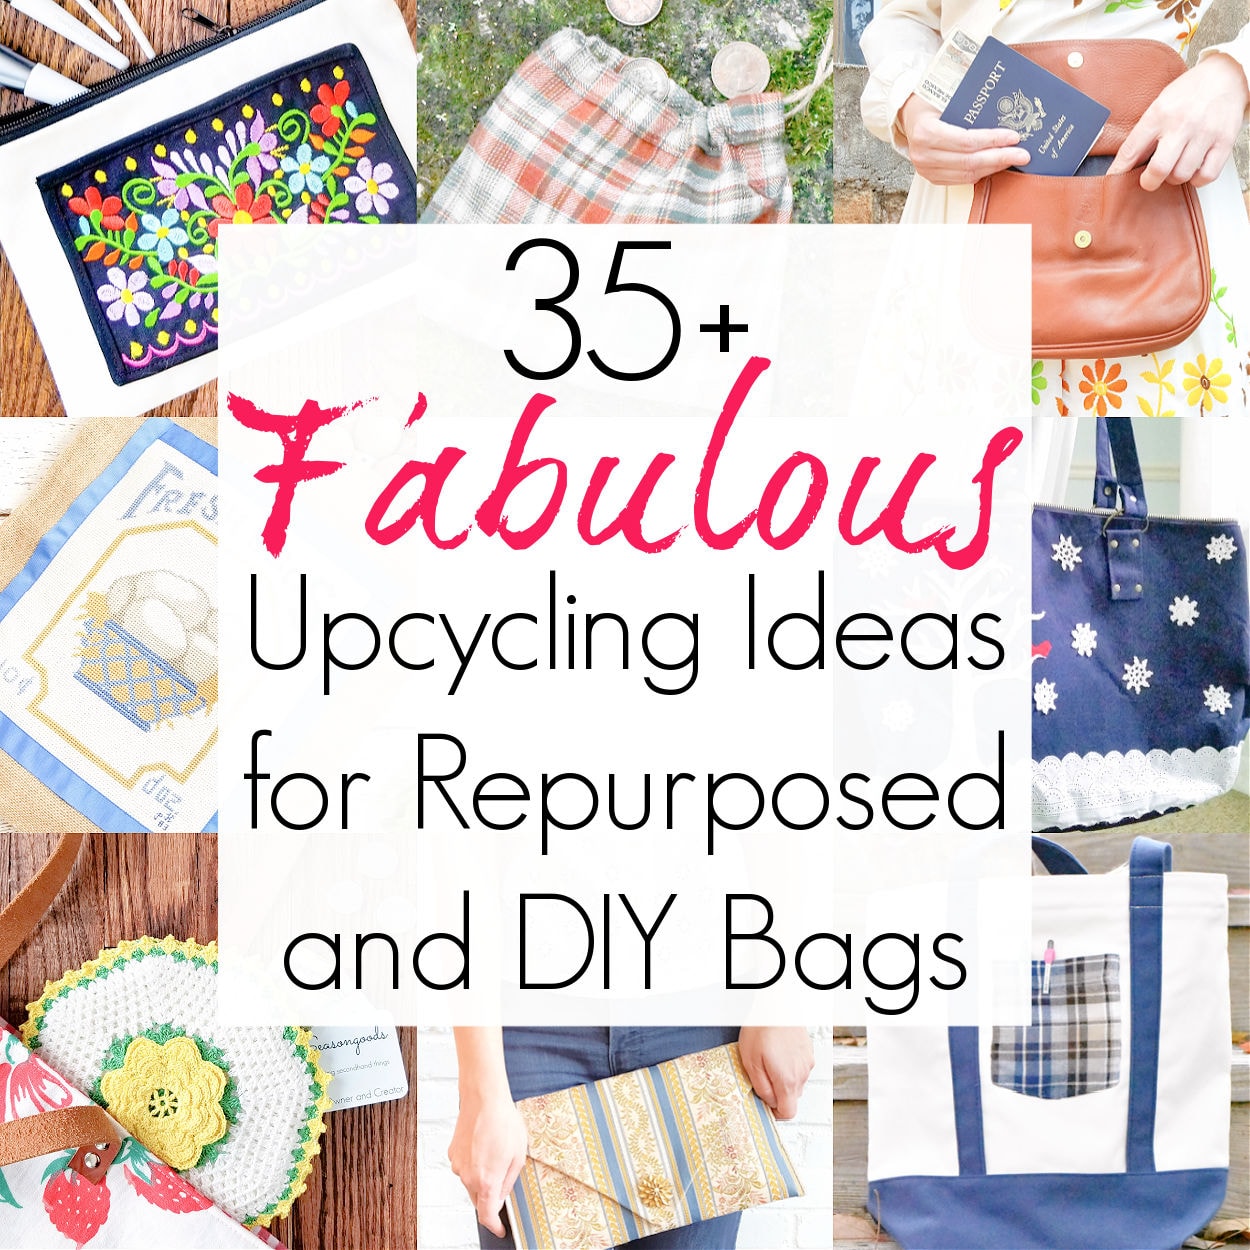
And for even MORE ideas for DIY Bags, I hope you’ll check out this collection of inspiring ideas, as well!
Craft on!
S
Want to be notified when I publish my next upcycling project tutorial?
Join me on Social Media:


PIN ME!

Sarah Ramberg is the owner of Sadie Seasongoods, a website that celebrates all things secondhand. From upcycling ideas and thrifted decor to vintage-centric travel itineraries, Sadie Seasongoods is a one-stop shop for anyone who loves thrifting and approachable repurposing ideas. Sarah is also the author of “Crafting with Flannel” and has been featured in numerous media outlets and magazines.


Wow. That is a lovely, expensive looking clutch for very little money. Brilliant tutorial too.
Thank you so much, Sandra!
Cute idea!
Thanks, Rose!
Excellent job, Sarah! You had me at vintage linens and purses – I collect both. Love the fabric and the jewel tops it off just right.
Thanks, Rita!
Great project ! I’m going to be in the Greenville area next weeks would love to know what thrifts and shops are a MUST visit Thanks and love your blog
That’s great, Joyce!! So, my favorite local stores are the one I mention in this post (Second Chances), as well as SOS Thrift (there are two locations- both are great, but the Pleasantburg store is my favorite), and Red Ribbon Resale. There are plenty of others (Goodwill, Miracle Hill, Salvation Army), but those three are at the top of my list!
I love this! What a fantastic and beautiful idea. Pinning.
Sadie,
You work magic with every piece of fabric you touch!
This is wonderful!
Pinned!
Jemma
Thank you so much, Jemma!
Your creativity is amazing!
Thank you so much, Carol
CUTE!
Thanks!!! (I think so, too. 😉 )
Amazing. It turned out lovely. Your step by step is very clear and easy to follow.
Thank you so much!
Beautiful table runner and a lovely job!
Thank you, Florence!
Sarah, what an awesome way to use a table runner or any piece of fabric. I’m like you ~ just love fabric. I call myself a fabric who—-. Thanks for sharing this great sewing project at Your Inspired Design Link Party.
Thank you so much!
Hello. I am visiting you from How We Roll. This is a great tutorial. You may like my post on How to Run Your Own Summer Sewing Camp. http://www.thelostapron.com/2016/07/sewing-camp.html
Thanks, Ana!
Perfect, Sadie. I am impressed by your creativity, attention to detail and how you worked it all through in your mind so that the magnets were hidden. The brooch was the perfect touch. Very nice job, Sadie. And, the photograph is very professional.
Ginene
Thanks, Ginene- I sincerely appreciate it! I take all my photos with just my phone- it helped to have a great model with a fun bag to shoot! 🙂
I just love this! Thanks for sharing at The Creative Circle! I would like to try to make this.
Thanks, Angela!
Amazing vision! Looks like something expensive from a designer vintage shop. Visiting from Morning Cup of Joe party.
Thank you so very much!
I had to laugh when I saw, “Holy moly, I did it…”!! I do that all the time! This turned out stunning. Have you been called a genius like a million times already? Cause you are 😀
LOL- thank you!!! I say it all the time (the holy moly part, not the genius part 😛 )- I have these crazy ideas in my head and sometimes I’m just plain shocked that they worked!!
How cute! I think I have an old pillow slip cover of similar material. I know I’m making this. Thanks for sharing at the Inspiration Spotlight party. Pinned & Shared
Thank you so much!!
I love how approachable this project is! The clutch is adorable 🙂
Thank you, Jelica!
Beautiful clutch! And to think, it used to be a table runner! Wonderful work and so creative!
Thank you so much!
Sarah, You are a woman with an incredible vision! This clutch turned out so cute! Thanks for sharing with us at Snickerdoodle Sunday! Pinned to share
Thank you so very much, Laurie!
I love this – what a great way to re-purpose old linens! Thanks for sharing at the Pleasures of the NWs DIY Party!
Thanks, Helen!
What a great way to repurpose an old table runner. Thanks for sharing with us at Family Joy Blog Link Up Party this week.
Thanks so much!
Such an easy project and for great clutch. Thanks for sharing.
Thank you, Mary!
You could have convinced me that it was a vintage clutch. You did a lovely job on it. Thank you for sharing at Vintage Charm.
Thank you so much!!
Such a pretty clutch. Love how you re-purposed it. The tutorial is outstanding as well. Thank you for sharing your creative talents at DI&Di.
Thank you so much, Linda!
Sarah you have done it again! This is so smart and so easy and the possibilites are endless! Pinning and sharing!
Thank you so much, Mary!
Hi Sarah, I’m Anne. I can’t seem to leave a comment at the end of the comments section, so I’m doing it here. I’m new here, visiting from Inspire Me Wednesdays. And can I just say? I think you might be a genius. What a brilliant use of an old table runner! And you’re right about that fabric, just perfect. Anyway, have a wonderful day, and hope you can pop over to my blog (https://birdsongbitsandpieces.blogspot.com) sometime to say hi!
I’m so sorry that my post wasn’t behaving and you couldn’t leave a regular comment! But THANK YOU so very much- I really appreciate that! And I did just pop over to your blog- girl, you need to link up to my weekly link party (Talk of the Town)! We are partial to upcycling/farmhouse style projects so you’d fit right in. 🙂
I will, thanks for the invite!
Wow…what a neat idea! 🙂
I’d love for you to share this with my Facebook Group for recipes, crafts, and tips: https://www.facebook.com/groups/pluckyrecipescraftstips/
Thanks for joining Cooking and Crafting with J & J!
Wow! Words cannot express how smart and awesome I think this is! Also, I hadn’t heard of sewable magnet closures. That is a fantastic resource. Thanks for sharing with us at Merry Monday this week!
Thank you so much!! And YES, those hidden magnets are pretty awesome!!
Always great to see you at Peace Love Linkup! See you next week! : )
I can barely sew a hem and the iron on stuff and I don’t see eye to eye. This Sadie Clutch is adorable! So happy that you were able to join us again this week at Celebrate Your Story!
I am speechless, so all i can say I am totally in love! So pretty! I sew so this is on my bucket list
MAria
Thank you so very much, Maria!
My aren’t you crafty! What a nice job you did on the clutch! Thanks for sharing at Welcome Home Wednesdays. We love seeing your posts!
Thank you so much, Erin!
This is one of our features this week! Good job!
YAY!! Thank you!!
I love what you did with the table runner! Tomorrow I will try to make it. Thanks! This bag is adorable!
Thanks so much, Alice! I’d love to see how yours turns out. 🙂
I loved it..you made me want to go out and check out the thrift stores and its 1am here in Vegas.
Great job..well done. Where is your store at? Would be nice if it was near by. Best of luck on any and all future endeavors.
Gail
Thanks, Gail. I have an Etsy shop online (https://www.etsy.com/shop/SadieSeasongoods) which is like being nearby no matter where you are! 🙂
Love your clutch. I want to have a place to go to in Maine that requires an evening purse….darn…my 30+ year old one suffices! I have done the same with table runners but turned them into 2 throw pillows with an “envelope” closure. If the runner doesn’t come with tassels, I cut a skein of embroidery floss in half for 2 tassels….slick! Using pillow covers for holidays, especially, sure saves on storage space!
I used a table runner with a fringe and made a long strapped boho bag for my g-daughter. It has inner pockets for a passport, water bottle, money, etc. I also made an inner pocket with long straps which can be be taken out but is still attached. I made 2 of these from different colourful table runners. Great for travelling and on the plane.
Beautiful!
I’m just getting into sewing. This is a great inspiration.
Do you mind telling me how you affixed the brooch to the front of the clutch?
Thanks!
Eileen
Thank you, Eileen! Since it was a vintage brooch/pin, it’s just pinned on the front flap of the clutch, just as if I were pinning it on a sweater or jacket.