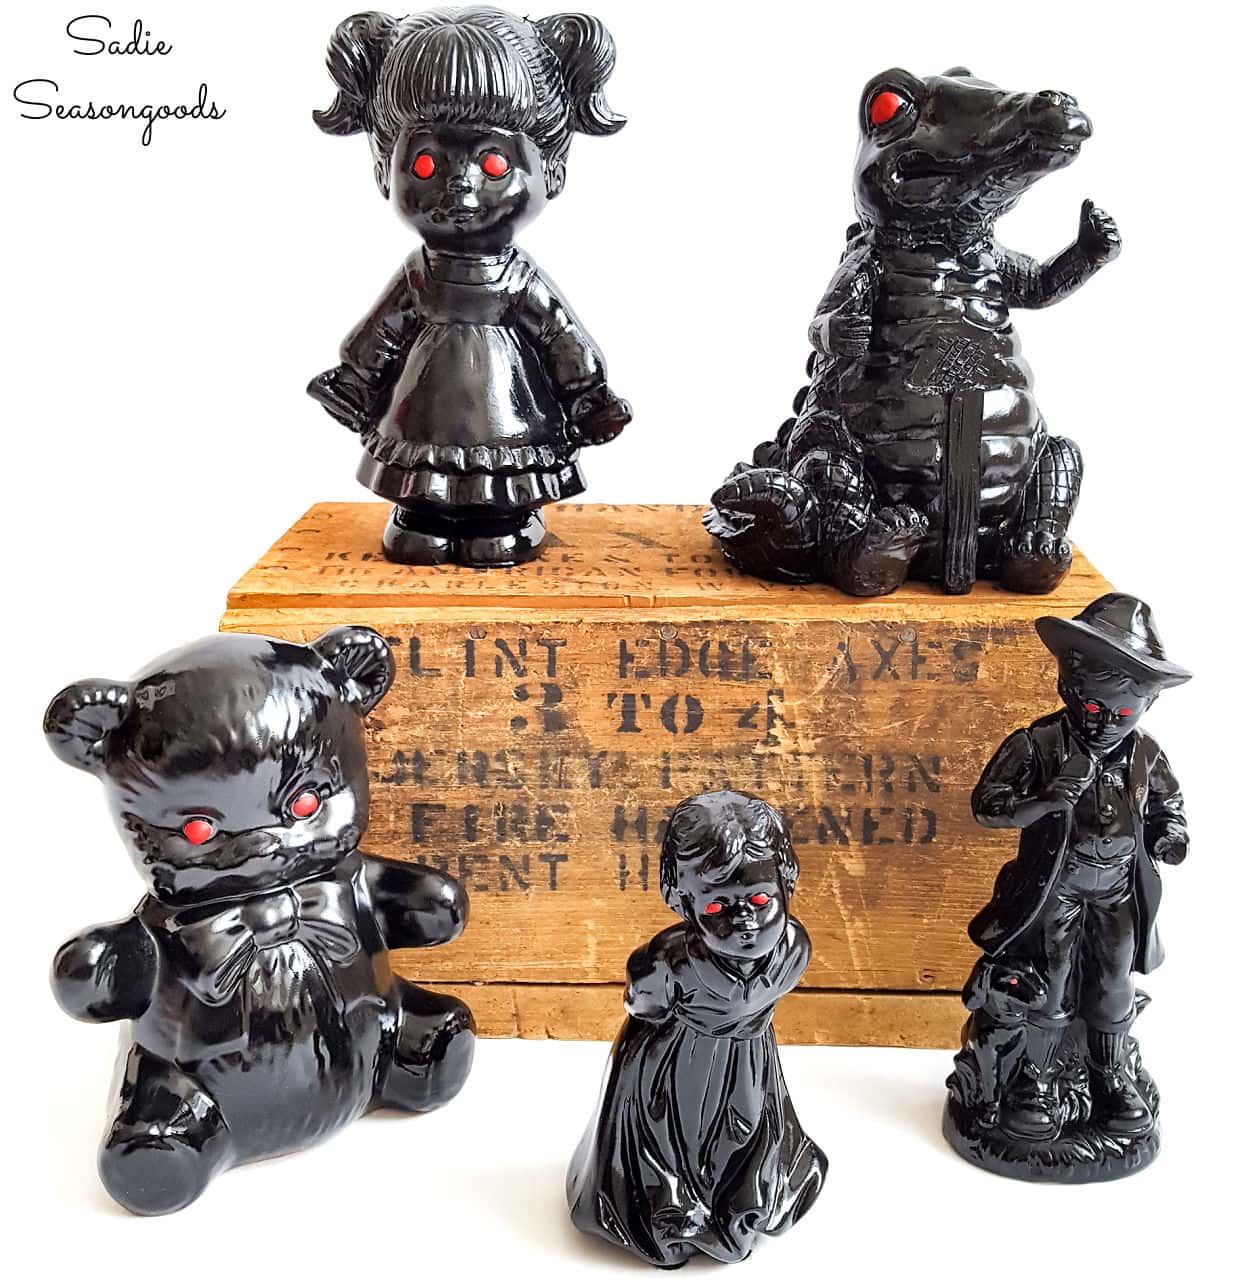

When you go to a thrift store (or garage sale…or flea market), there are ALWAYS some figurines available. Whether they are ceramic, porcelain, clay, or other material, figurines are a secondhand shop staple. And as I was on my thrifting adventures over the past few months, I picked up a few along the way. I had a sneaking suspicion with just a little bit of paint, I could create Halloween figurines for some spooky decor.
I specifically kept an eye out for the “flawed” figurines – ones that had significant chips or cracks, or even some that were missing pieces entirely.
Such as this fellow- he, himself, was in tact but it looked like a sign or something in front of him had broken off.

This Halloween craft idea is seriously PERFECT for imperfect figurines. Honestly, the more severe the “injury”, the spookier it can be!

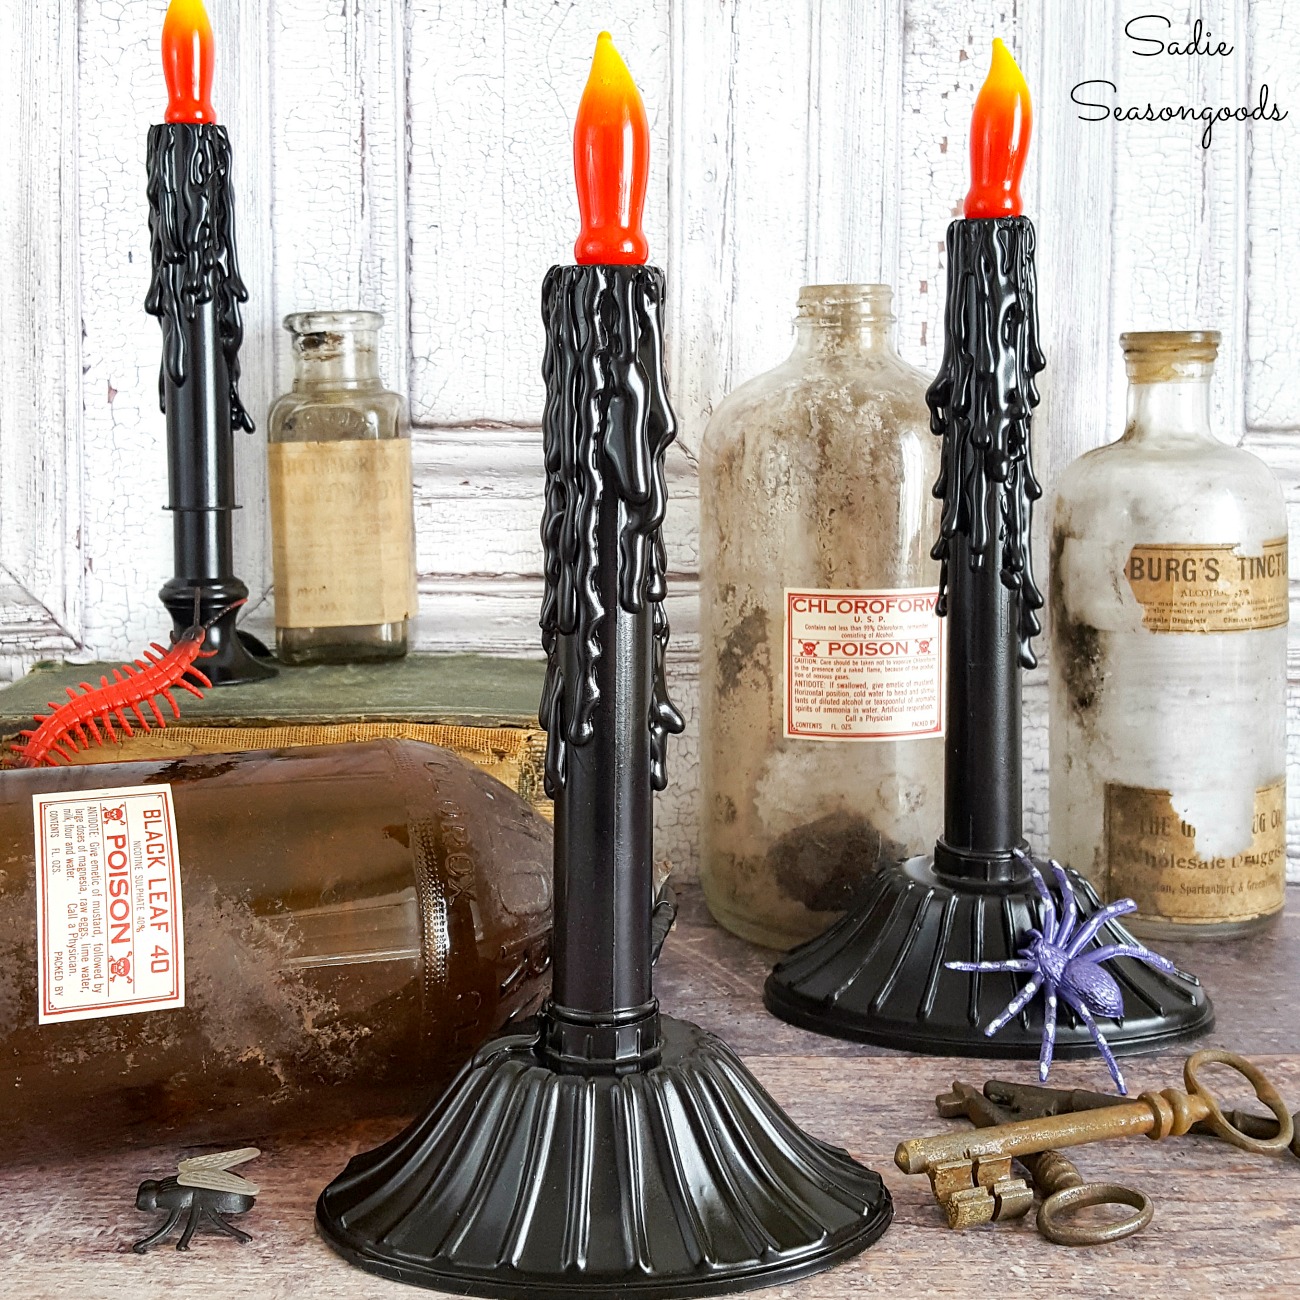
Most of my upcycled Halloween projects err on the side of cute. But every now and again, I love to add a spooky or scary project to my Halloween repertoire. Remember these creepy candles that I made?
Anyway, back to the figurines. The best part about this project was how easy it was going to be to give them a spooky transformation!
This post contains affiliate links for your crafting convenience. As an Amazon Associate, I earn from qualifying purchases. All blue, bold, and underlined text is a clickable link, either to a product or to a related post.
Easy Upcycling Idea for Halloween Figurines
After I had hit a few thrift shops, I had a little army that would become the Halloween figurines of my dreams…err, nightmares!

First, I set up my spray paint station outside- basically, a sawhorse table with my figurines on top.
I wanted to raise the figurines up (as opposed to spray painting on the ground/grass) so that I could make sure I was getting paint in all the nooks and crannies.
Using bubbles of wide painter’s tape, I temporarily secured the figurines to my makeshift table. This ensured they wouldn’t tip over from the force of the paint or a gush of wind.
Then, I nabbed some glossy black spray paint and my always-gotta-use trigger handle.

Two coats later, they looked like this!

Part of me wondered if they would have looked better in a satin or matte black paint, but the glossy finished started to grow on me…
Now comes the secret to giving these Halloween figurines the spookiness: RED EYES.
First, I used a red paint pen, but I was dissatisfied with the color (it was more pink, less scarlet). So, I ended up using chalky red craft paint, which turned out far better and was the perfect red against the black paint on the Halloween figurines.

A quick tip for painting the eyes- I didn’t use a small paint brush! Instead, I used the blunt round end of a bamboo skewer! It allowed me to pick up the amount of paint I needed and could dab it on the figurine in an eye shape!
It sounds crazy, but skewers are a favorite secret crafting tool of mine.
Halloween Figurines for Spooky Decor
Lastly, I spritzed my Halloween figurines with a clear, glossy topcoat to protect the paint. And that was it!
From sweet to scary in no time at all for very little money.

You could definitely change these up and still keep them spooky. Perhaps grey spray paint for a more zombie-like appearance. Or maybe an olive green for a more swamp-like or Godzilla look.
But no matter how you paint them, it makes for super easy Halloween decor that fits into any budget. And going on a scavenger hunt for weird figurines is a LOT of fun!

See? I told you they were super easy! Gotta love thrift store Halloween decorations that are inexpensive AND an easy upcycle.
If you enjoyed this upcycling idea for spooky decor, then you may also like these Halloween coasters that I made with hazard stickers!

Craft on!
S
Want to be notified when I publish my next upcycling project tutorial?
Join me on Social Media:


PIN ME!

Sarah Ramberg is the owner of Sadie Seasongoods, a website that celebrates all things secondhand. From upcycling ideas and thrifted decor to vintage-centric travel itineraries, Sadie Seasongoods is a one-stop shop for anyone who loves thrifting and approachable repurposing ideas. Sarah is also the author of “Crafting with Flannel” and has been featured in numerous media outlets and magazines.


Spooky cute♥
That’s the perfect way to describe them!! 😀
Hilariously fun!
Yesss!!!
What a fabulous idea! I think my sweet little yellow bird might become a raven!
LOVE that idea!!!
Props for the idea, even though they’re just a tad creepy-looking :). I guess that’s Halloween.
’tis Halloween indeed. But it’s my last spooky project of the year!
Yeeessssss!!!! So creepy and perfect!
And thanks for the spray comfort grip tip, my hands always get so sore from spray painting. Gotta pick up one of those.
Well done 🙂
I can’t spray paint without it! In fact, I only use Rust-oleum and Krylon spray paint because Valspar’s cans won’t accommodate my grippie!
amazing!
Thanks, Liz!
I saw this on the Good Life blog and didn’t realize it was you! Duh moment! This is a great idea for all those weird figurines, although I don’t know if I could walk by them every day!
Haha, no worries, Kristie!!!
I love it love it!! I’d leave them up year-round!!! Pinning to share!
Hollie @ http://www.quirkybohemianmama.com/
Hollie, I like the way you think!! In fact, my husband took one to live in his office at work. 😉
Great spooky fun…I love this idea!
Thanks, Linda!
Who would have thought all those cute little figurines could be so scary! As always paint can do amazing things.
It sure can!! 🙂
Thanks for sharing at Vintage Charm!
Sadie, what an easy way to make spooky figures. You definitely took that from cute to spooky!
xo Dianne
Thank you so very much, Dianne!
I especially like the teddy bear! That is a really good idea of using painter’s tape to hold things down when outside painting. Clever, as always.
Thanks so much, Ginene!
These are seriously awesome!
Thank you so very much!!!
Sarah, these are fabulous! How creative! That’s a great tip about taping the figures while spray painting. Thanks for sharing at Snickerdoodle. Pinned to my Halloween Board.
Thanks so much, Beverly!!
yes, these guys are super creepy. i love their red beady eyes the best!
b
Thanks so much!
Haha…what a neat idea!
I would love for you to share this with my Facebook Group for recipes, crafts, tips, and tricks: https://www.facebook.com/groups/pluckyrecipescraftstips/
Thanks for joining Cooking and Crafting with J & J!
Sarah, what a collection you have! So cute. Thanks for sharing at Your Inspired Design.
What a fun idea. They can be as cute or as creepy as you would like. I will definately try this.
Absolutely!!! Thanks so much. 🙂
These are so creepy cool! I actually like the glossy look. Pinning for next year. Thanks for sharing!
Thanks, Cynthia!
Very creepy! I won’t be passing up those damaged figurines in the future. I find red nail polish works really well for creepy red eyes, too! Thanks for sharing with Celebrate Your Story!
Ooooh great idea with the red nail polish!!
That is a great idea, I love the spooky little eyes. How cute! Thanks so much for joining us at the DI & DI Link party.
Thank you so much, Christine!
These look AMAZING! I often wondered why anyone would buy some of the figurines they have in thrift stores – now I know!!!
Found your blog via Creative Muster Party.
Sarah https://www.enrichmentality.com
Thanks so much, Sarah!
What a clever idea! I have a great idea for next Halloween. Thanks for sharing at Funtastic Friday.
Thanks for hosting, Sherry!
Saving this idea, which I love! Even tho I’m reading this pretty well past H day. I can think of some figurines right now that would work great for this!
Always good to file away ideas for next year!
this is such a great project!!!! simple enough to be done by just about anyone, and super cool looking! a wonderful halloween decoration, too! (hopefully you get tons of traffic after being featured on threadbanger!)
Thank you so much, Karyn! I was so tickled to be included in one of their videos- and Rob was super cool when I left him a comment! 🙂
Spooky little figurines and a bargain. Thanks for sharing at Di&DI.
Thanks, Linda!
I love these little characters and they are so perfect for Halloween. Wednesday I went to the thrift store for the first time in weeks. That’s a long time for me. In the Christmas section there were tons of the electric taper candles like the ones you painted black. I almost bought them and then chickened out. Of course, now I wish I had bought them. Thanks for hanging out with us again this week at Celebrate Your Story.
Ooooh, I can’t remember the last time I went several weeks between thrifting visits!! Haha, but my garage would love me to take a long break… 😉 Thanks, Sandra!
So easy to make these and super creepy…perfect for Halloween 🙂
Thank you so much, Erlene!
I made these three years ago. Soooo good they creeped my hubby out a little. He felt like they were always watching him. Then a tree fell on our house right after I decorated for Halloween. He banished them forever from Halloween decorating!!!
They’re so fun, right? This blog post is 4 years old now, but they never go out of spooky style!