
Every now and again, I prefer doing a “refinish” than a “repurpose” on something that needs some TLUC (Tender Loving Upcycling Care). And so was the case with this wooden lazy Susan . It was badly stained with water rings and begging for a makeover. Suddenly, I had a vision of restoring the finish and faking a metal inlay in wood by using a stencil.

The underside was still in decent shape. And the rusty flat-head screws that connected the spinning hardware to the base told me it was, in fact, an older (i.e., better) piece.
I just needed to focus on the top with my upcycling plan of attack.

Once I’d assembled everything I needed, I set forth to put my upcycling plan in motion!
This post contains affiliate links for your crafting convenience. As an Amazon Affiliate, I earn from qualifying purchases. All blue, bold, and underlined text is a clickable link, either to a product or to a related post.
Restoring a Wooden Lazy Susan
The first step was to remove the original (and damaged) finish.
I hated the idea of chemical stripping and much preferred to sand it all off. I attached an 80-grit disk to my orbital sander and got to work.

As you can see, sanding made a HUGE difference on the wooden lazy Susan! Pale and relatively clean wood greeted me underneath the damaged finish.

In the end, I sanded down the entire top surface, side lip, and underside. I stopped short of actually sanding the rotating base because I honestly couldn’t imagine anyone ever seeing it!
It was also difficult to grasp which made it a safety concern for me.

Once the old finish was completely removed, I quickly went over the wooden Susan again with a 120-grit sanding disk to make it smoother before using wood stain.
Now to stain the wooden lazy Susan! I decided that “Honey” by Minwax was a close match to the original finish. Plus, I still had plenty leftover after refinishing this mini set of drawers– remember that project?
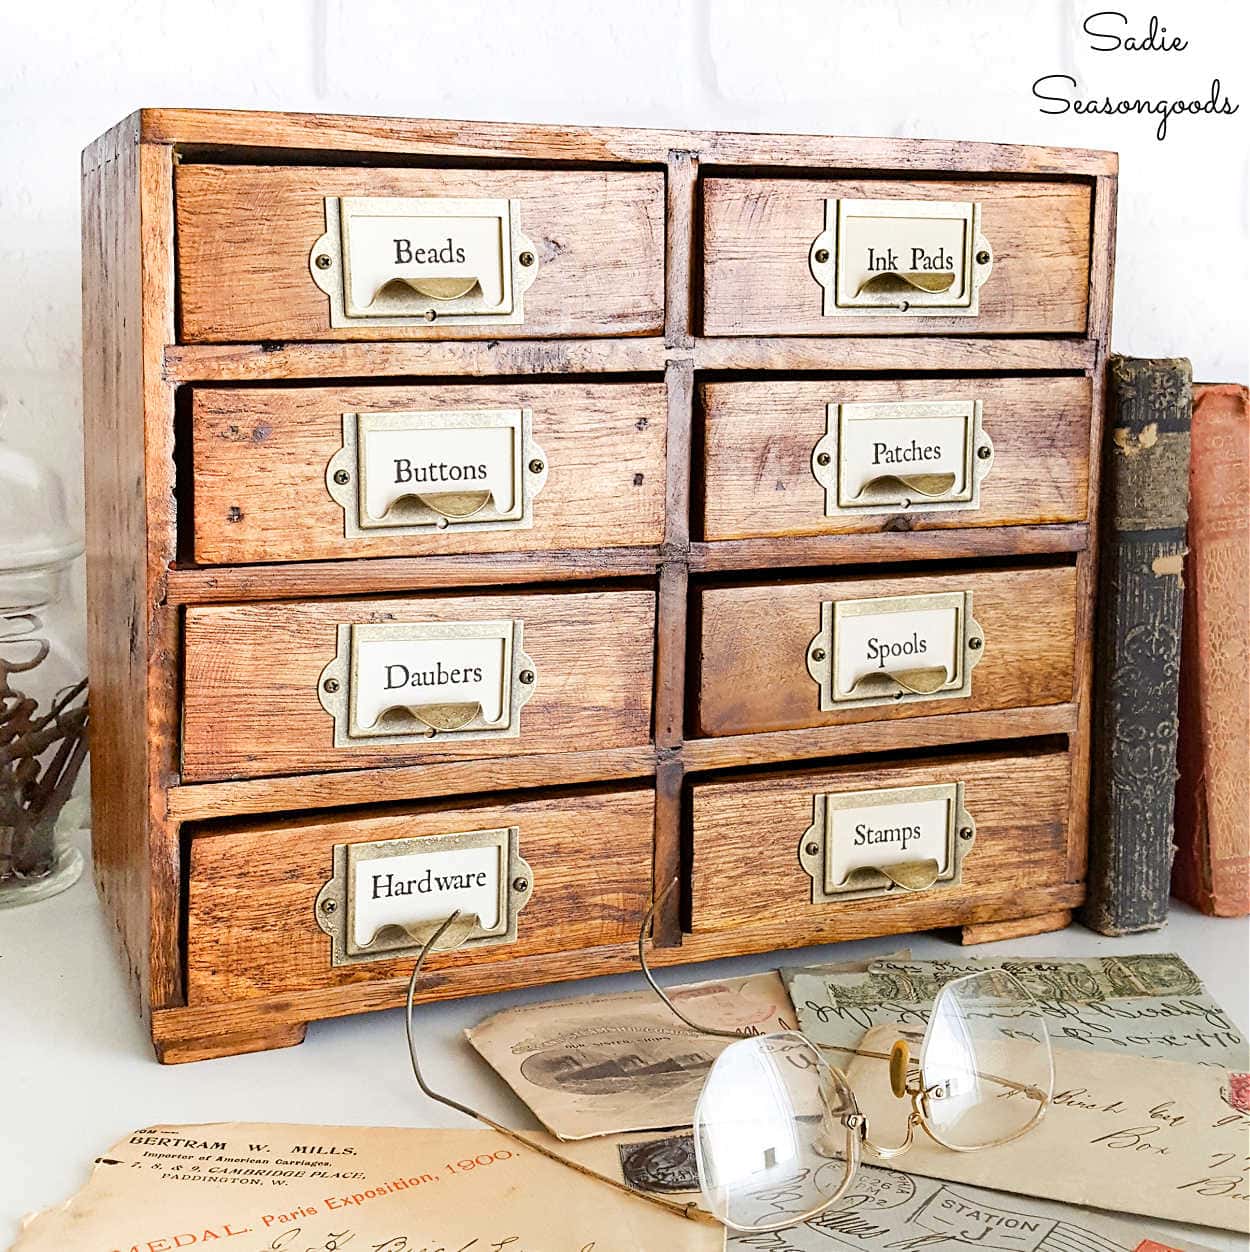
I only bring that project up because it’s another refinishing project for those of you that need a break from “paint all the things”.

Metal Inlay in Wood on a Modern Lazy Susan
As I had hoped, the wood stain gave the wooden lazy Susan a rich, deep color. And now that the water rings were (mostly) gone, the wood grain variations could shine through.

NOW I could work on faking a metal inlay in wood! And I’d use this stencil to get the mid century modern look I was going for.
You’re probably looking at that stencil and thinking “what the heck, Sadie?”, aren’t you?

My plan involved using ONLY the outermost rings of the stencil. My hope was that by using metallic gold paint, I could get the look of metal inlay in wood!
Using gold craft paint, I only stenciled over the rings to transform the wooden lazy Susan into mid century modern decor. I don’t have the skills (or patience) for a real metal inlay, so a stenciled version was just the ticket.

And just like that, my idea worked! I never know how my ideas will pan out but I was SO pleased with the result.
Between the rich wood stain and the metal inlay, it had a real mid century modern feel to it.

When all was said and done, I buffed on some clear furniture wax to seal and topcoat all of my hard work!
Faking a Metal Inlay in Wood with a Wooden Lazy Susan
Of course, I don’t have too much mid century modern decor in my home, but vintage home decor can be eclectic with multiple styles working together (in my opinion).
Plus, MCM furniture plays a key role in Boho decor, which y’all know I’m dipping my toes into right now…

Yeesh…ignore the fact that my styling turned the wooden lazy Susan into the Pringles Man. I didn’t realize that at the time, haha!
*****
Also, guess what day it is? It’s Thrift Store Decor Team day! That means that the best upcycling bloggers around have all created new projects to share. Click on the links beneath this collage to be magically transported to their posts.

1. Rustic Pottery Barn Mirror Makeover
3. Mid Century Modern Makeover on a Lazy Susan
6. Vintage Train Case Makeover
*****
I hope you enjoyed this refinishing project as a nice change of pace from painting. I enjoy trying out different methods to revive thrift store finds and I REALLY love how this piece “turned” out.
Get it? “Turned out”? Because it’s a lazy Susan and it turns!

And if you enjoyed this upcycling idea for retro decor, then you may also be interested in my basket wall decor with woven trivets!

Craft on!
S
Want to be notified when I publish my next upcycling project tutorial?
Join me on Social Media:


PIN ME!


Sarah Ramberg is the owner of Sadie Seasongoods, a website that celebrates all things secondhand. From upcycling ideas and thrifted decor to vintage-centric travel itineraries, Sadie Seasongoods is a one-stop shop for anyone who loves thrifting and approachable repurposing ideas. Sarah is also the author of “Crafting with Flannel” and has been featured in numerous media outlets and magazines.


For a second there I was thinking you were going to go all farmhouse on me with that stencil 🙂 Great idea!!!
Gotta change it up every now and again, ya know?? A fun change of pace. 🙂
Your vision came to life beautifully with this project! The gold paint was the perfect touch.
Thank you so much, Carole!
Looks fantastic, Sarah! My hubby cringes when I tell him we need to paint this or that. He loves the wood and does beautiful refinishing. Your post is making me see it more his way, but don’t tell him! Lol
HA!!! Your secret is safe with me. 😉
It looks beautiful now! Gotta love a good Lazy Susan xo
Yes! But I bet you hate the name of them!! (I know I would if they were called Lazy Sarahs)
Sadie,
I love your blog because you make me realize I can do a lot of do-overs that I’ve thought may be too difficult or time consuming. I love wood so I’m glad you did not paint the lazy susan. The finish looks terrific and I love making old, stained pieces look new again. You did a great job with the stenciling – which I have yet to conquer!
Thank you, Barbara! I agree, it’s nice to leave the paint behind when the piece doesn’t need it. I love to see wood grain shine though wood stain, so long as it’s the RIGHT stain. And I understand your fear of stenciling all too well!
Sadie,
I have a solid pine table and chairs in the dining room and they have gotten gummy after years of me cleaning them with Old English oil conditioner. How can I clean them without completely refinishing them – although that may be what they need.
Oh wow, I’m not really sure, Barbara. But I can’t imagine that you’re the only one who has run into this problem. Take a look at this and see if any of these ideas sound good: https://www.thriftyfun.com/Removing-Furniture-Polish-Build-Up-from-Wood-Furniture.html
Oh, I love it!! I want to find one like this!! It looks great, that stain color is perfect!!
Thank you, Debbie!
Wow! What a great find and I just love that touch of glam added to it. Such a sophisticated look!
Thank you!
looks great. did you put a protective layer over your finished project? thanks, deb
I haven’t, but I should!!
Great restore. I always leave inspired when I visit your blog.
Thank you so very much, Mary!
I really enjoyed the process and result you got on this great piece. So glad you didn’t slap a saying on this classic…it’s gorgeous as is!
I agree- just that gold ring was all it needed. Thank you!
haha Pringles man! That took me a minute. lol
I never would have noticed.
In any case, your wooden lazy Susan turned out soooo perfectly sweet!
Pinning!
LOL, thank you, Gail!
Lazy Susan is lovely; looks brand new. What satisfaction your projects must bring you!
When they work out, yes!! 😉
Really cute makeover, using the stencil was really smart and looks very attractive. You are so right in doing all that sanding, wow, what a nice difference. Keep up the good work!
Thank you so much, Mary!
This turned out so pretty! I love the gold ring around the edge!
Thanks, Kristin!
I love how this turned out, Sarah! Very pretty!
Thank you so much, Linda!
I was wondering how you painted the gold rings so nicely! I love lazy susans: a) they spin so I don’t have to use “boarding house reach” and, b) they elevate stuff just a bit so the contents look special. So glad you rescues this piece so nicely!
I love lazy susans and your makeover turned out so pretty!
Love it! So simple, but still with impact.
Thanks, Susie!
always impressed with your creativity thanks for the inspiration Love the tray
Thank you, Cindy!
The lazy Susan turned out lovely! I love the dark stain and how you added the ring.
Thanks, Linda!
Actually I was wrong it looks great stained and stencil border.