Since I’ve been married for quite a few years now, I rarely think about doing a “DIY Wedding” kind of project. But for my latest installment on the Charlotte Region ReStore’s blog, I decided to make an exception! After finding yet another plain cork board at one of the ReStores, I was inspired to make a rustic wedding seating chart for the bride on a budget.
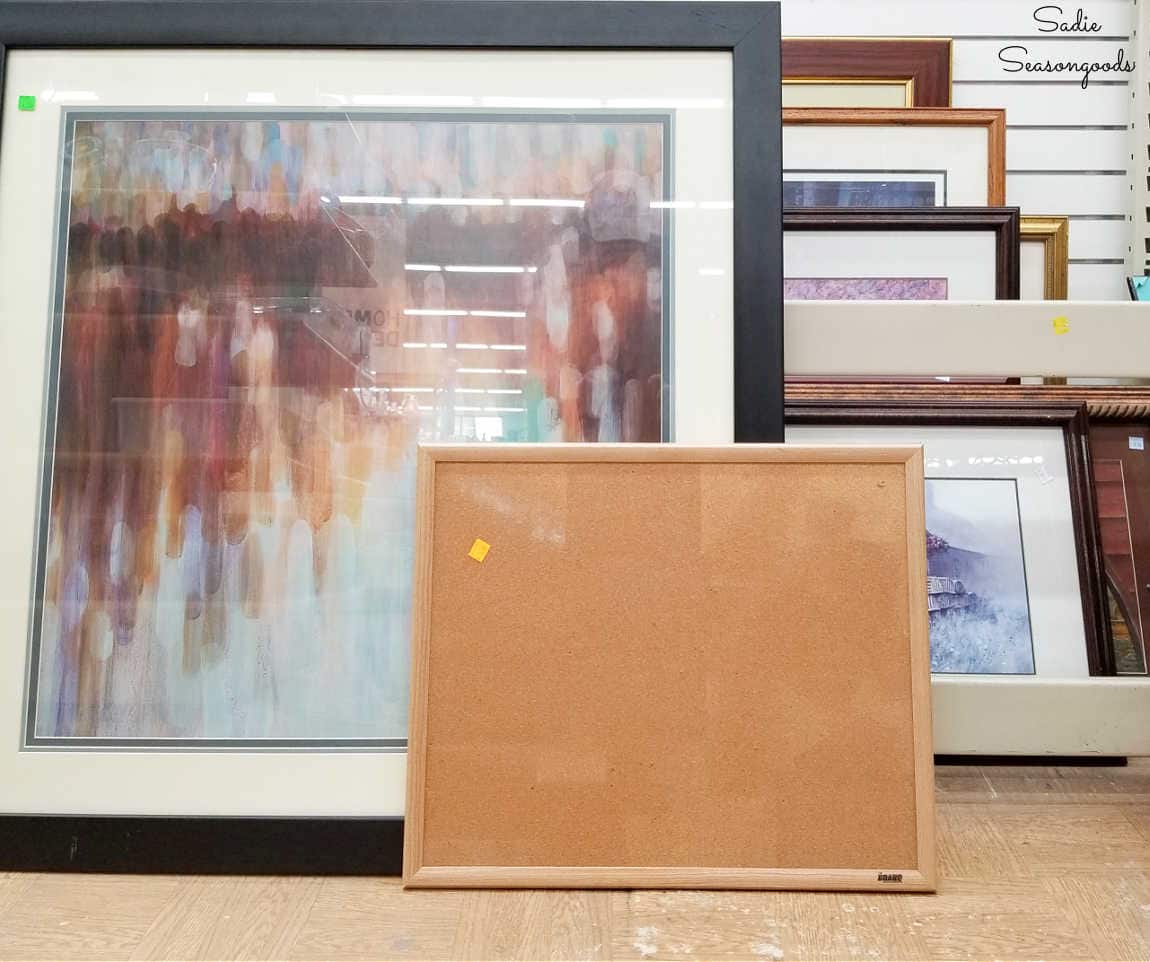
Image credit: Sadie Seasongoods.
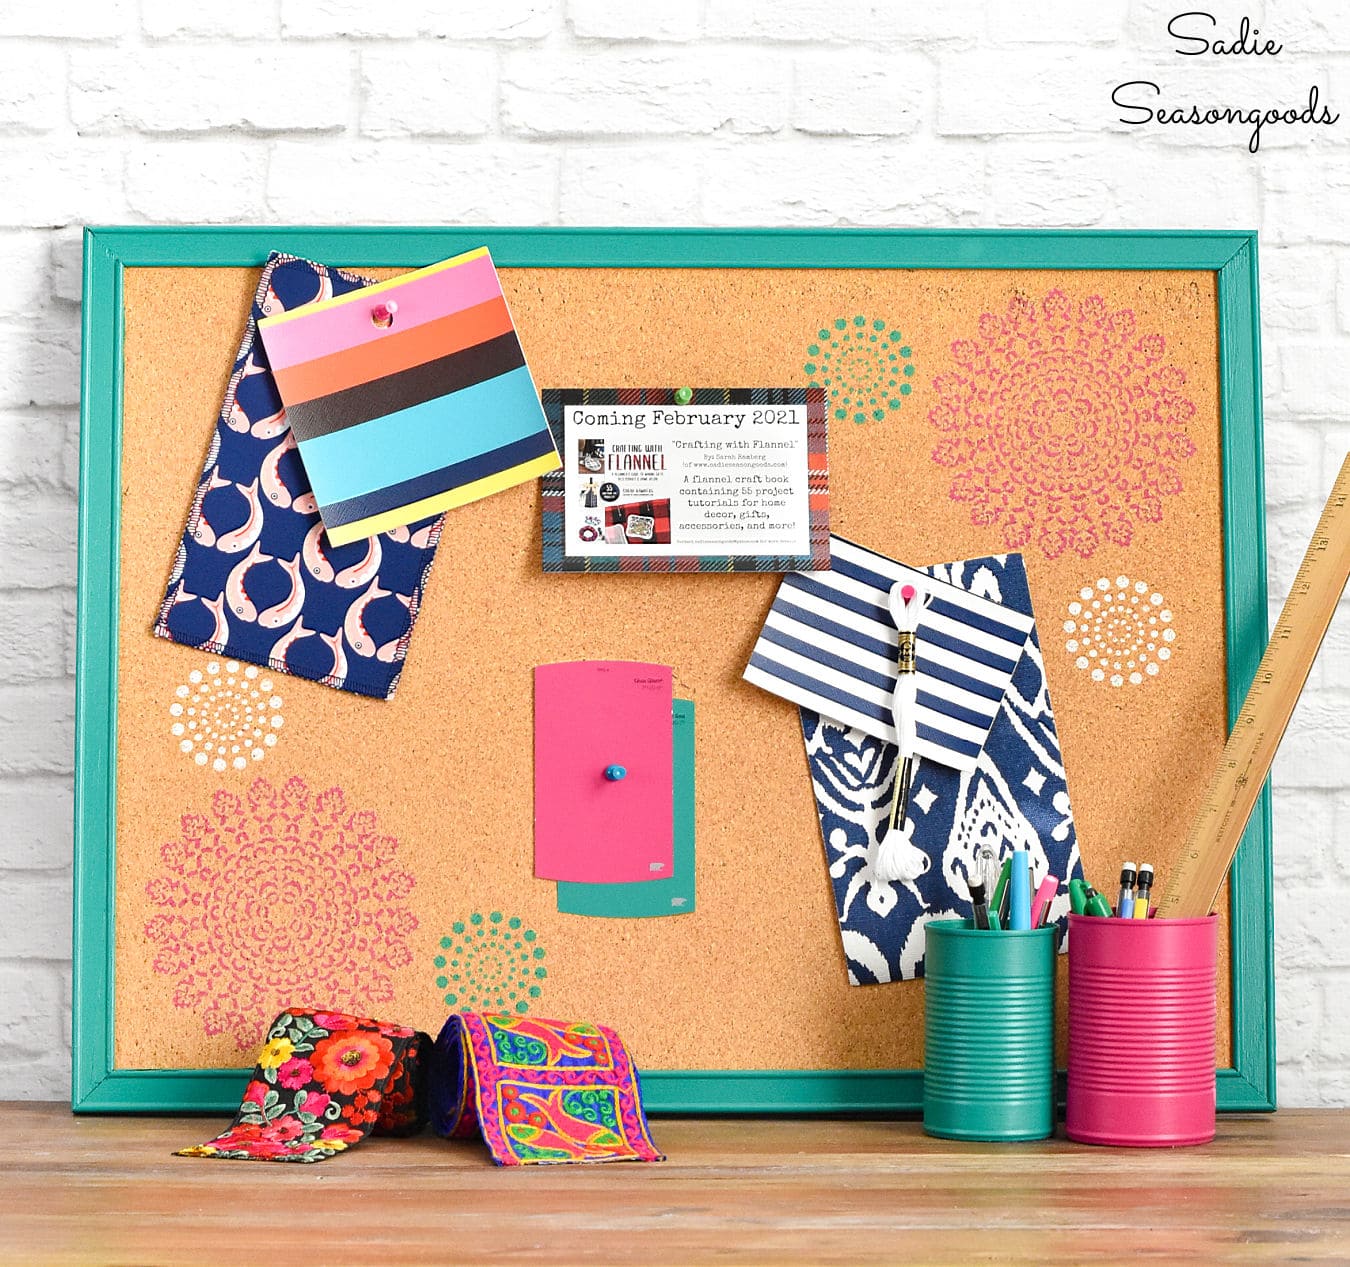
I just can’t seem to help myself when I find these “blah” cork boards while thrifting. They’re SO useful but the plainness is overwhelming. So, it’s no surprise that I truly enjoy sprucing them up; remember this one that I made for my office?
I even spruced up a cork board for my book! They really do lend themselves to makeovers quite well…
So, don’t mind me while I give another makeover to yet another cork board! But, I imagine that many brides these days are even MORE budget conscious than usual. I’d say that now’s as good a time as ever for inexpensive wedding projects, that’s for sure…
This post contains affiliate links for your crafting convenience. As an Amazon Affiliate, I earn from qualifying purchases. All blue, bold, and underlined text is a clickable link, either to a product or to a related post.
This post is also sponsored by the Charlotte Region ReStore(s).
Cork Board Project for a DIY Wedding
Anyway, onto this cork board project. Now, upon further inspection, the actual cork was a bit uneven in color. As if it had held the same pieces of paper for years while hung in direct sunlight.
But, in the end, I opted not to- simply because I planned on covering it up with place cards! But it’s always nice to know how easy it is to paint cork in cases like this.
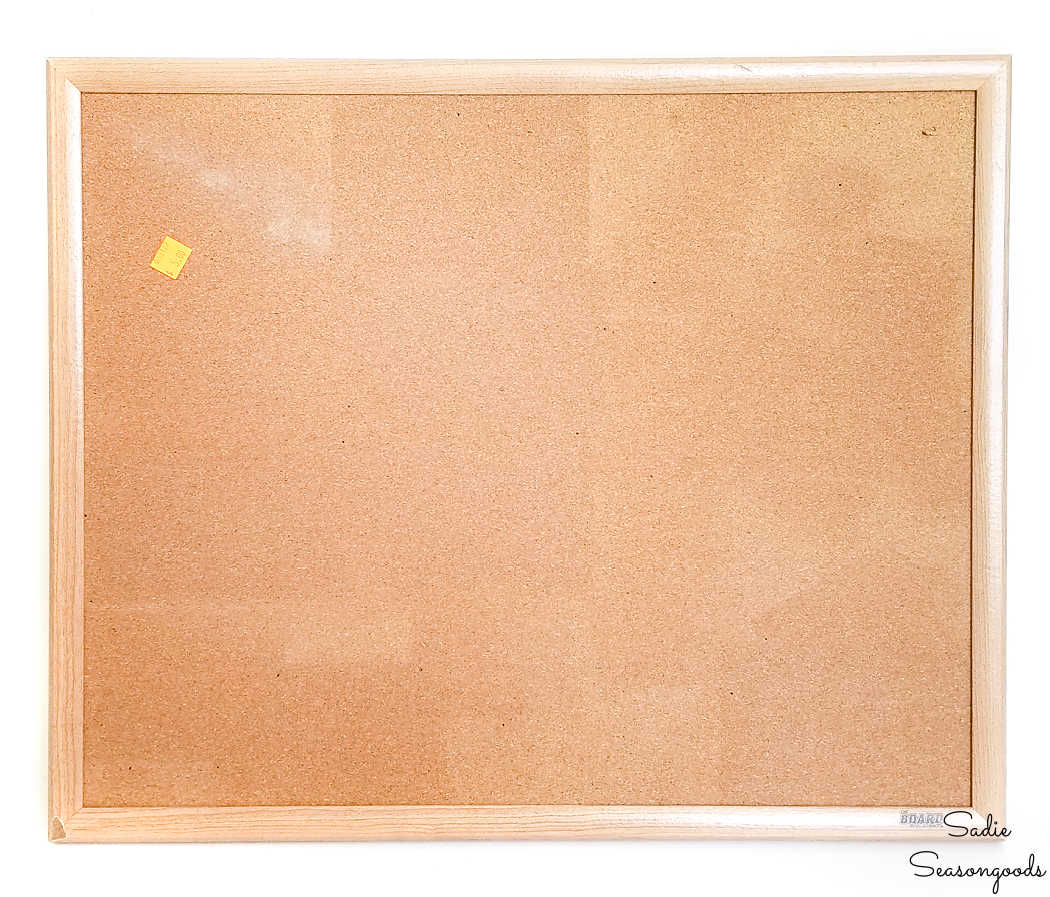
Image credit: Sadie Seasongoods.
First, though, I intended to paint the cork board frame. So I gathered a few materials: wide painter’s tape, a utility knife, and a butter knife.
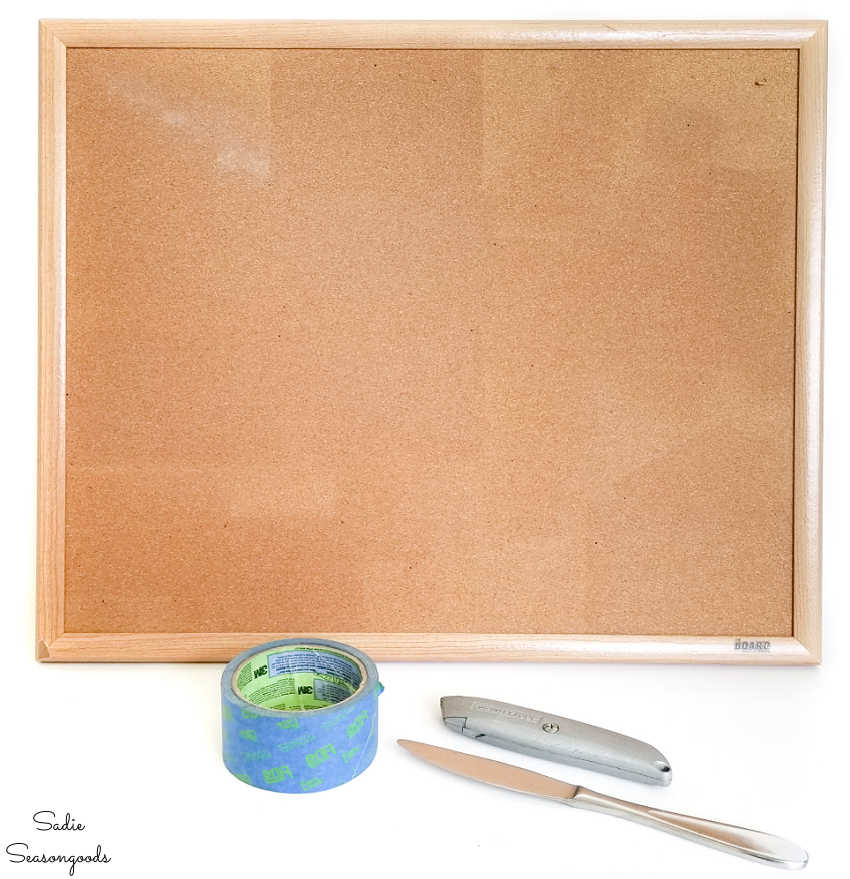
Image credit: Sadie Seasongoods.
Next, I lined the perimeter of the cork with tape, using the utility knife for cutting the tape at each corner. And the butter knife to gently smooth the tape underneath the frame’s edge.
This would ensure that no paint made its way onto the cork itself.
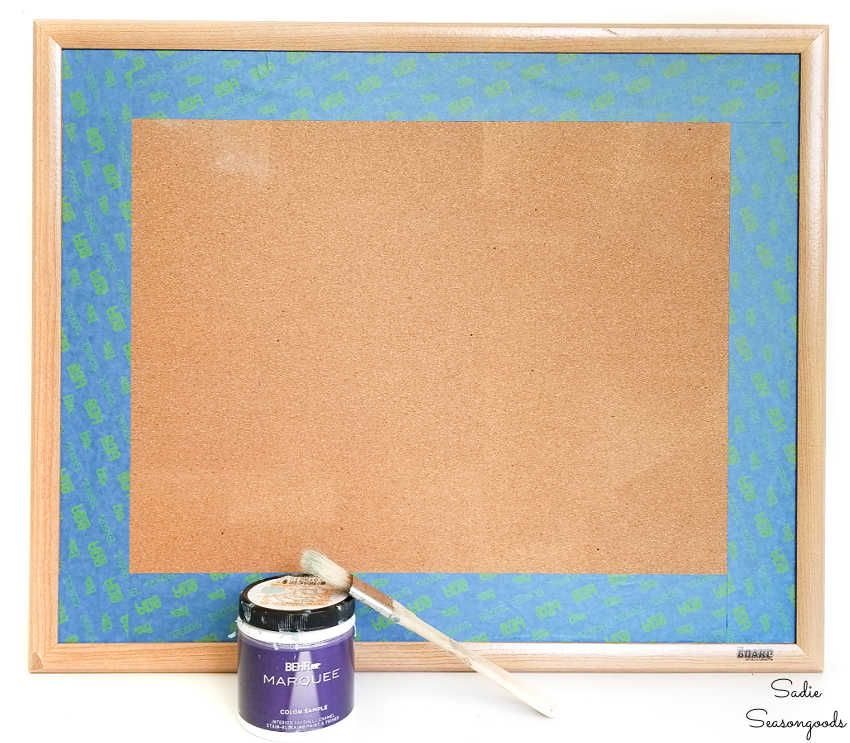
Image credit: Sadie Seasongoods.
Once the frame was painted, it was time to transform the cork board into a DIY wedding seating plan, of sorts! And to do that, I needed jute twine and thumbtacks.
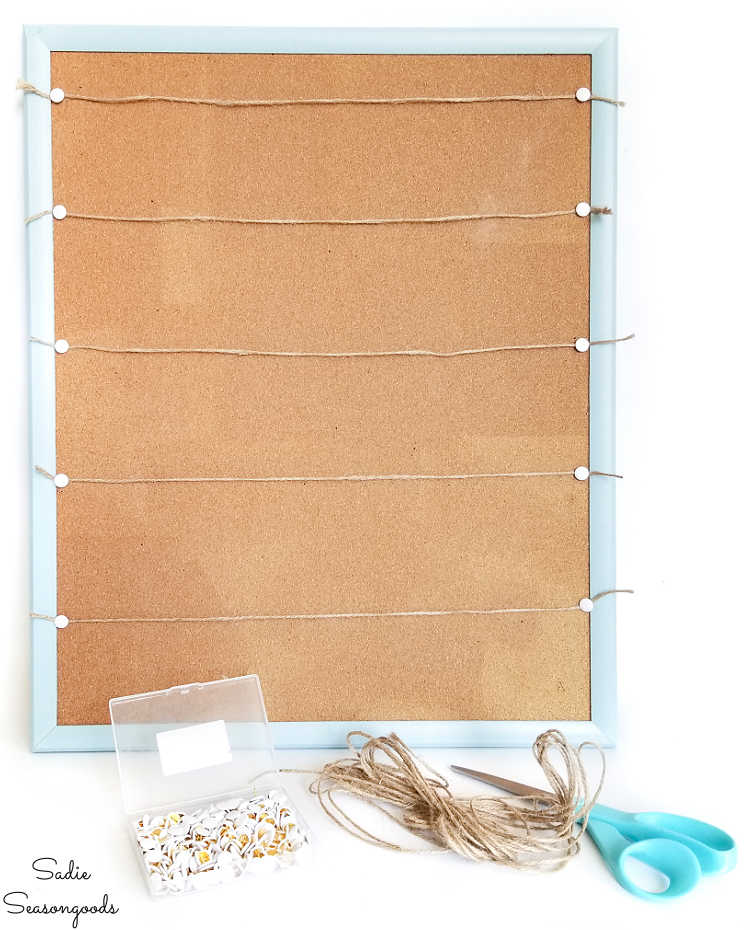
Image credit: Sadie Seasongoods.
I found these white thumbtacks on Amazon and thought they looked ideal on the seating chart board. But plain silver tacks would work just as well.
Strands of jute were hung across the rustic wedding seating chart and held in place with the white thumbtacks. I made sure that the twine was neither too taut nor too loose. Then, I hung the seating cards from the twine with mini clothespins.
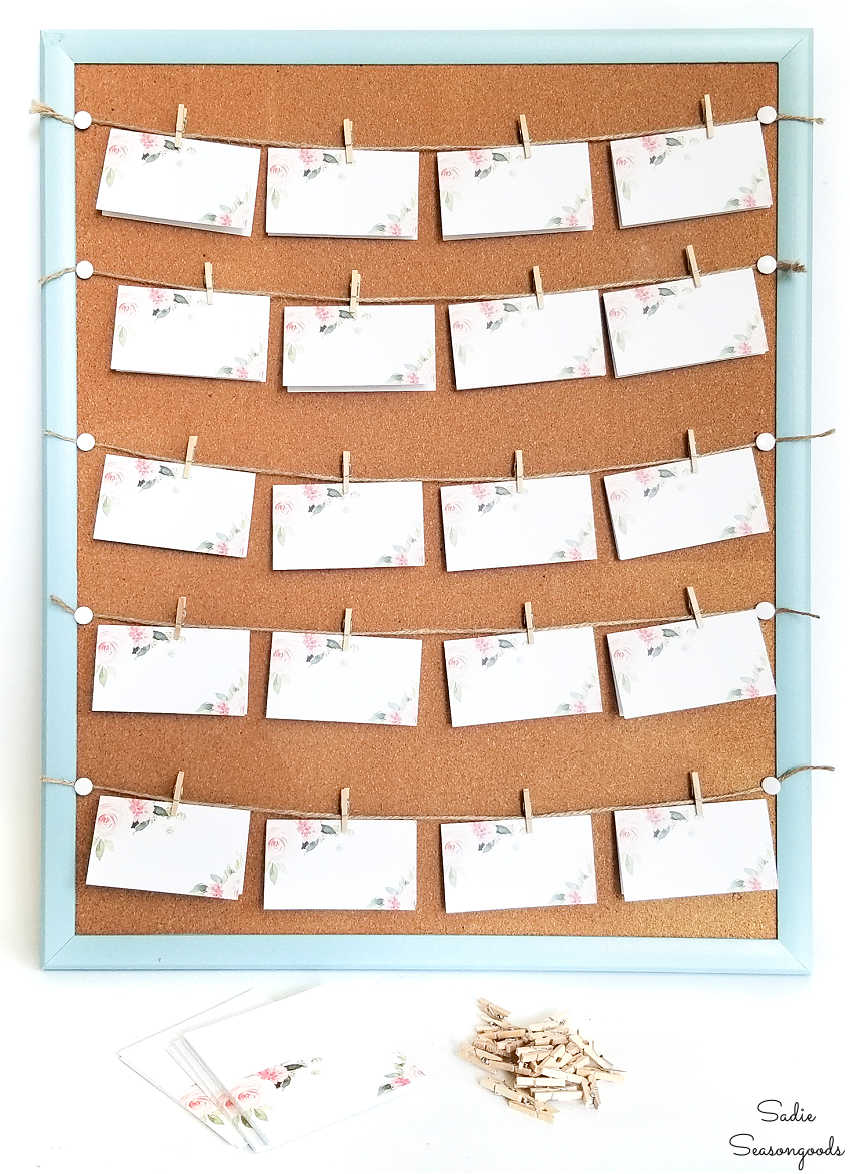
Image credit: Sadie Seasongoods.
And that was all there was to it! Talk about a wedding seating chart board for the bride and groom on a budget. AND it looks quite charming, if I do say so myself.
If you’re interested, the place cards also came from Amazon! You can also find the jute twine and mini clothespins on Amazon, too, but also at craft stores like Michael’s.
Rustic Wedding Seating Chart
See how sweet and simple this project is? A great way to upcycle a plain cork board into a wedding seating chart board and table display outside of a wedding reception. And it literally costs just a few dollars to make!
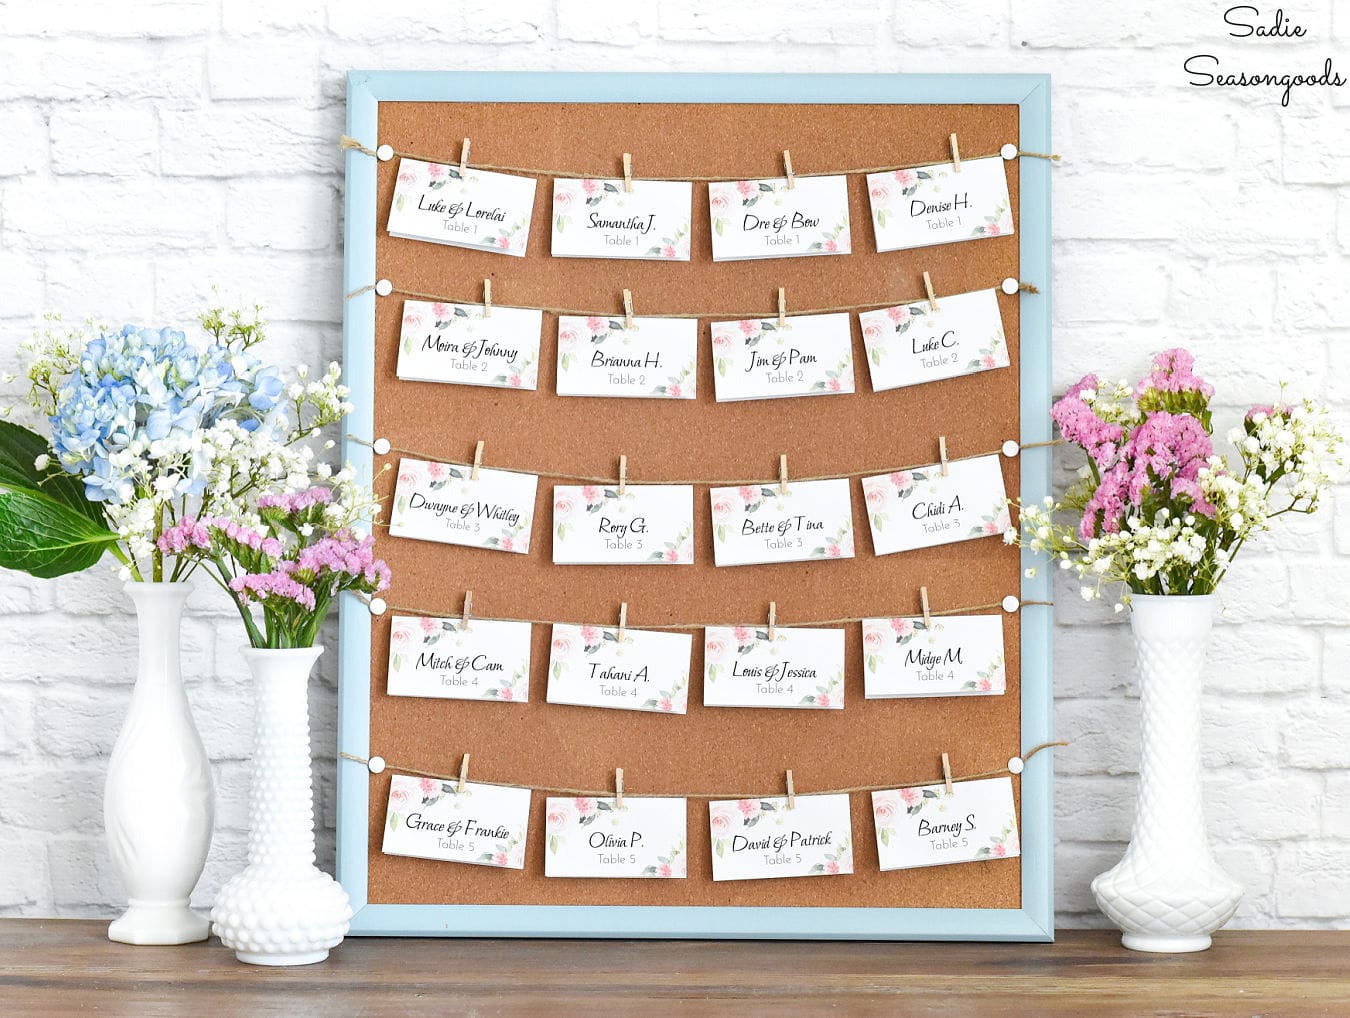
Image credit: Sadie Seasongoods.
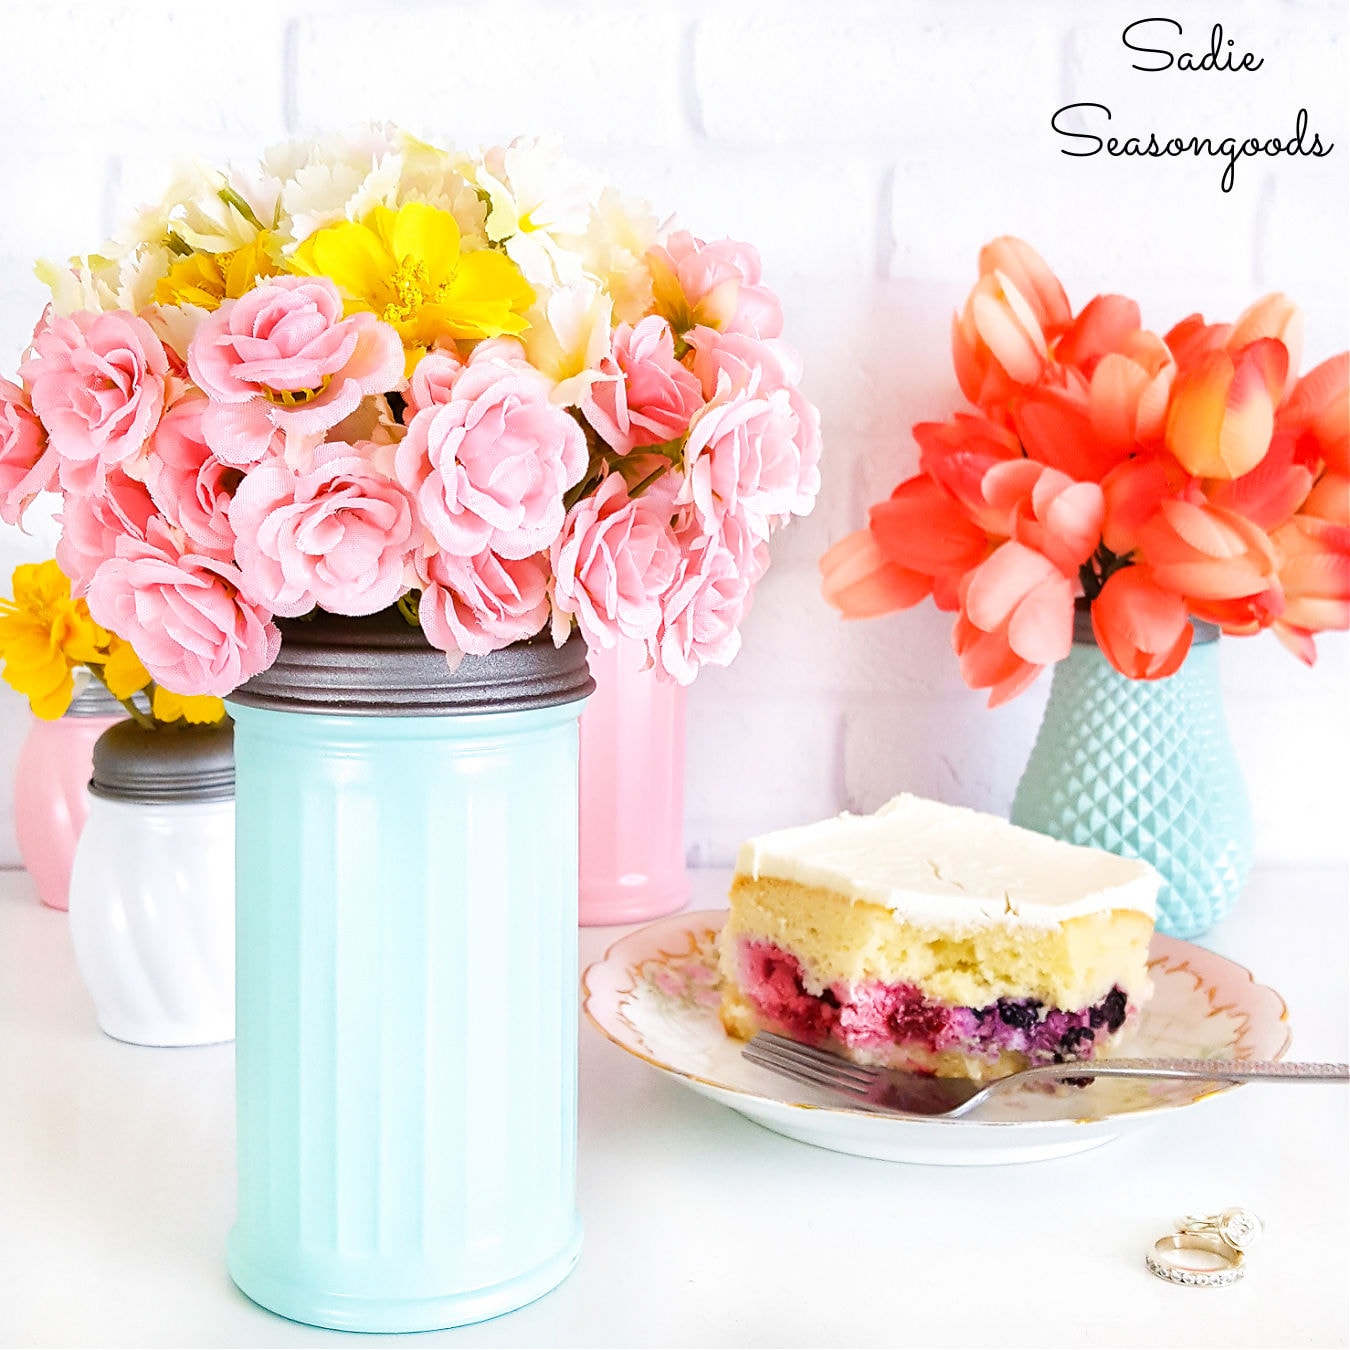
I especially loved how it looked when flanked with milk glass vases (also from thrift stores) full of flowers! Like I said, an inexpensive DIY wedding project that is both functional AND decorative. Can’t really beat that!
And yes, if you study the place cards, I used a lot of my favorite couples and characters from various TV shows that we watch! Do you recognize any of them from your favorite shows, as well?
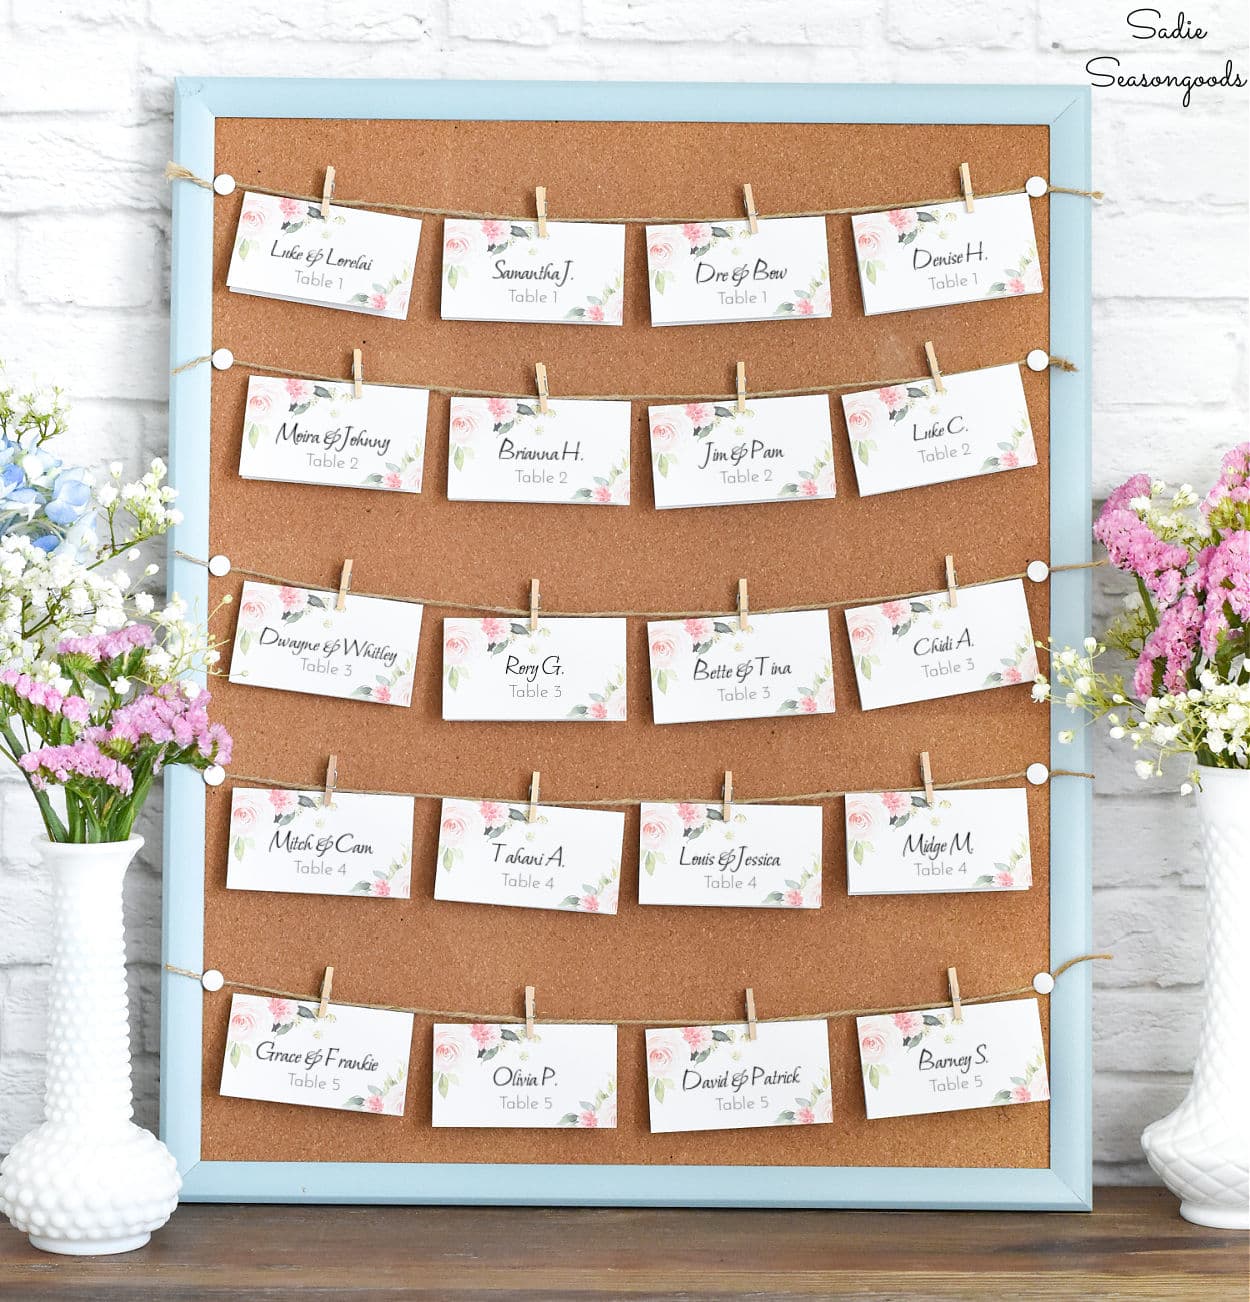
Image credit: Sadie Seasongoods.
Are you planning or helping someone plan a wedding that will be a DIY approach? I’d love to hear about the kinds of projects you plan to make in order to stay on (or under) budget!
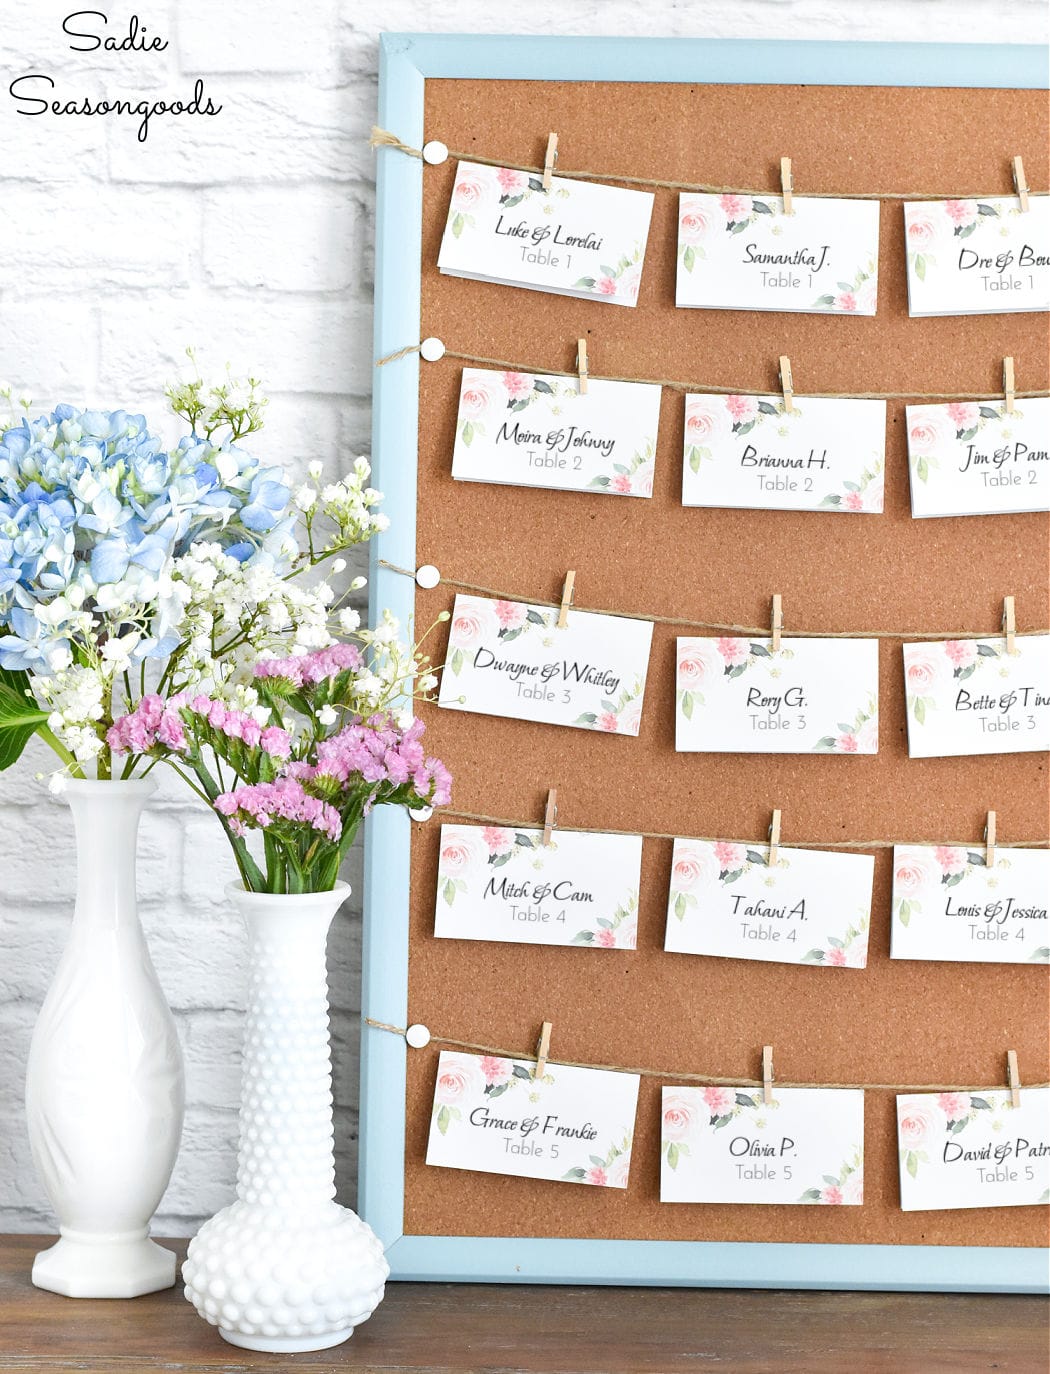
Image credit: Sadie Seasongoods.
I hope you enjoyed this simple upcycling project idea that I did in conjunction with the Charlotte Region ReStores. They really are a fabulous place to find future projects for all of your upcycling needs.
And for another DIY wedding project idea, check out these flower frog vases I made from another thrift store find. Talk about easy flower arrangements for wedding tables!
Craft on!
S
Want to be notified when I publish my next upcycling project tutorial?
Join me on Social Media:
PIN ME!
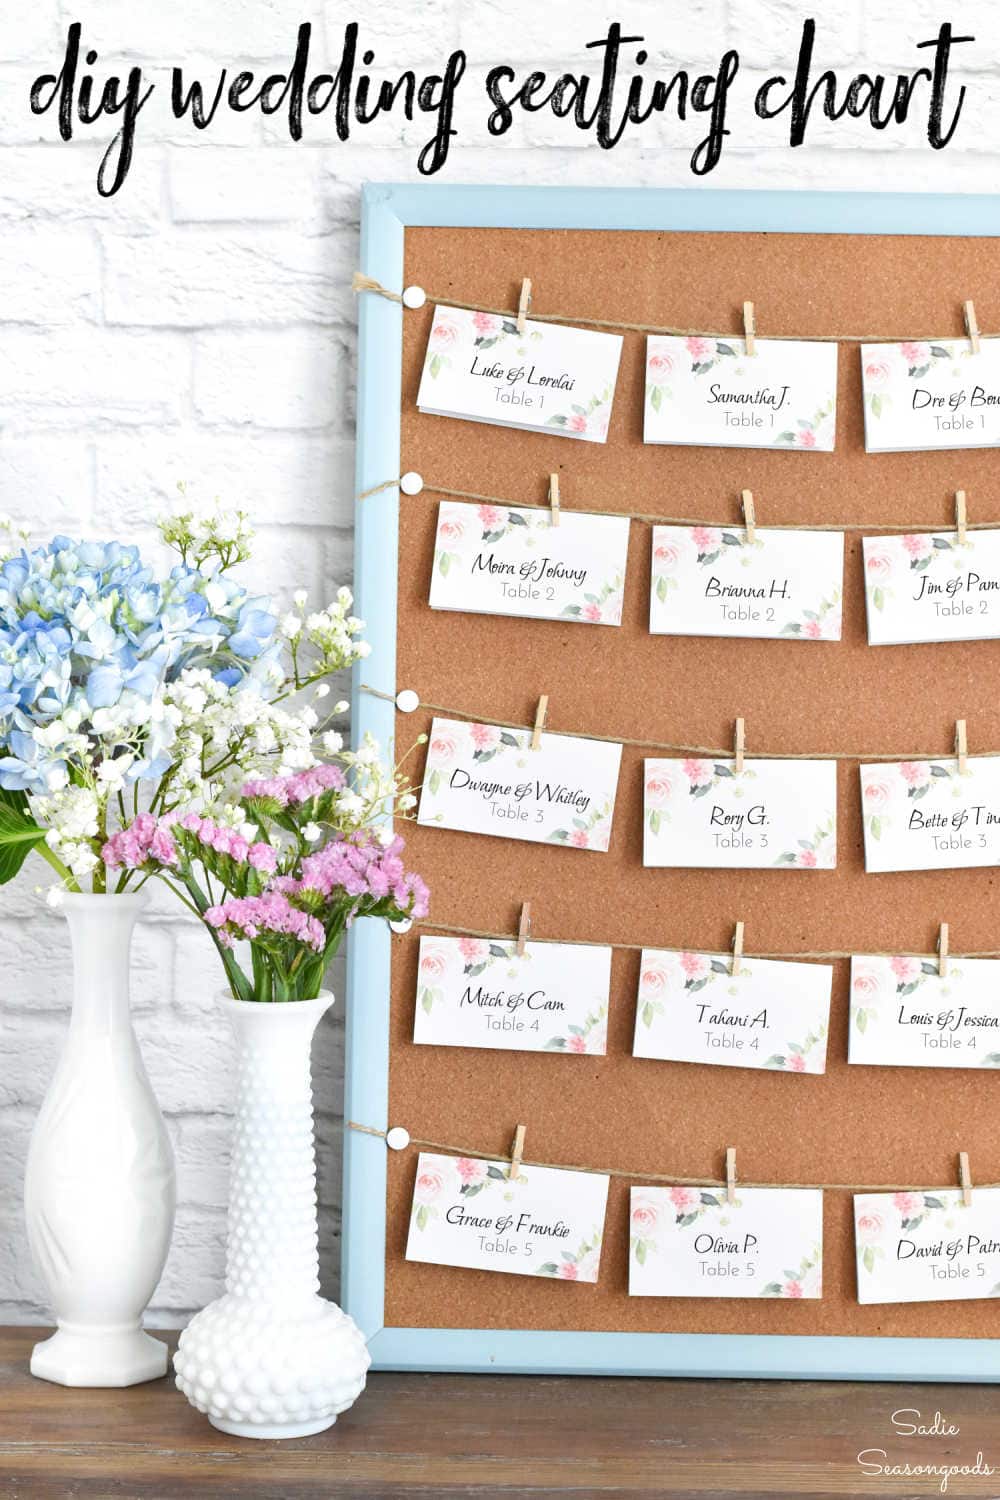
Image credit: Sadie Seasongoods.
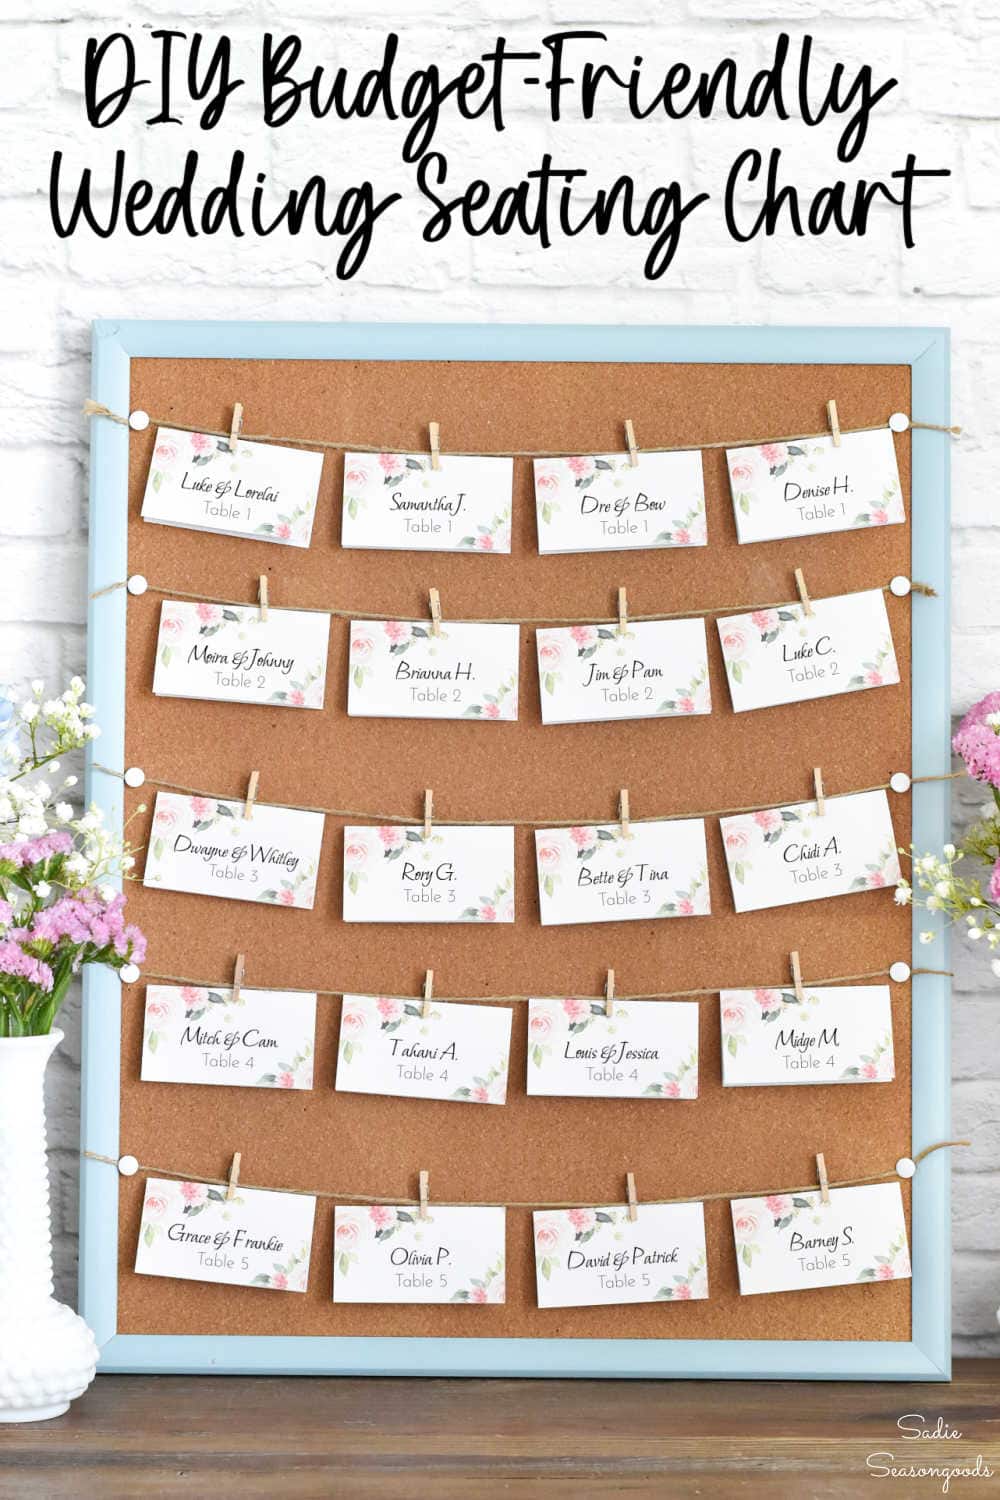
Image credit: Sadie Seasongoods.
Sarah Ramberg is the owner of Sadie Seasongoods, a website that celebrates all things secondhand. From upcycling ideas and thrifted decor to vintage-centric travel itineraries, Sadie Seasongoods is a one-stop shop for anyone who loves thrifting and approachable repurposing ideas. Sarah is also the author of “Crafting with Flannel” and has been featured in numerous media outlets and magazines.





Great idea, When my daughter remarried almost 3 years ago, I ordered 12″ wide burlap on Amazon and hand fringed 160 placemats! I found funky strings of light bulbs 75% off after Christmas. I fully understand the budget part. Cheapo me–I saved the raveled pieces and created tassels for the leftover burlap that I later turned into table runners! The wedding’s decor theme was burlap, birch bark, and sunflowers. Yep, the wedding party all wore cowboy boots as the ceremony was in the back yard under a pergola built of birch logs! And it started to rain just as the minister was finishing! Thank God for the party tent! Those 2 still GLOW!
Such a charming idea
Thank you, Mary!