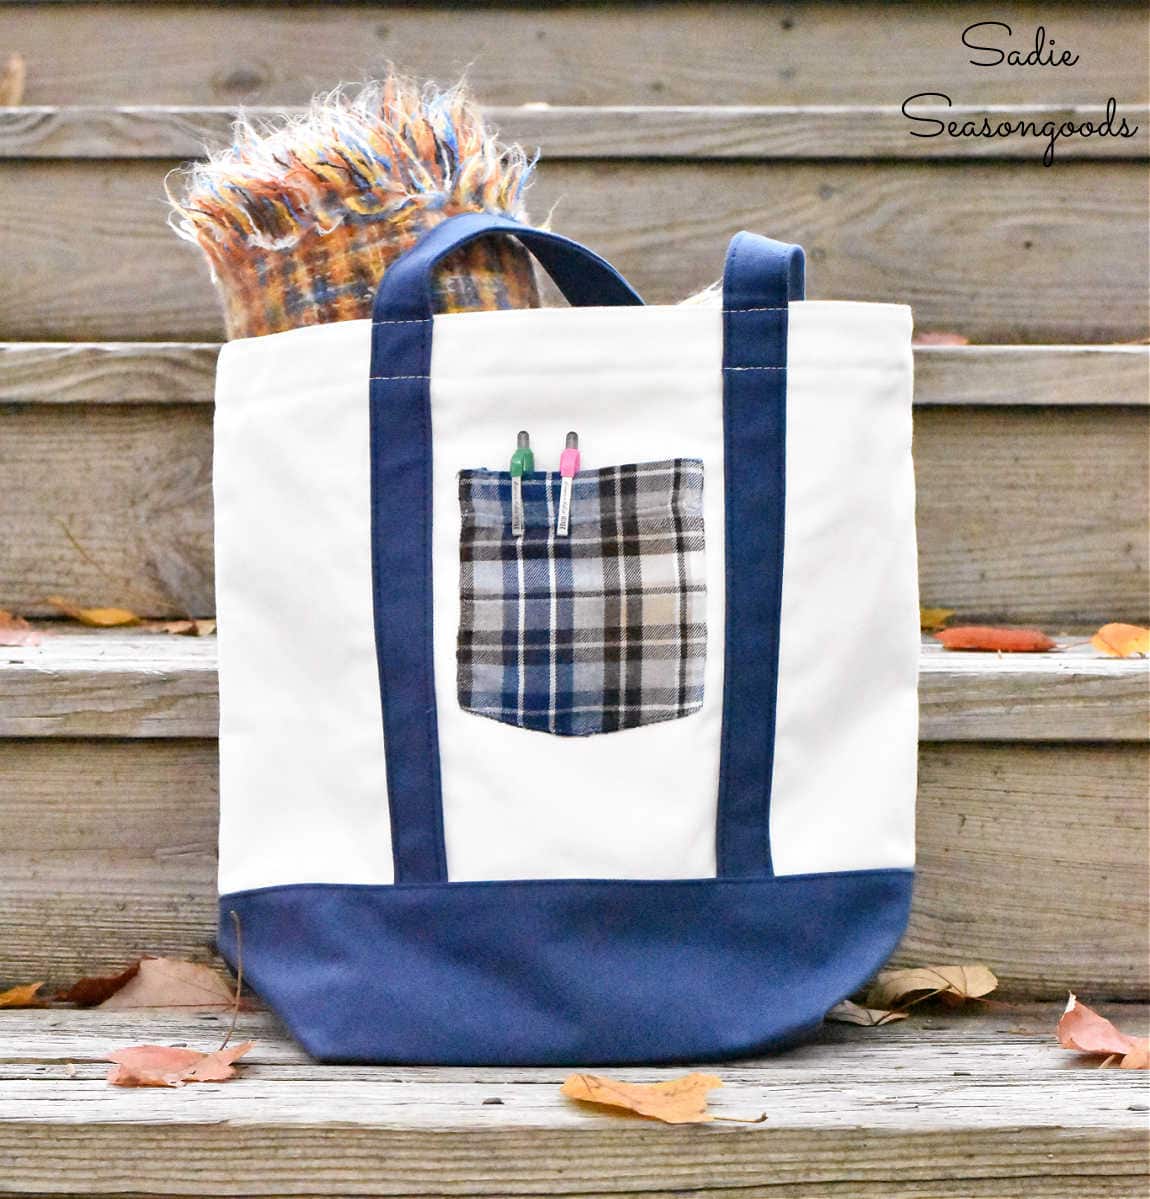
If you’re familiar with my book, “Crafting with Flannel”, then you may have seen that I decorated a tote bag with a touch of flannel. Well, I wanted to do something similar this year with some leather scraps. My plan? To decorate a tote bag with leather leaves.
You see, during my junkin’ journey to Greensboro, NC, I went to a creative reuse center called “Reconsidered Goods”. And they happened to have a HUGE selection of leather scraps for sale.
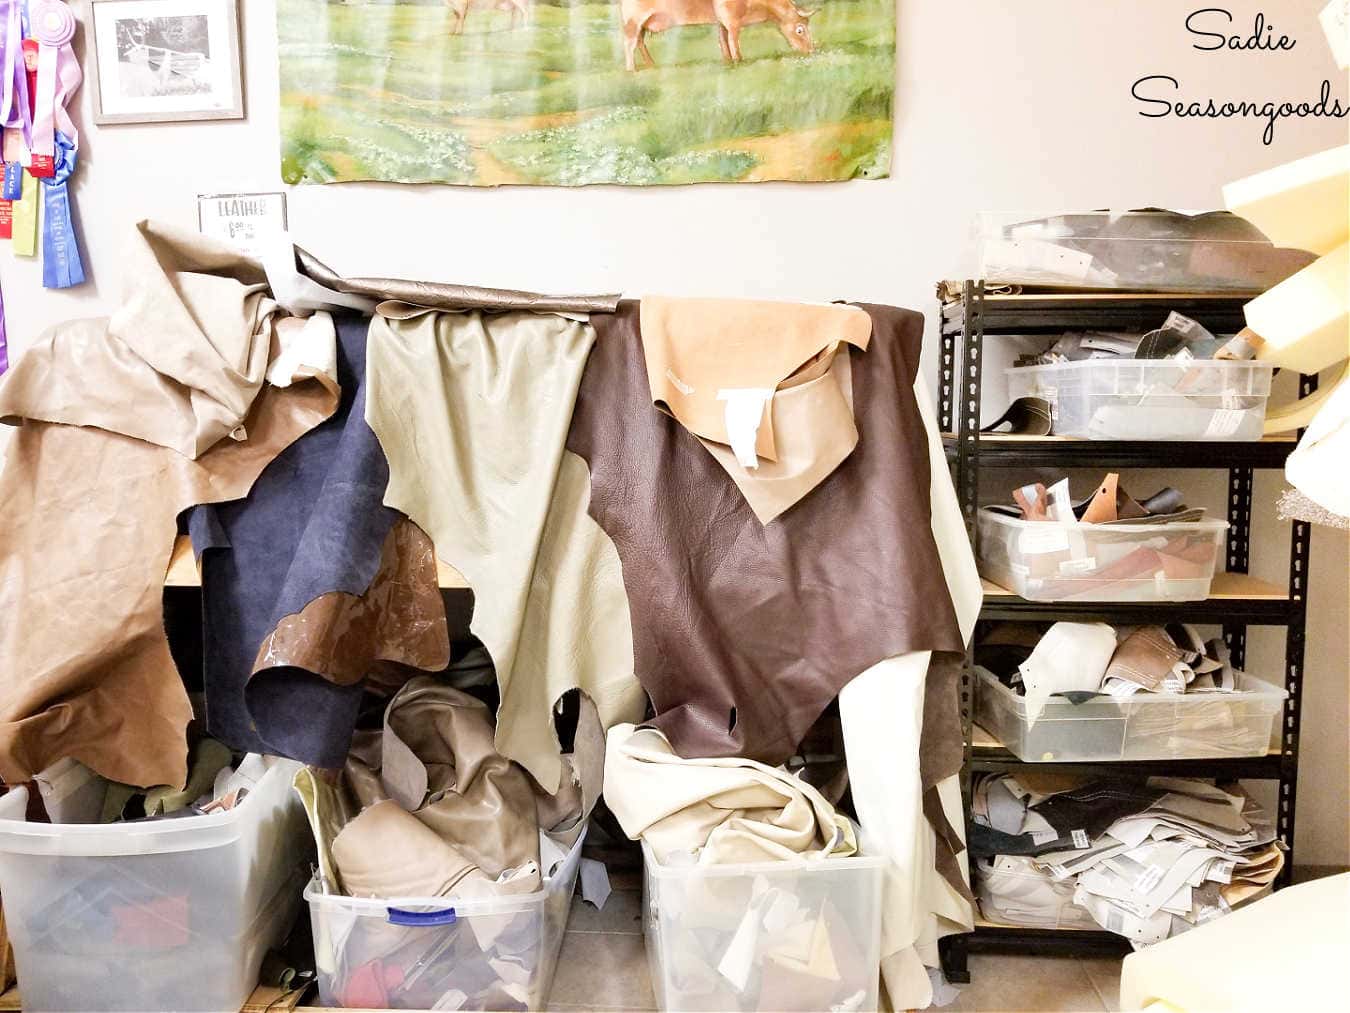
Image credit: Sadie Seasongoods.
Pages from leather upholstery sample books, remnants from furniture wholesalers, you name it. Since I had leather leaves in mind, I dug through their selection and gathered lots of smaller scraps.
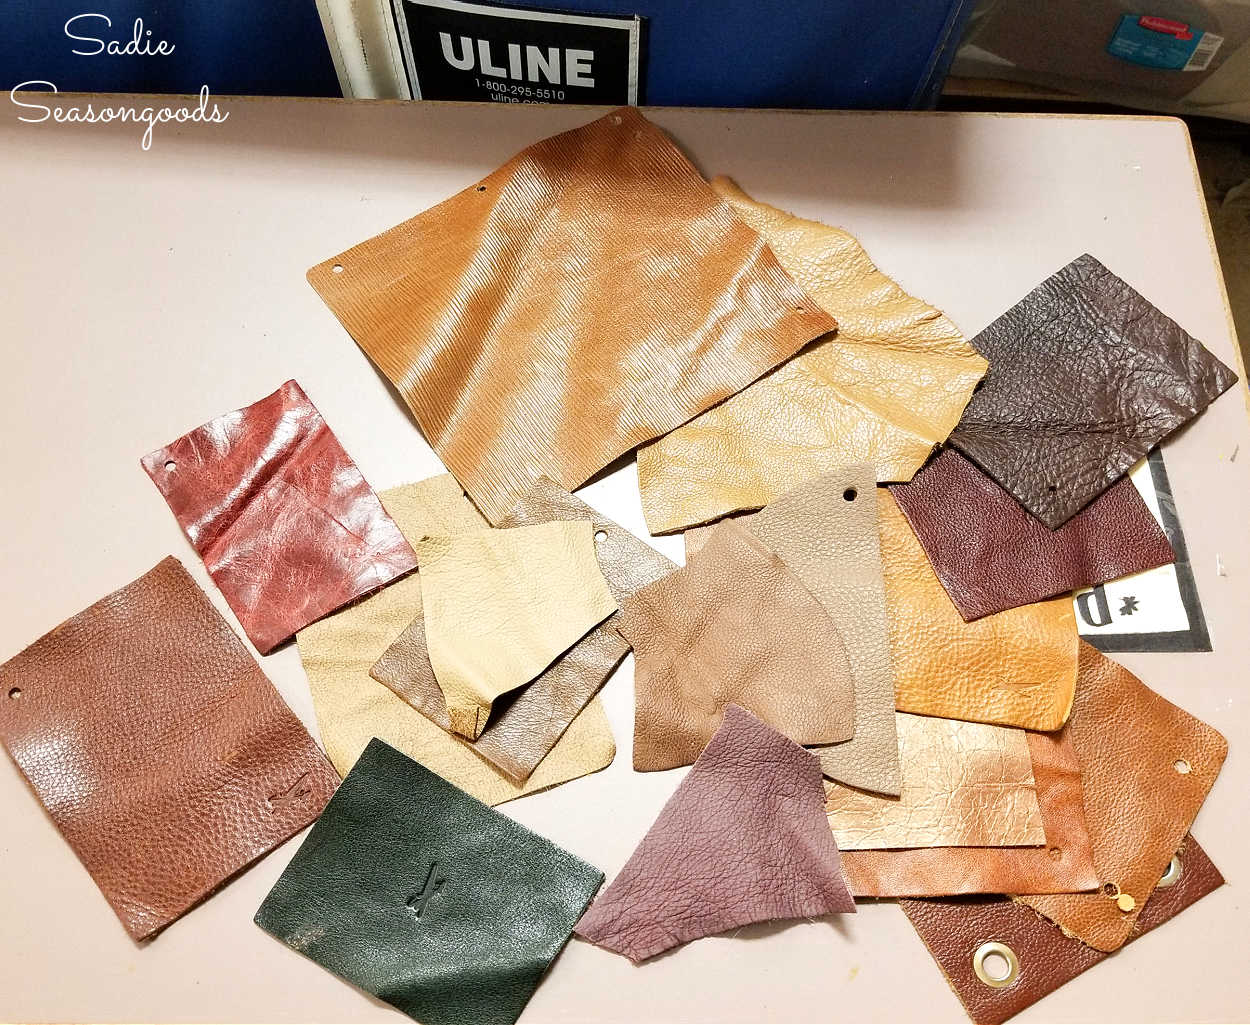
Image credit: Sadie Seasongoods.
A little thrifting later, and I had a wool tote bag that would be perfect for embellishing with leather leaves.
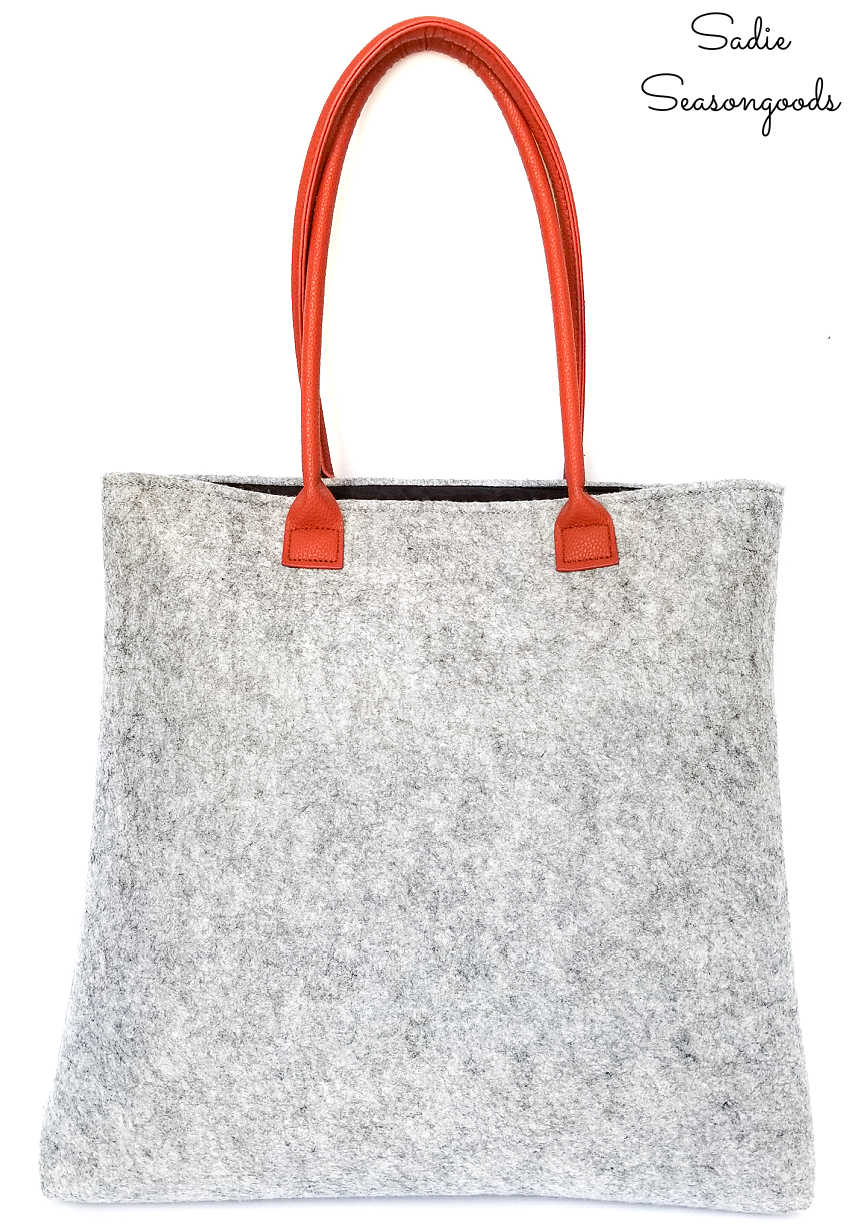
Image credit: Sadie Seasongoods.
Needless to say, I was ready to put my plan into action!
This post contains affiliate links for your crafting convenience. As an Amazon Affiliate, I earn from qualifying purchases. All blue, bold, and underlined text is a clickable link, either to a product or to a related post.
Creating the Leather Leaves
Now that I had the wool tote bag and the leather scraps all together, I was ready to begin the process of making leather leaves.
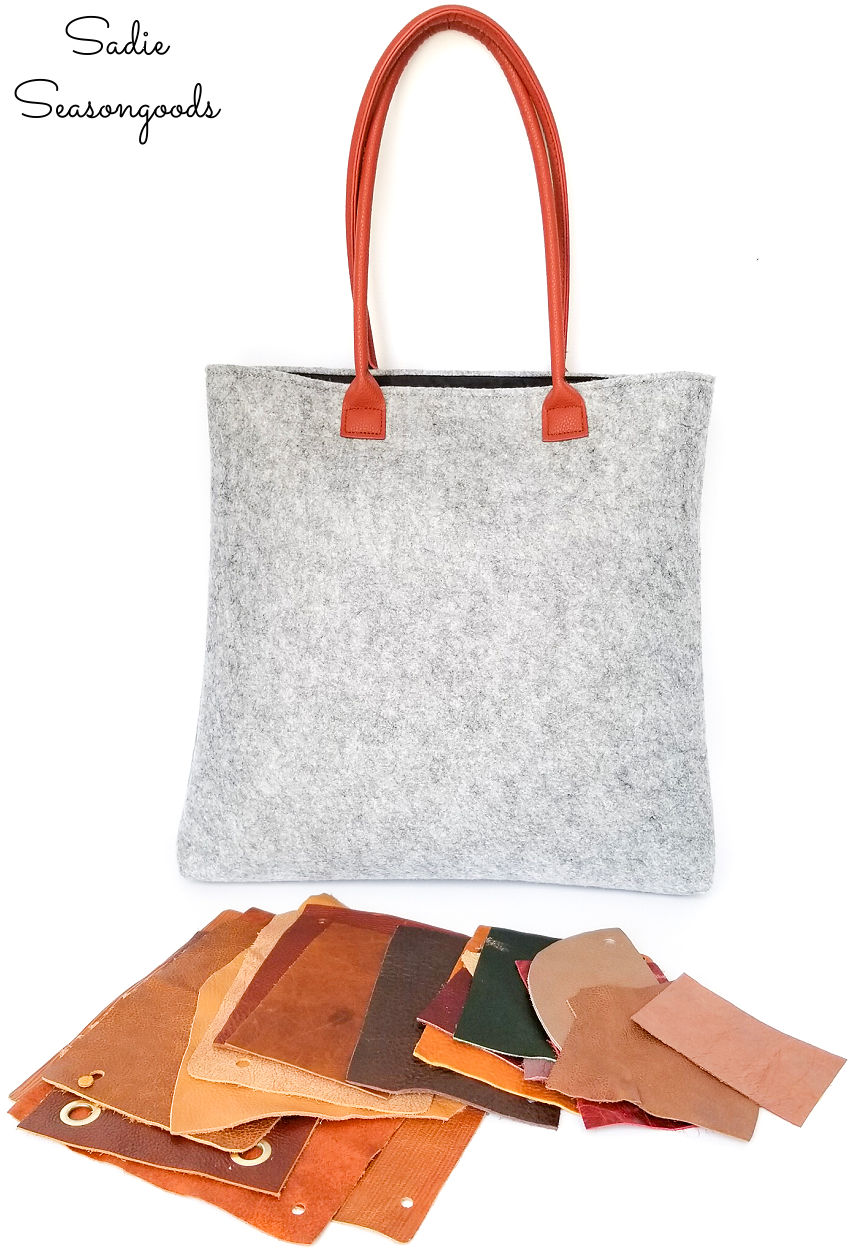
Image credit: Sadie Seasongoods.
First, though, I needed to make templates or patterns of leaves to use on the leather. Instead of searching for outlines on the computer to print, I had an idea using things I already had.
A leaf stencil from this cabinet door project and leftover filing folders from this craft room organizer!
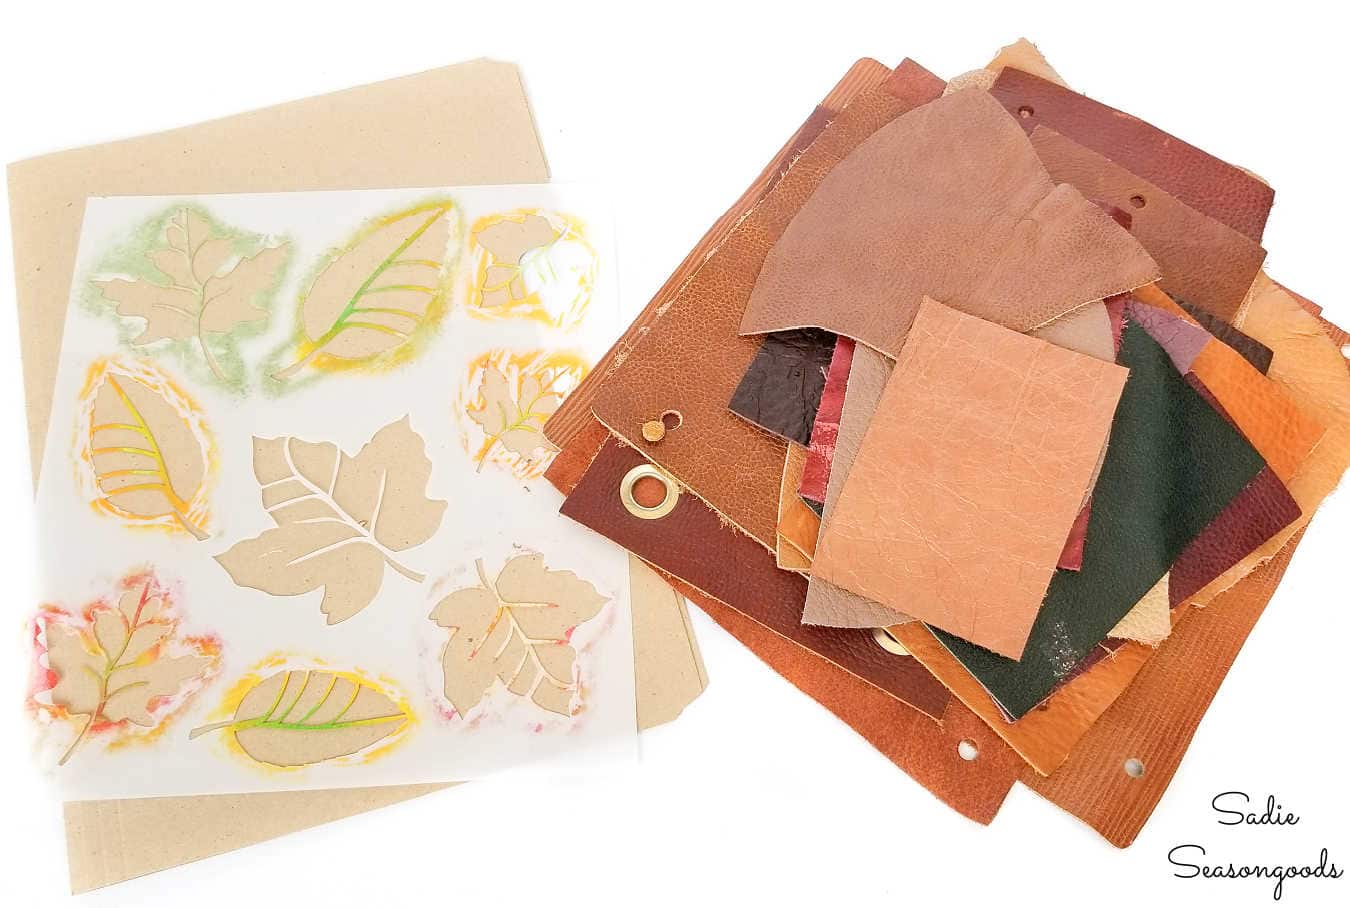
Image credit: Sadie Seasongoods.
The leaf stencils were just the right size for my tote bag. So, I lightly stenciled leaves onto a file folder.
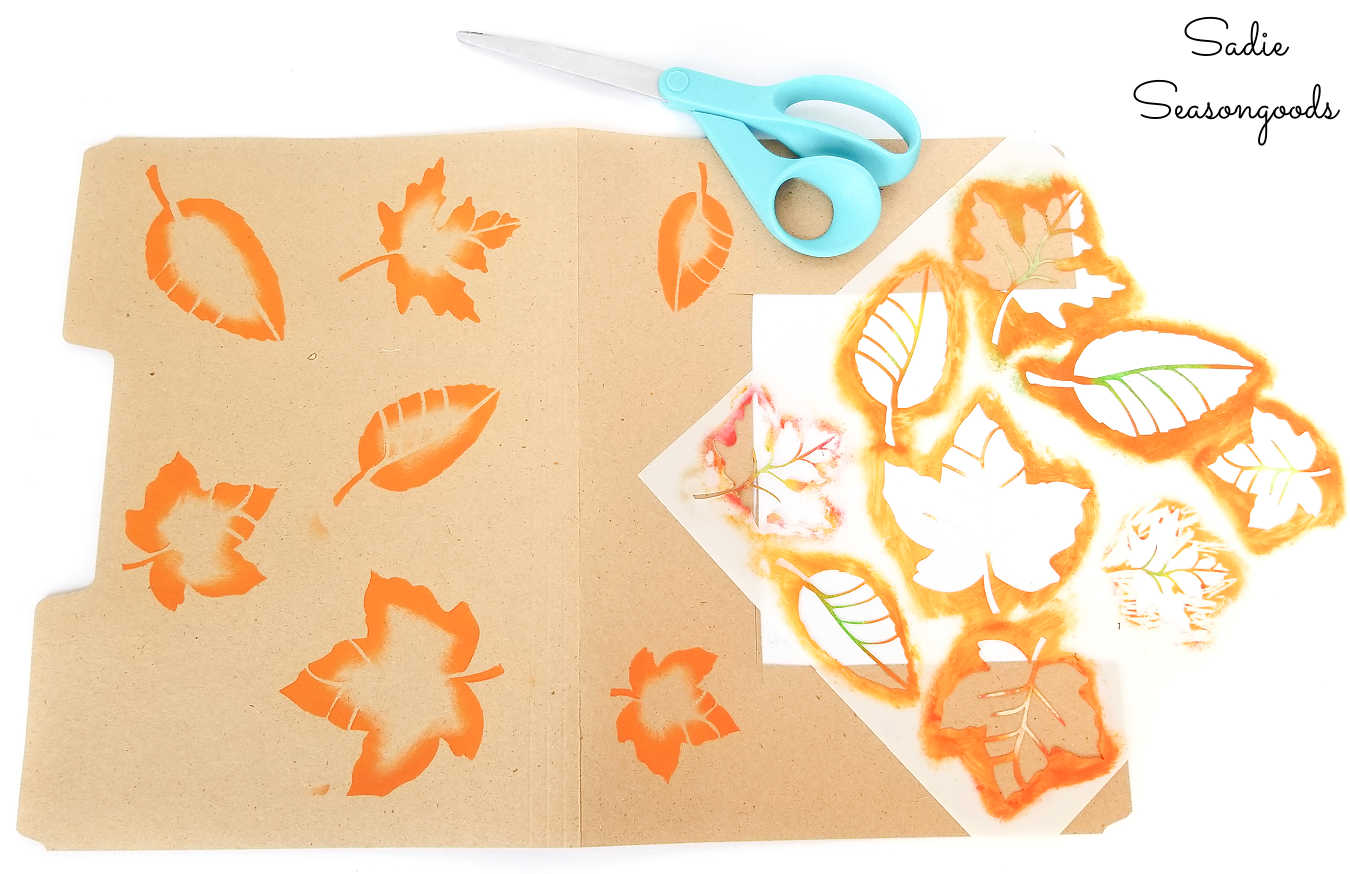
Image credit: Sadie Seasongoods.
All I needed was the outline to cut out, so I didn’t waste time or paint by filling in the entire leaf shape(s).
Then, I simply cut out my stenciled leaves from the folder so that I had nice, firm (like cardstock) patterns to use on my leather scraps!
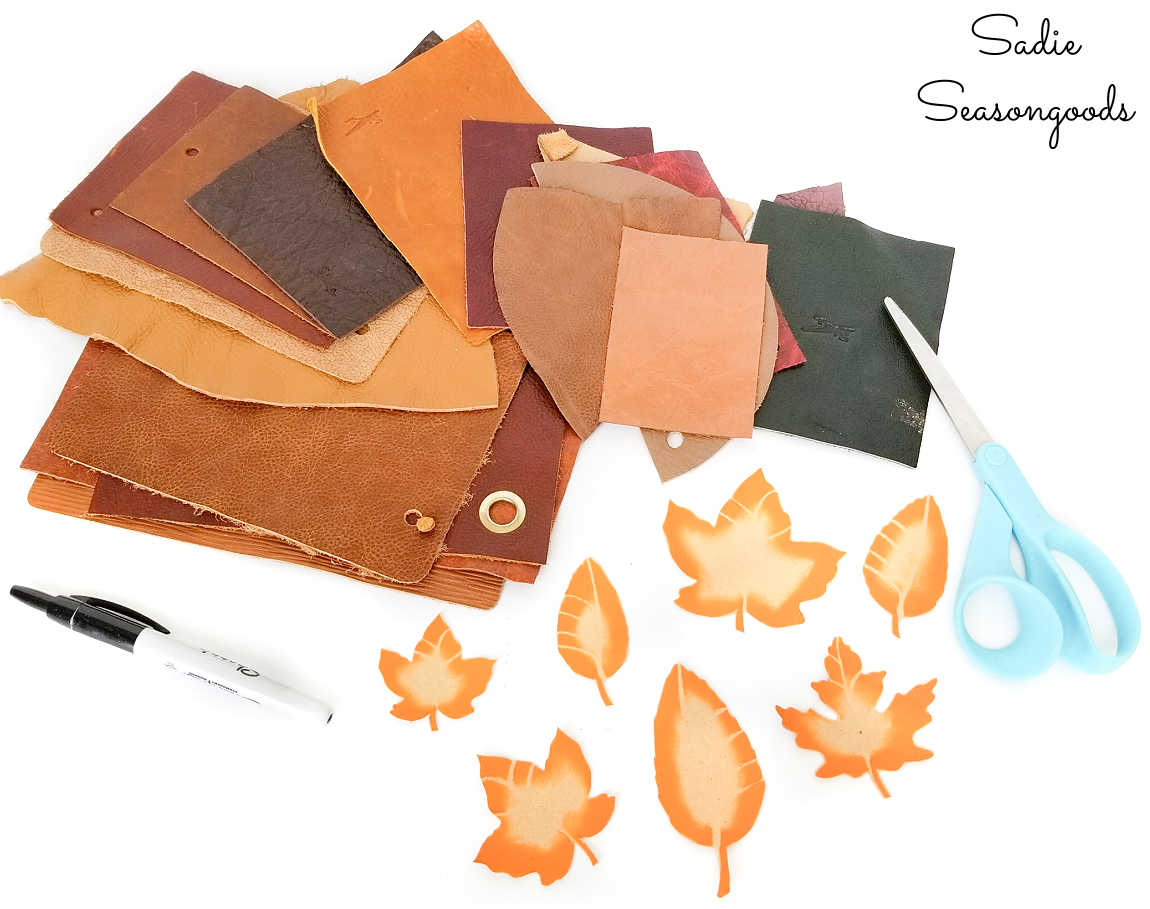
Image credit: Sadie Seasongoods.
A Fall Purse in the Making
Next, I traced around one of my leaf patterns on the underside of a leather scrap with a Sharpie.
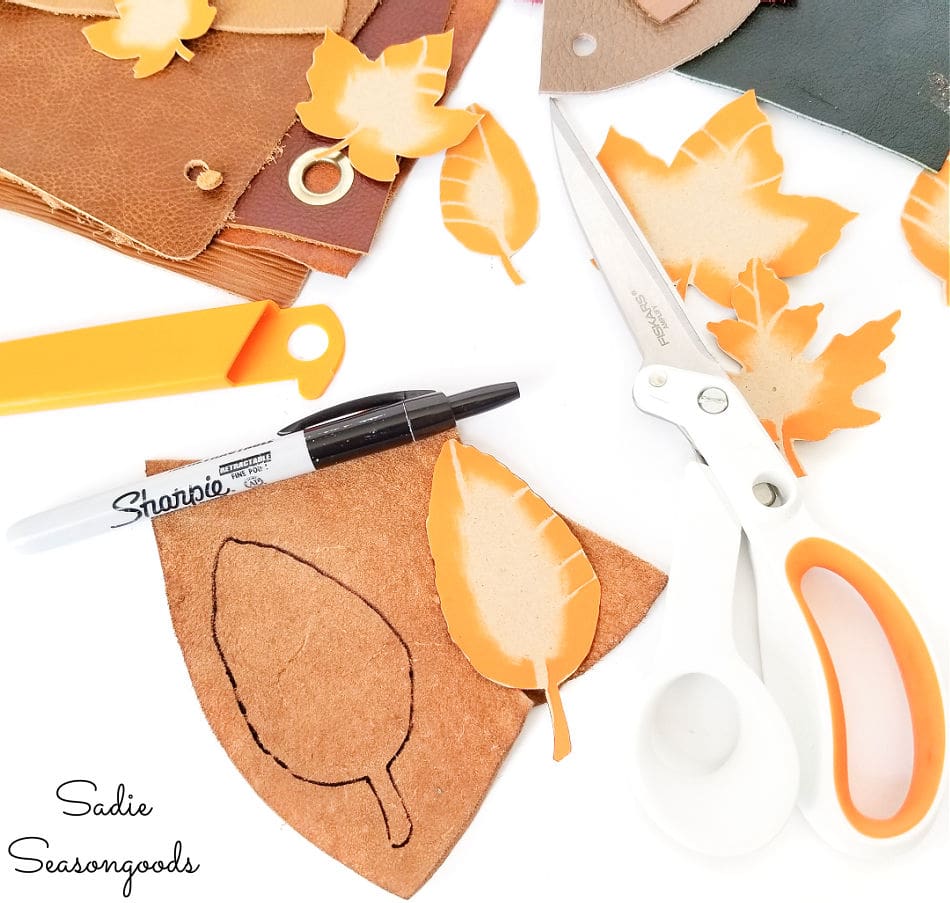
Image credit: Sadie Seasongoods.
This is the advantage of using a file folder or cardstock to make the patterns. Their stiffness made them easy to trace.
After that, I simply cut out the leaf shape from the leather using my heavy-duty shears.
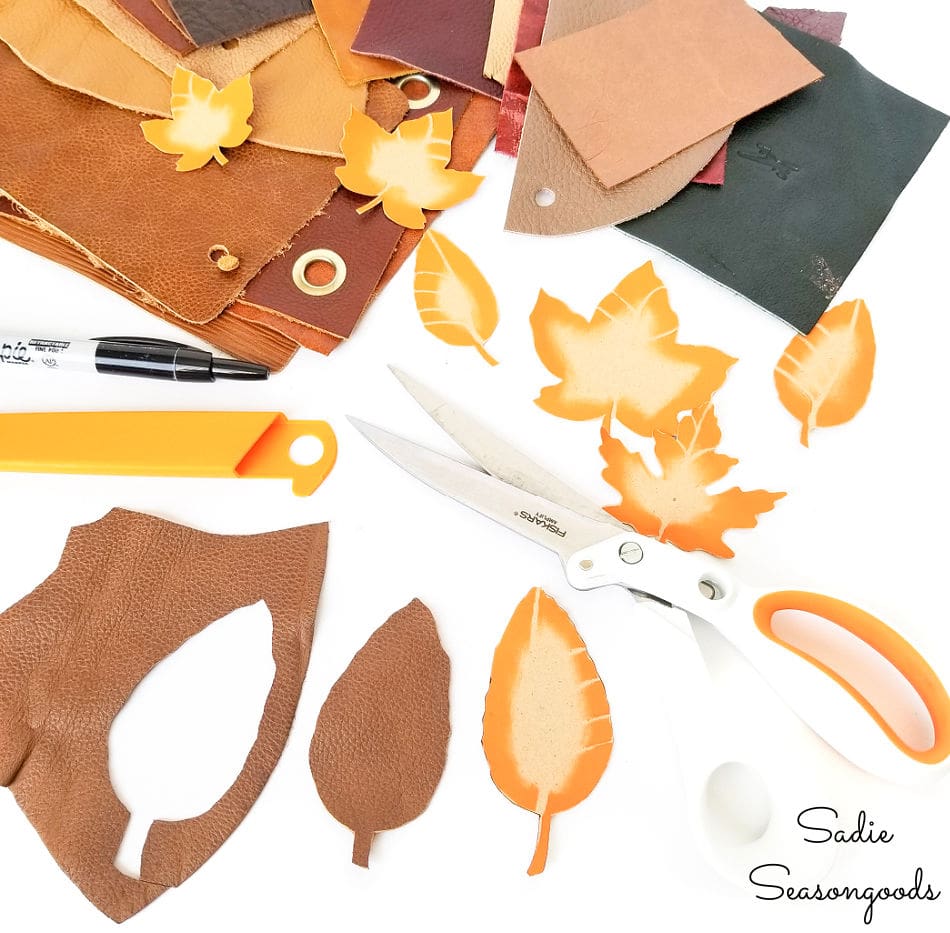
Image credit: Sadie Seasongoods.
It was perfect! Then, I simply did the same thing over and over again until I had a pile of leather leaves.
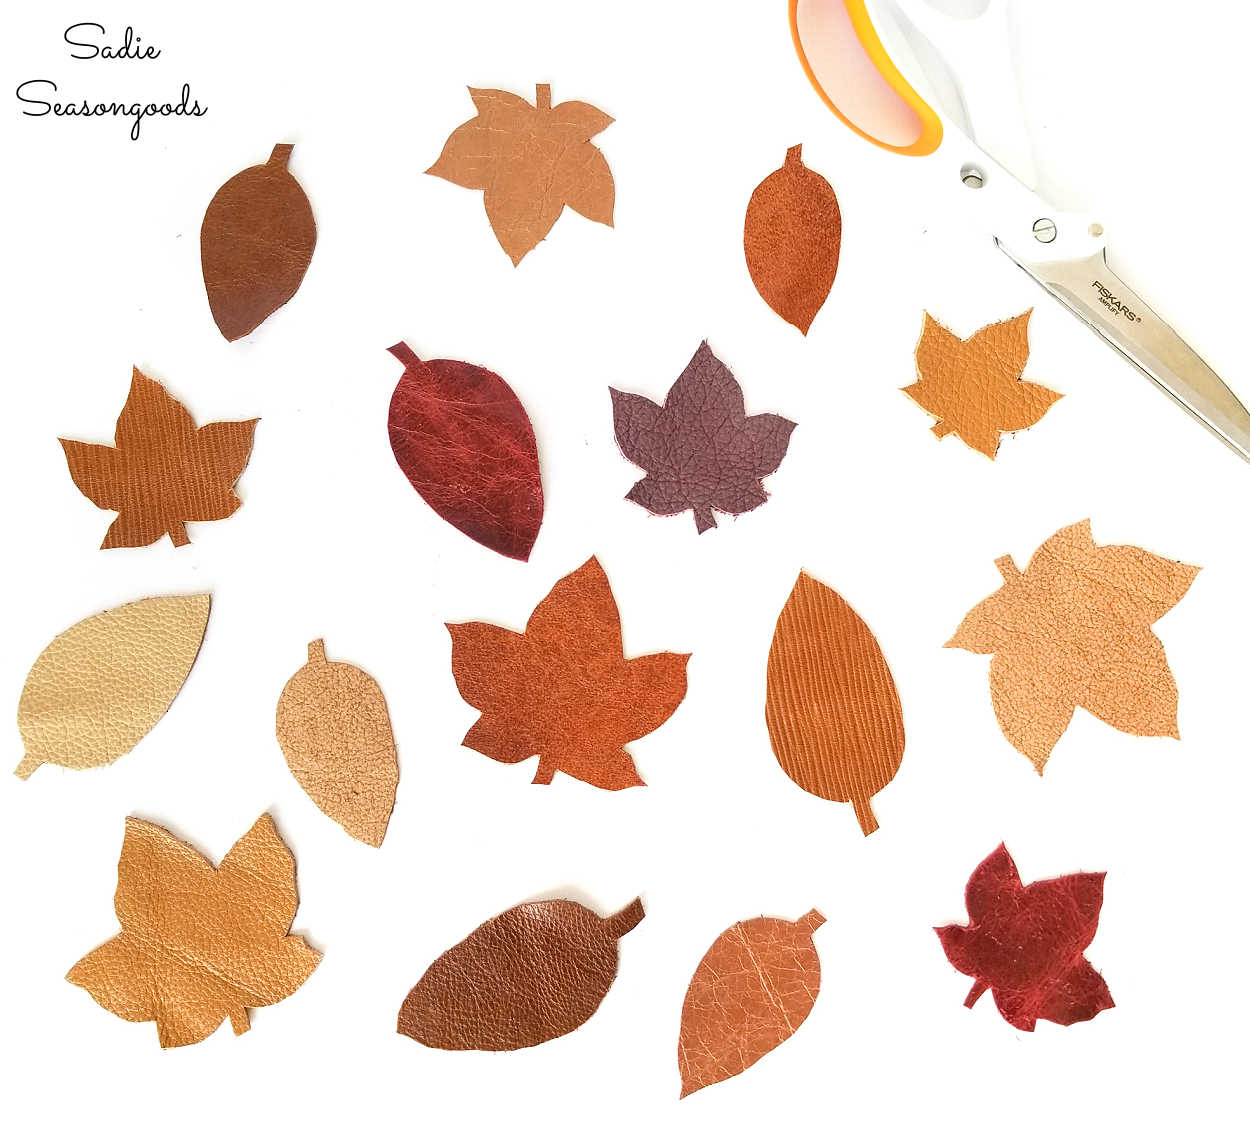
Image credit: Sadie Seasongoods.
Of note- the thinner the leather, the easier to cut out! Kind of a “duh!” thing, but something to keep in mind when shopping for leather scraps.
Lastly, I arranged the leather leaves on my wool tote bag, snapped a photo of the best arrangement, and grabbed some fabric glue and a small brush.
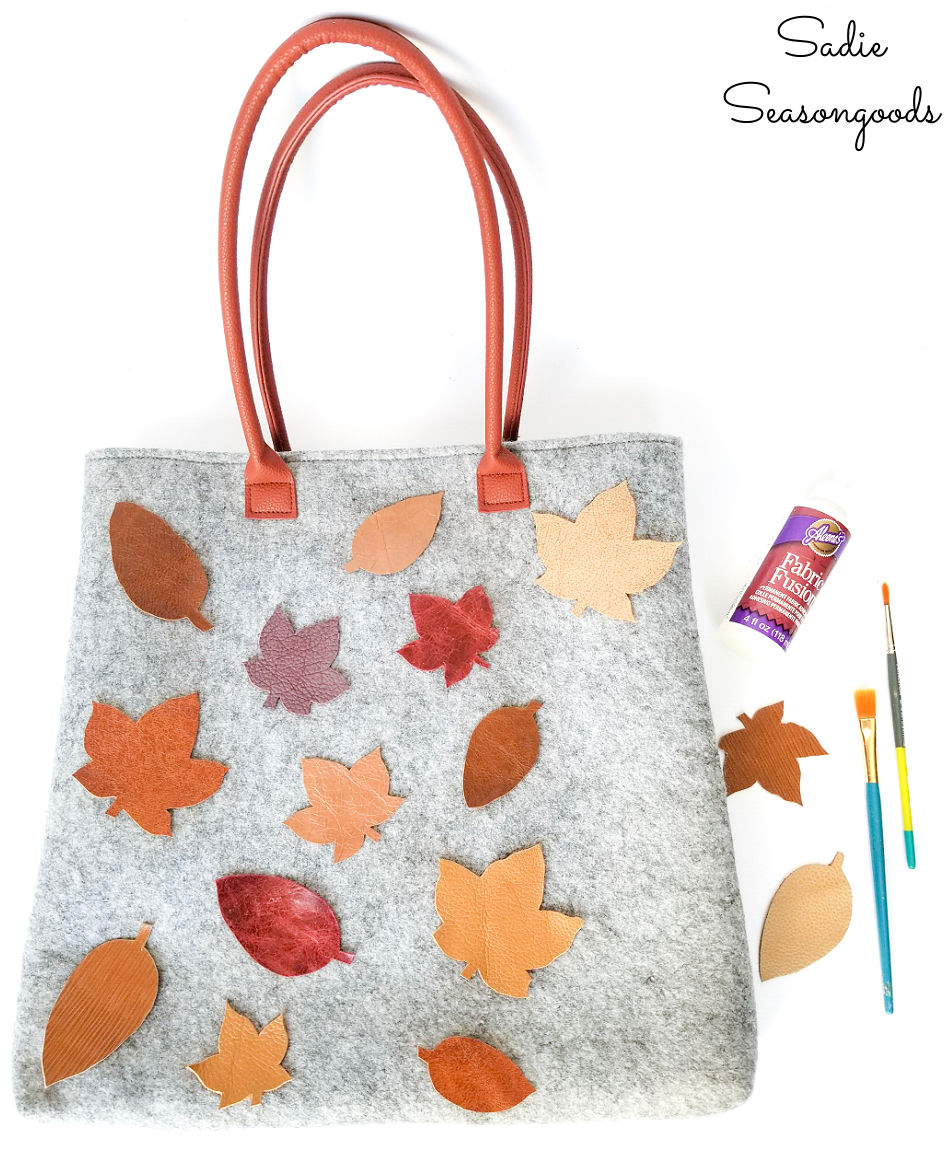
Image credit: Sadie Seasongoods.
Yes, I snapped a photo for this blog post, of course. But it’s still a helpful idea for anyone making this craft, especially if you don’t normally take photos during the crafting process! This way, you can recreate the arrangement should you have to take a break or a rascally pet/child gets in the way.
Decorating a Tote Bag with Leather Leaves
After carefully brushing some fabric glue on the underside of my leather leaves and replacing them on the bag, this is what I ended up with!
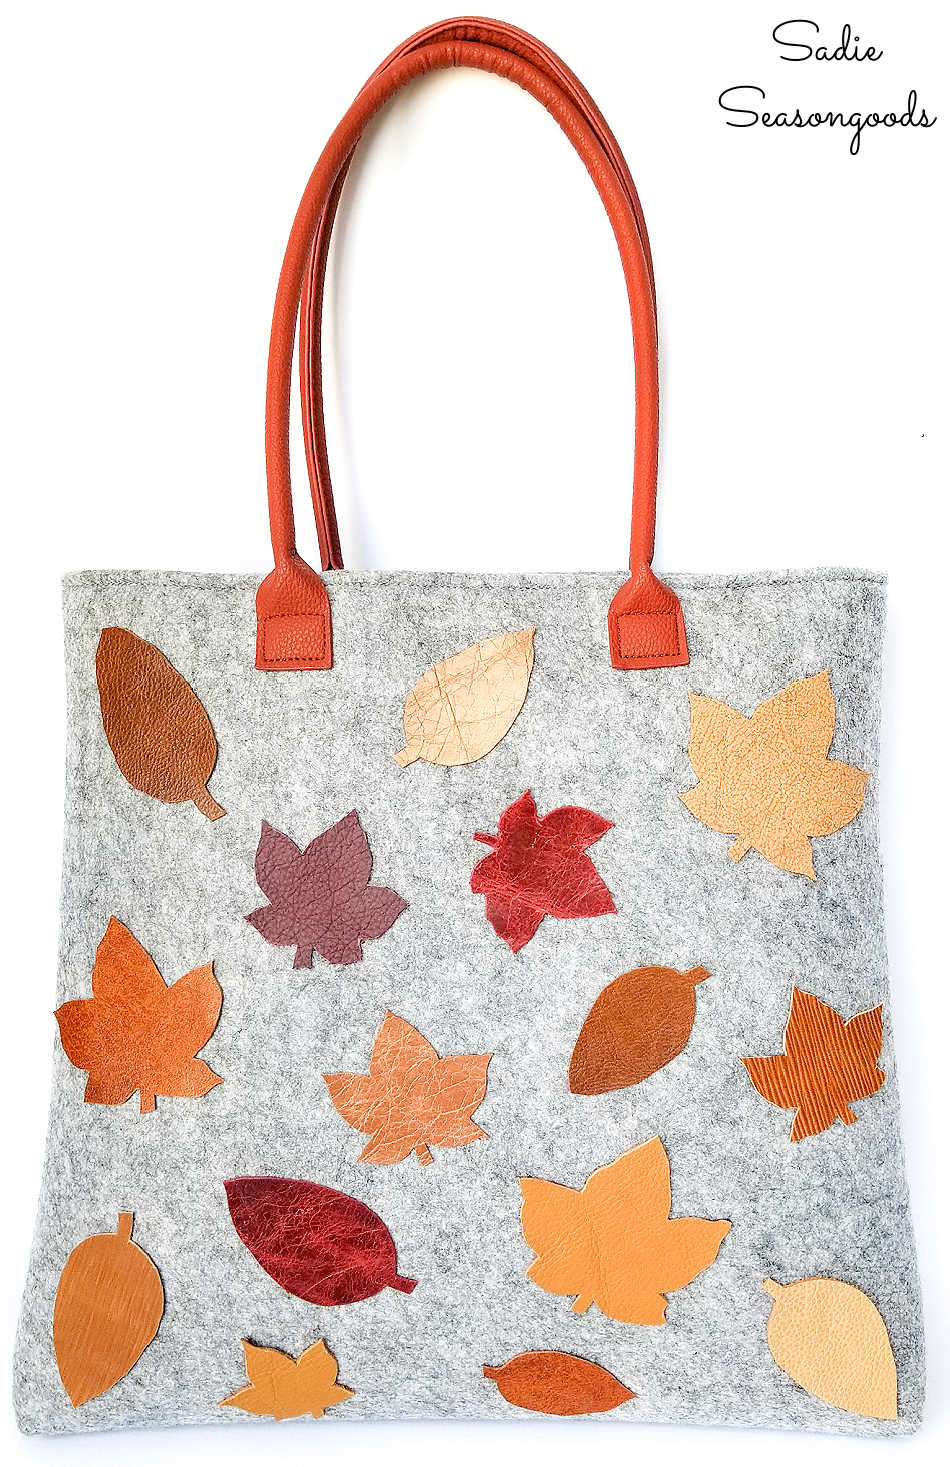
Image credit: Sadie Seasongoods.
Of a similar note- the thinner leather leaves look more cohesive on the tote bag. Meaning, they blend into the surface of the bag more seamlessly than the thicker ones. Another reason to seek out thinner leather!
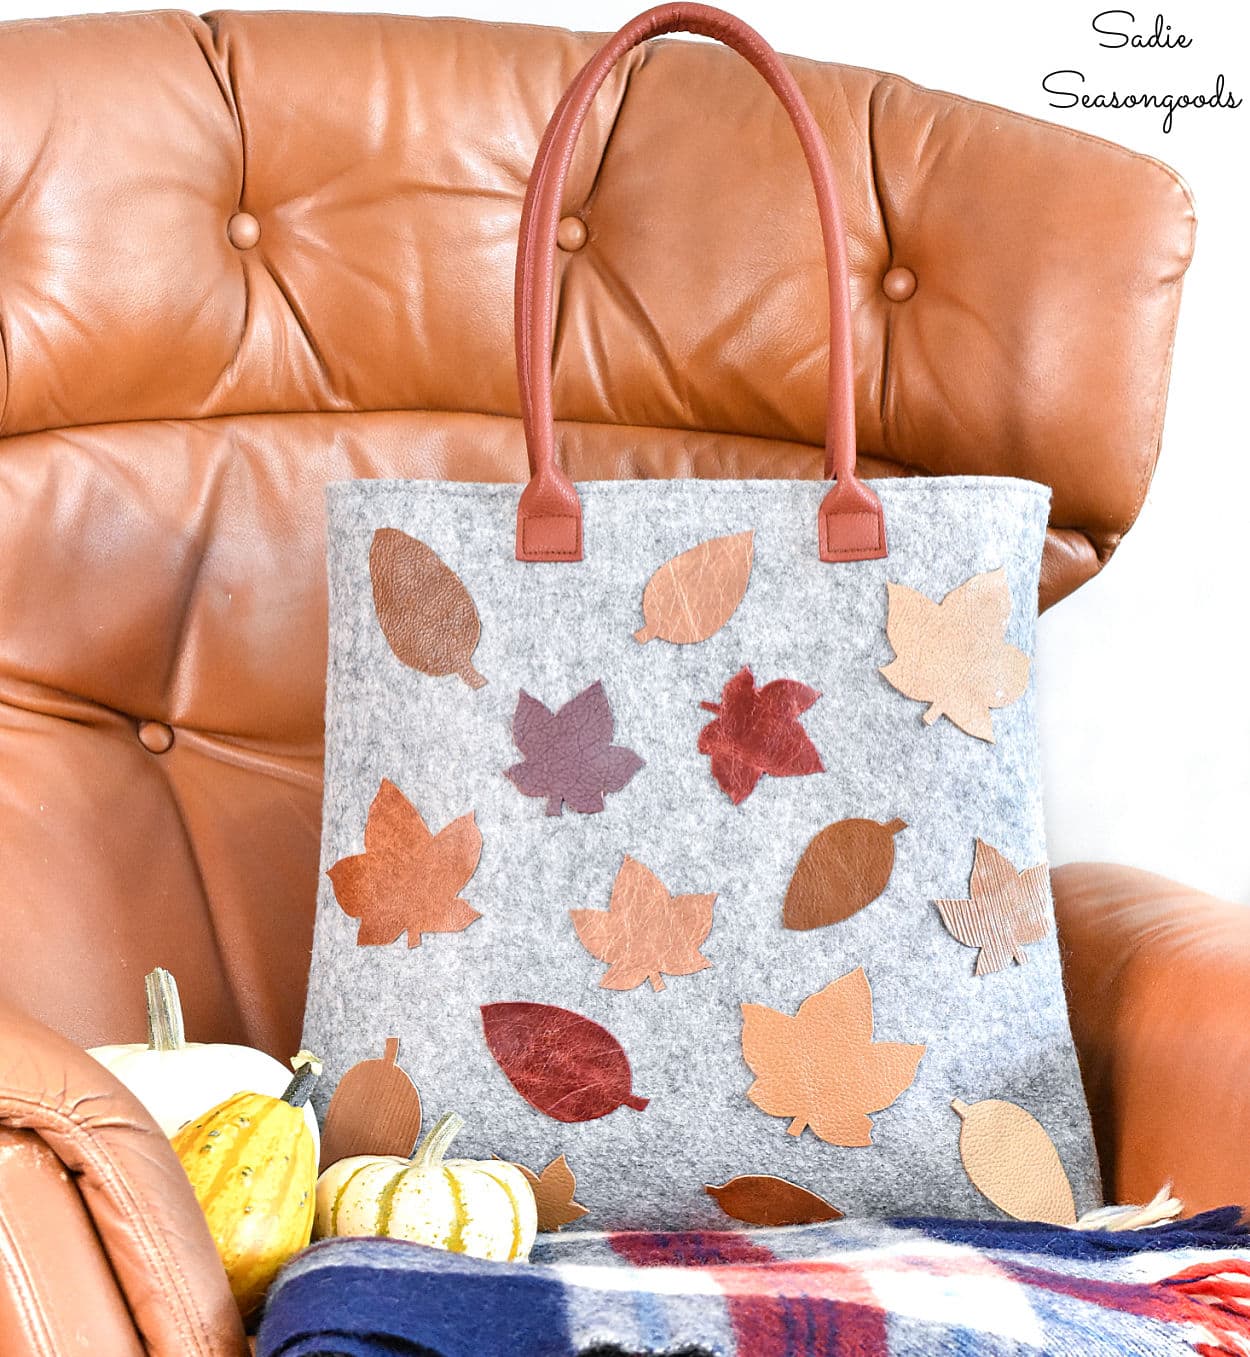
It’s the perfect fall purse to take on a leaf peeping adventure or autumn winery tour. And no one else will have the same bag, which is something I obviously take great pride in.
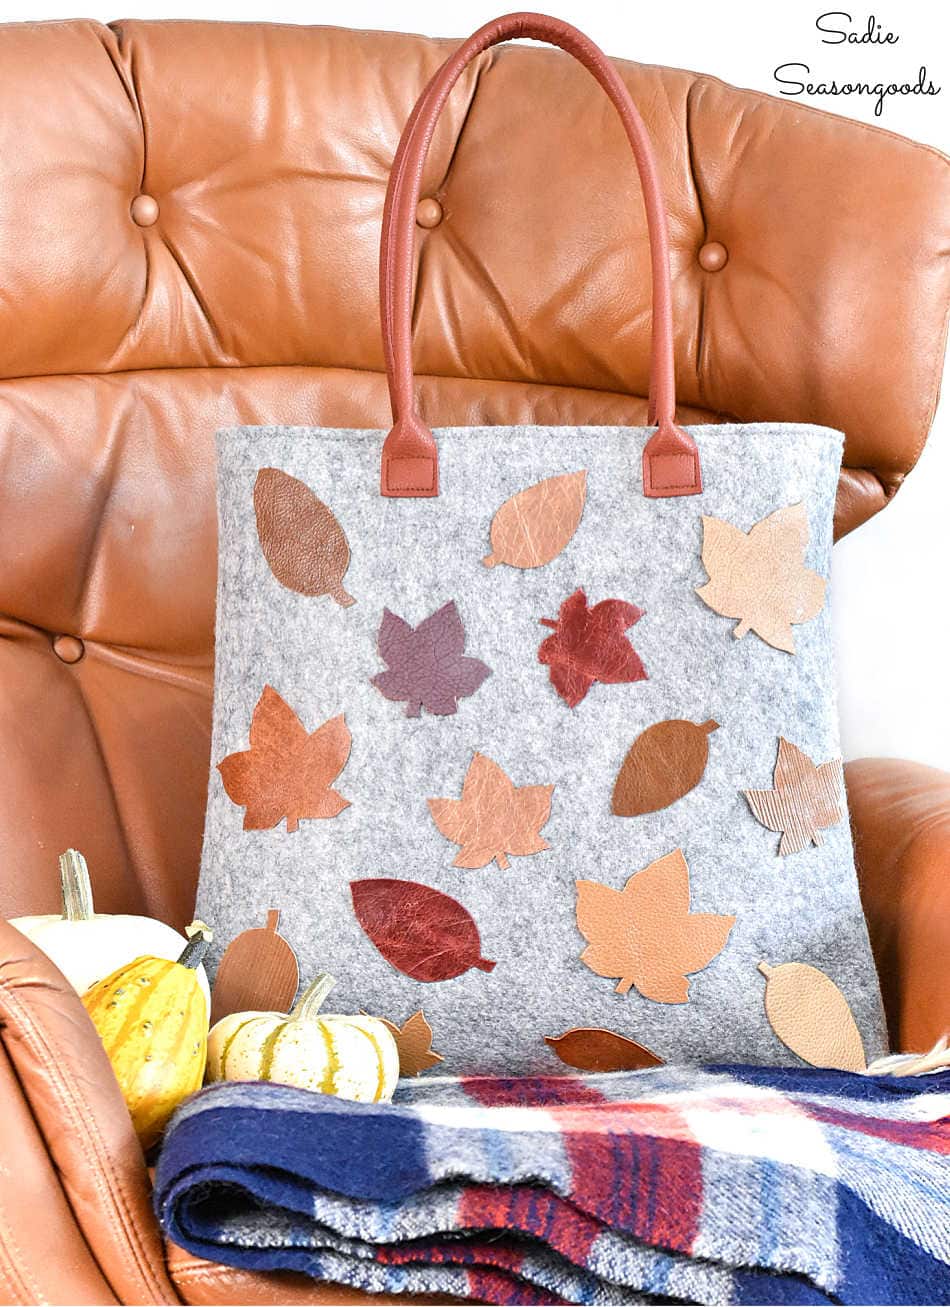
Image credit: Sadie Seasongoods.
The best part, though? You can personalize this however you’d like. Maybe you’d prefer a few larger leaves than my cascade of smaller falling small leaves. Or acorns…or pumpkins…or a little of everything!
And you could just as easily use felt, tweed, or my personal favorite- flannel!– instead of leather. Had I not had access to those leather scraps, I would have definitely used my favorite fabric instead.
I hope you enjoyed this idea for making a one-of-a-kind fall accessory! And I’d love to hear about how you would change it up to fit your own personal tastes!
If you enjoyed this upcycling idea for leather leaves, then you may also enjoy this unusual take on a Fall Wreath, too.
Craft on!
S
Want to be notified when I publish my next upcycling project tutorial?
Join me on Social Media:
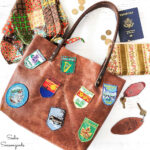
PIN ME!
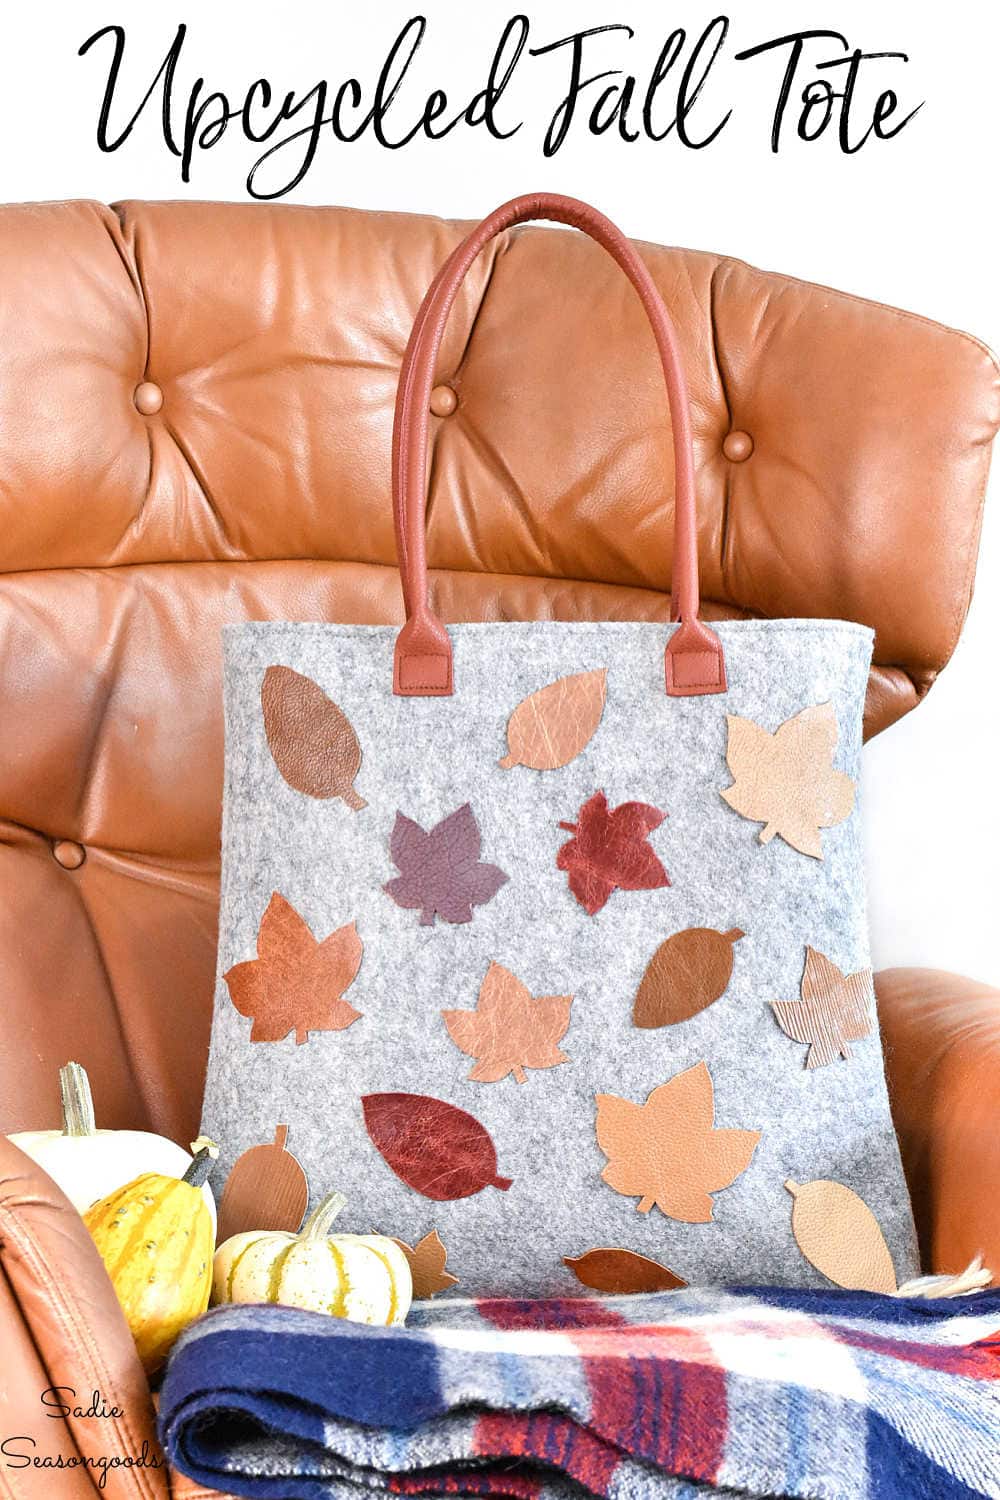
Image credit: Sadie Seasongoods.
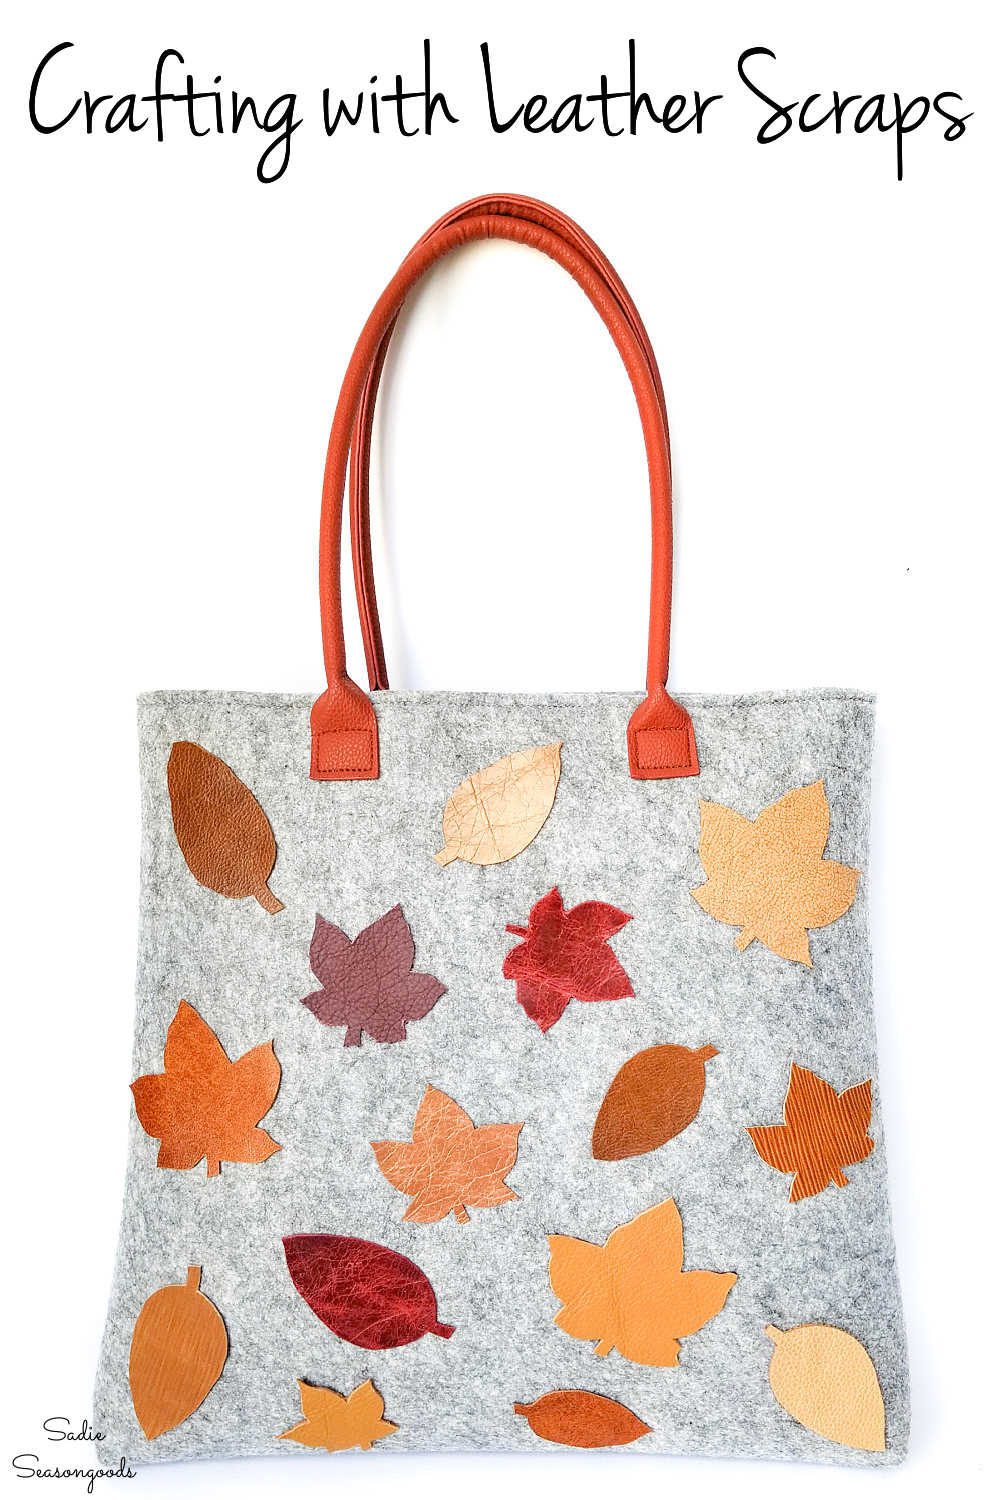
Image credit: Sadie Seasongoods.
Sarah Ramberg is the owner of Sadie Seasongoods, a website that celebrates all things secondhand. From upcycling ideas and thrifted decor to vintage-centric travel itineraries, Sadie Seasongoods is a one-stop shop for anyone who loves thrifting and approachable repurposing ideas. Sarah is also the author of “Crafting with Flannel” and has been featured in numerous media outlets and magazines.









Very creative. Thank you for sharing.
Thanks!
Great project! I like the fall leaf idea but if I had colorful scraps, I’d do 2 layers big floppy flowers I had a psych occupational therapy clinic at my local VA for almost 20 years; I blame the arthritis in my R thumb from cutting heavy leather–even with expensive leather cutting sheers so I vote for the thin scraps, too! We did crafts with the vets to see how they followed instructions, handled frustration, etc. caz how you do anything is how you do everything! We also used silver pens that showed up well on dark leather–donated by local tanneries that have since gone out of business.