Weaving has made QUITE the trendy comeback in the past few years, hasn’t it? I’m always game to try out different craft techniques, but my weaving had been limited to a couple of simple basket projects. That is, until I spotted this perforated pizza pan at the thrift. And I wondered…could I use it for weaving in a circle to create a wall hanging?
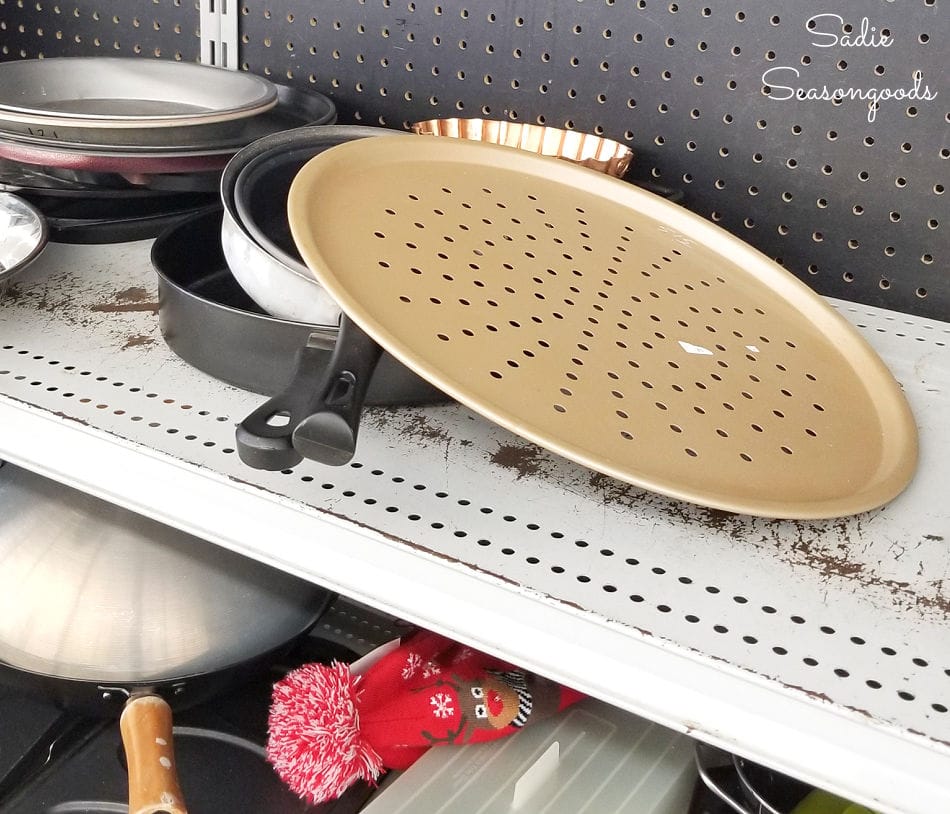
Now, bear with me- I know that probably sounds crazy! But the symmetrical pattern of the perforations reminded me of spokes…which made me think of warping a circular loom.
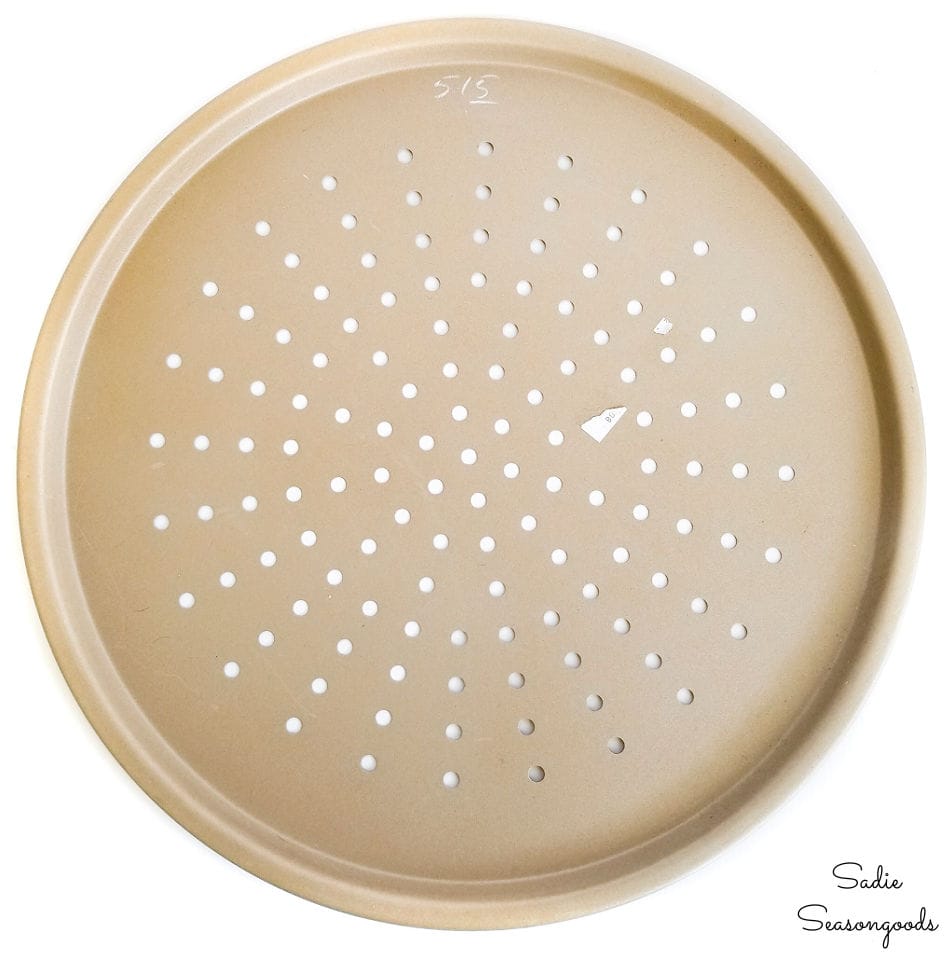
Yes, it seemed awfully pricey for a thrifted pizza pan. But I loved the muted gold color and decided that I didn’t need to paint it, which saved me a step.
And since I had picked up several partial-skeins of yarn on my last trip to Reconsidered Goods, I had plenty of supplies to try my hand at weaving.
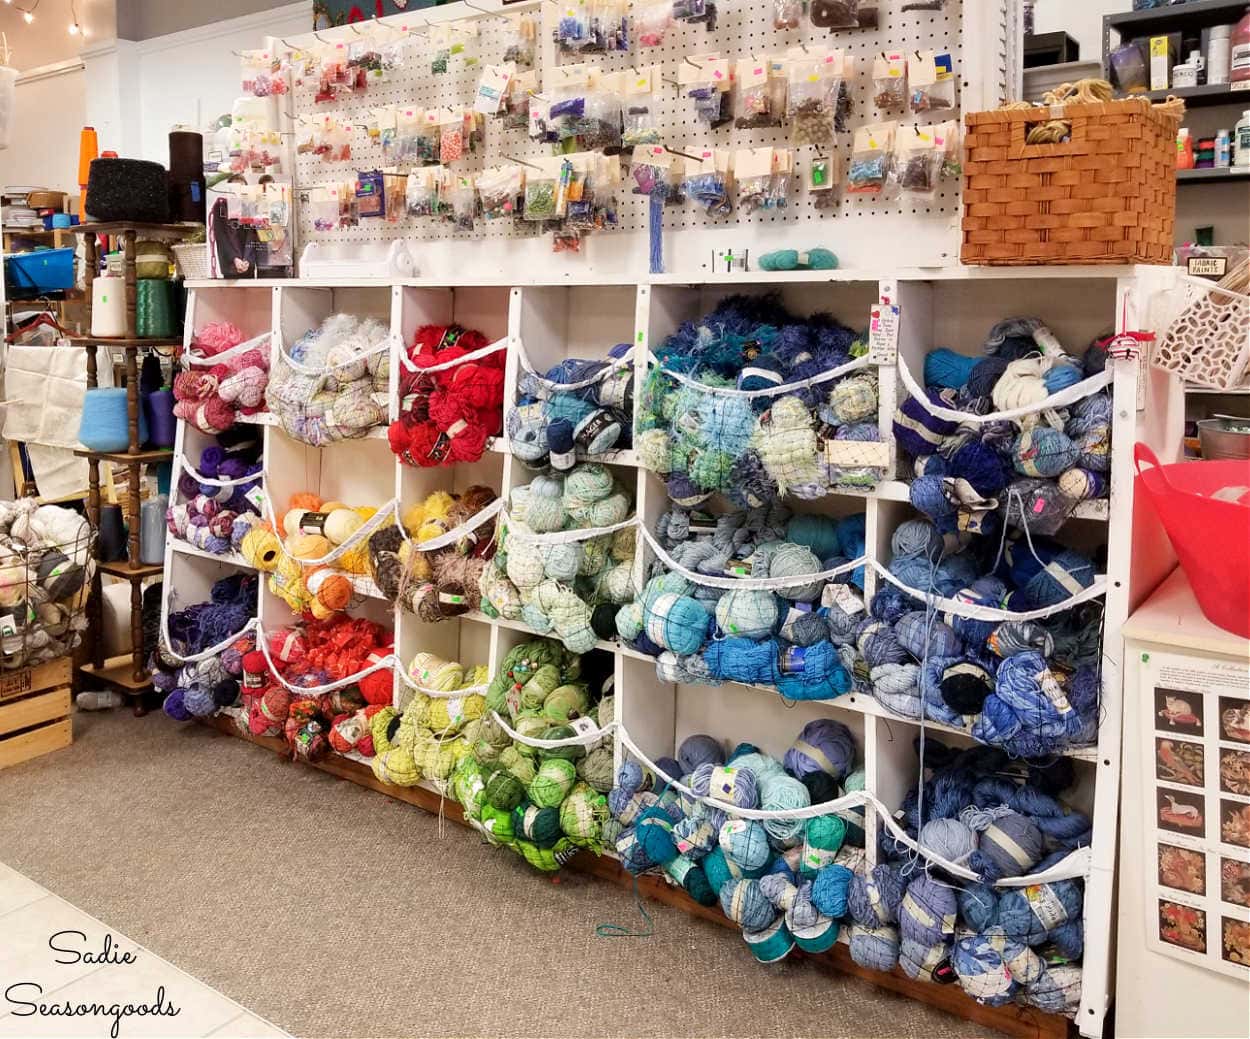
What was the worst that could happen? I waste some time and some yarn? I was feeling determined and hopeful, and decided to give my idea a try.
This post contains affiliate links for your crafting convenience. As an Amazon Affiliate, I earn from qualifying purchases. All blue, bold, and underlined text is a clickable link, either to a product or to a related post.
DIY Loom from a Perforated Pizza Pan
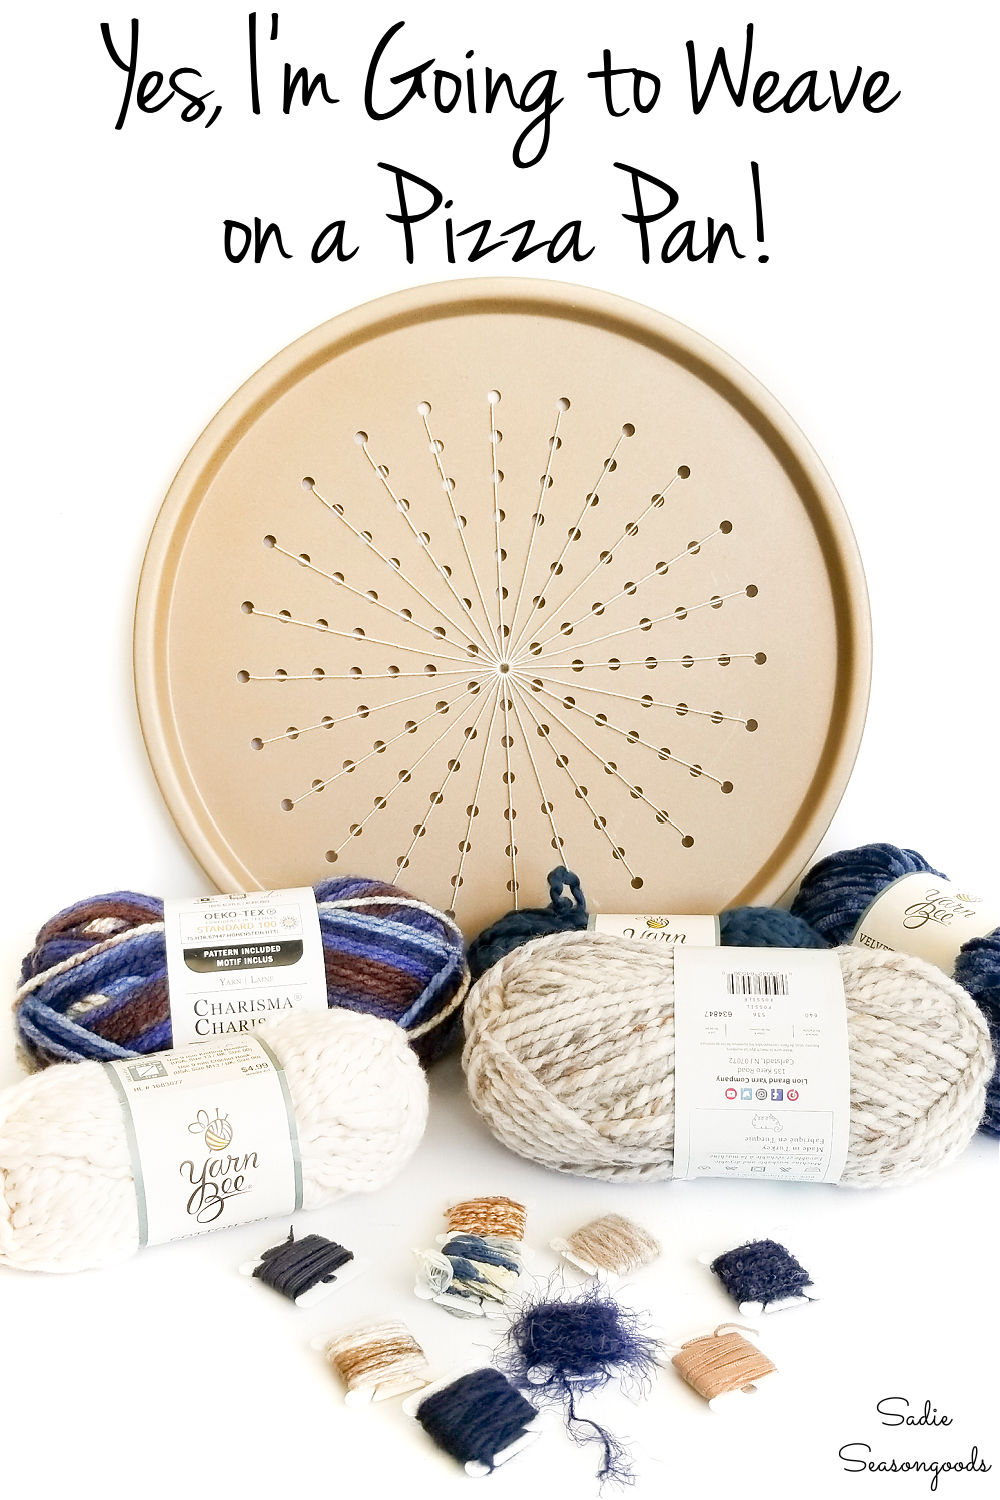
Because I was, by my own admission, a complete weaving novice, I treated myself to a weaving book. I had also purchased some narrow twine from my trip to Reconsidered Goods, so that I could warp the pan.
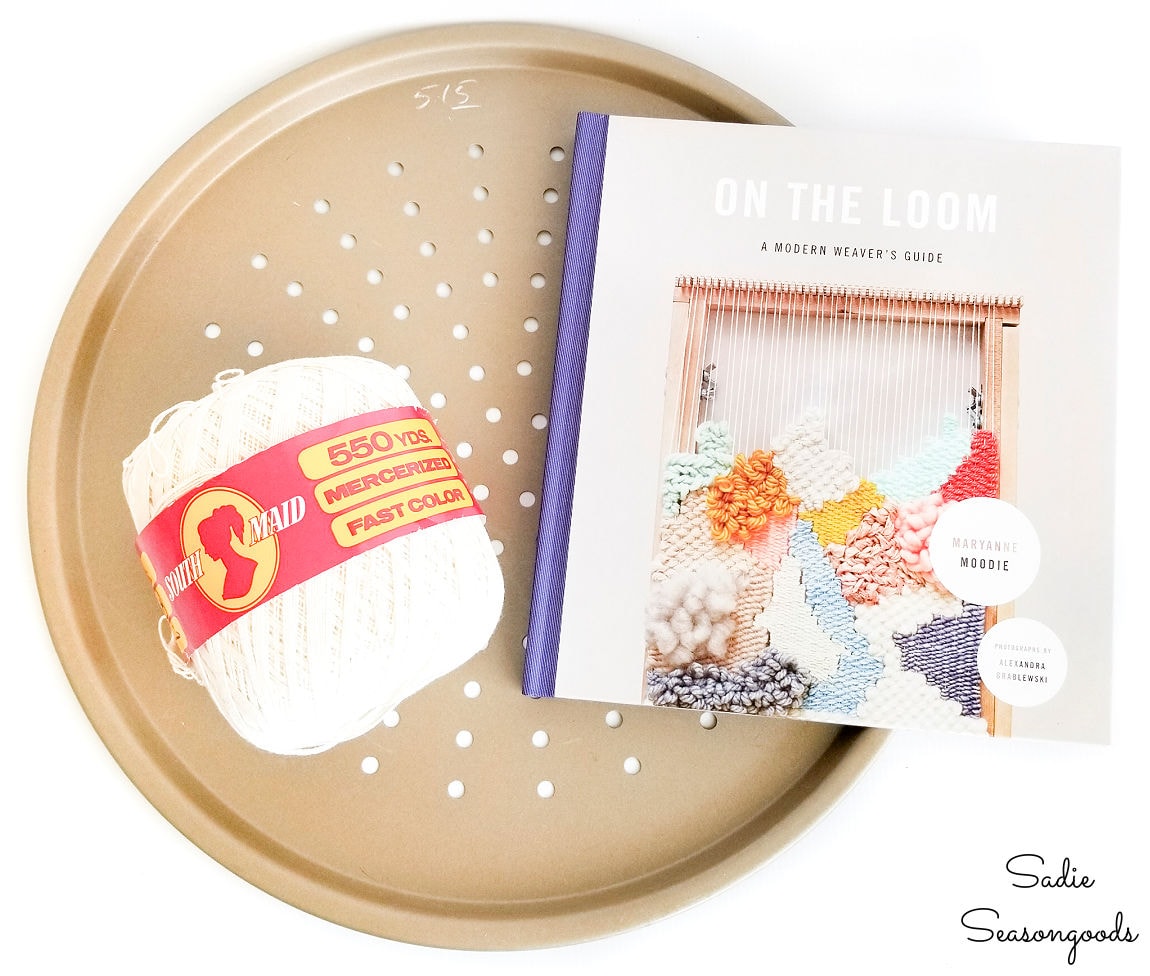
To warp the pan (i.e., make a DIY loom with it), I planned on creating spokes from the center hole to each outermost hole. So, I did my best to measure how much warping string I’d need.
In other words, I measured the length between the holes (center to outer edge), doubled it (to account for front and back), and then multiplied that by the number of spokes I would create on the pan.
Then, I cut off my length of twine (adding about a foot for insurance) and taped one end to the back of the pan (leaving a 4” tail). Then, I used an embroidery needle to pull the warping string through the center/outermost holes to create spokes.
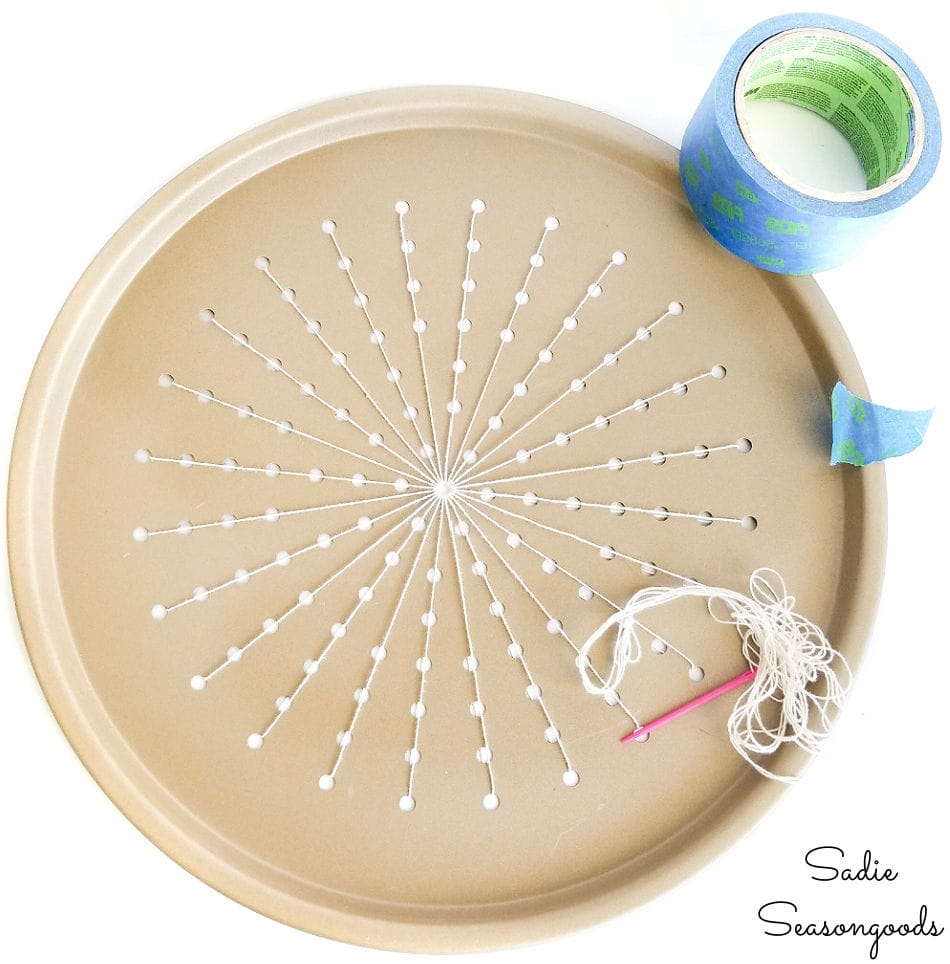
When I was done, I removed the tape and tied the tales together- PERFECT! Now I had a DIY loom, so I gathered my collection of yarn to begin weaving in a circle.
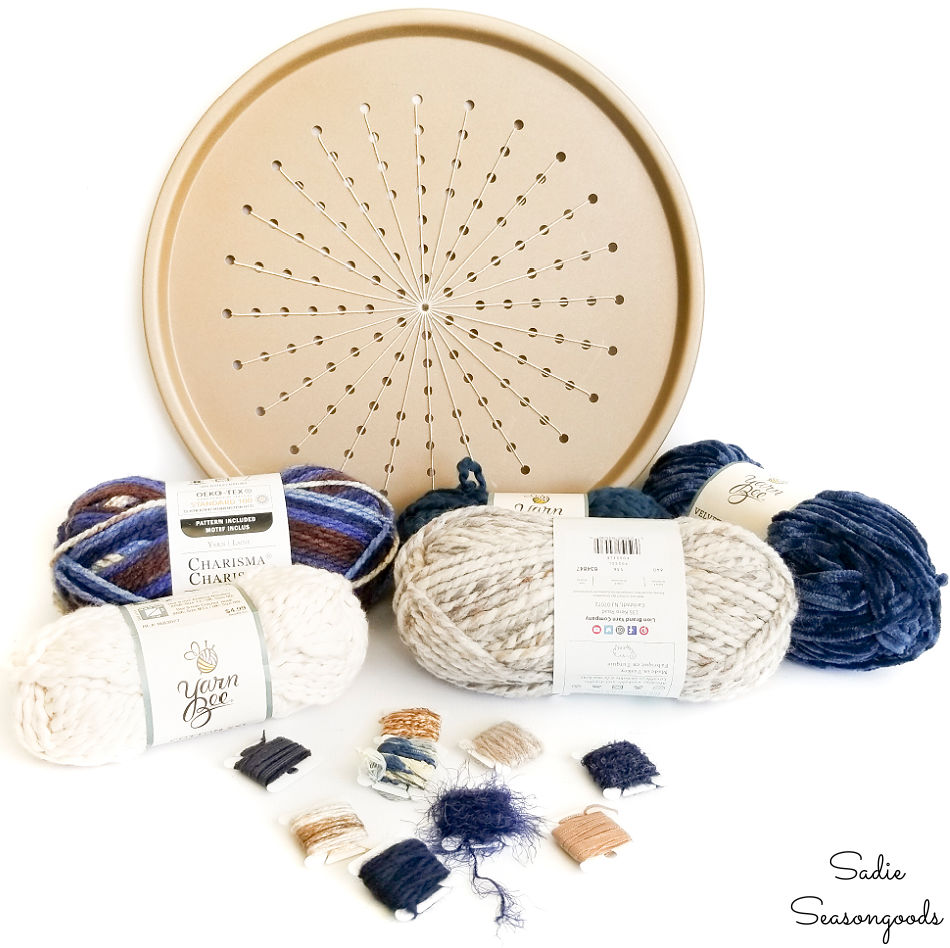
I’d also purchased some scrap yarn from Etsy, as well as some new skeins from craft stores.
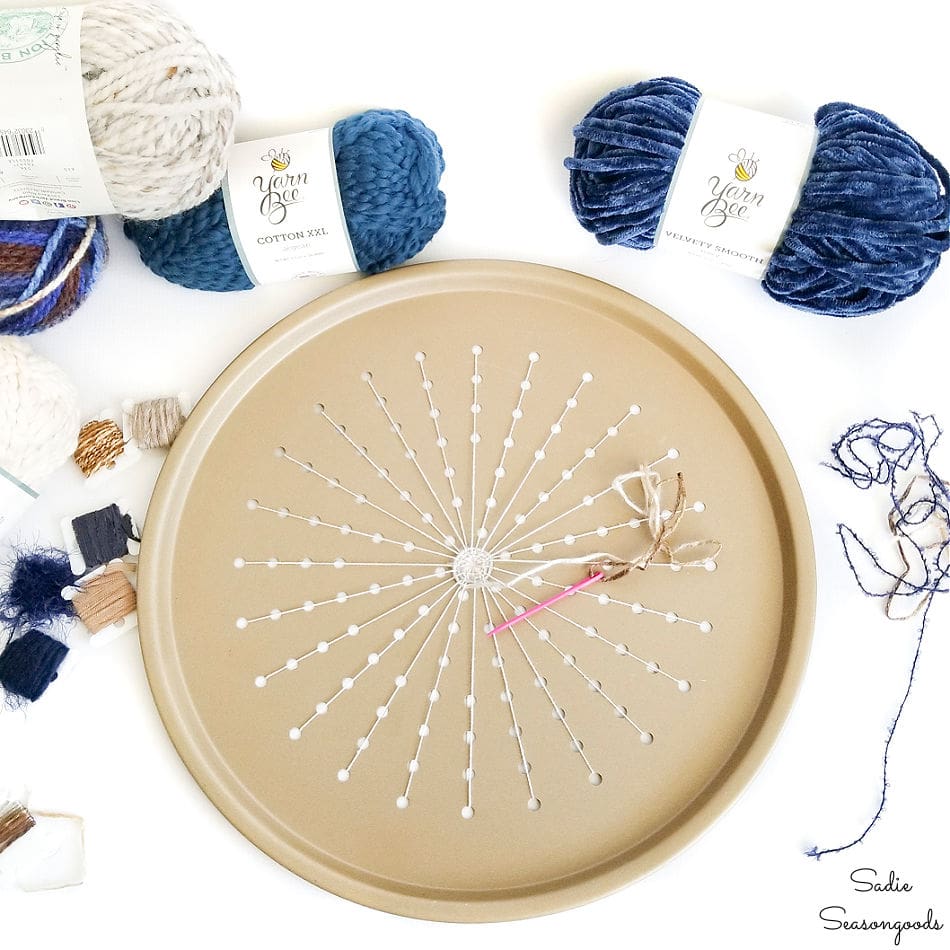
I didn’t have a plan for the order in which I’d use my yarn. So, I started with some of the narrowest/skinniest that I had and began to weave around the center of my loom.
Weaving in a Circle
I started by coming up through one of the holes on the back of the pan to start weaving. I also made sure to leave a tail of yarn several inches long in back of the pan.
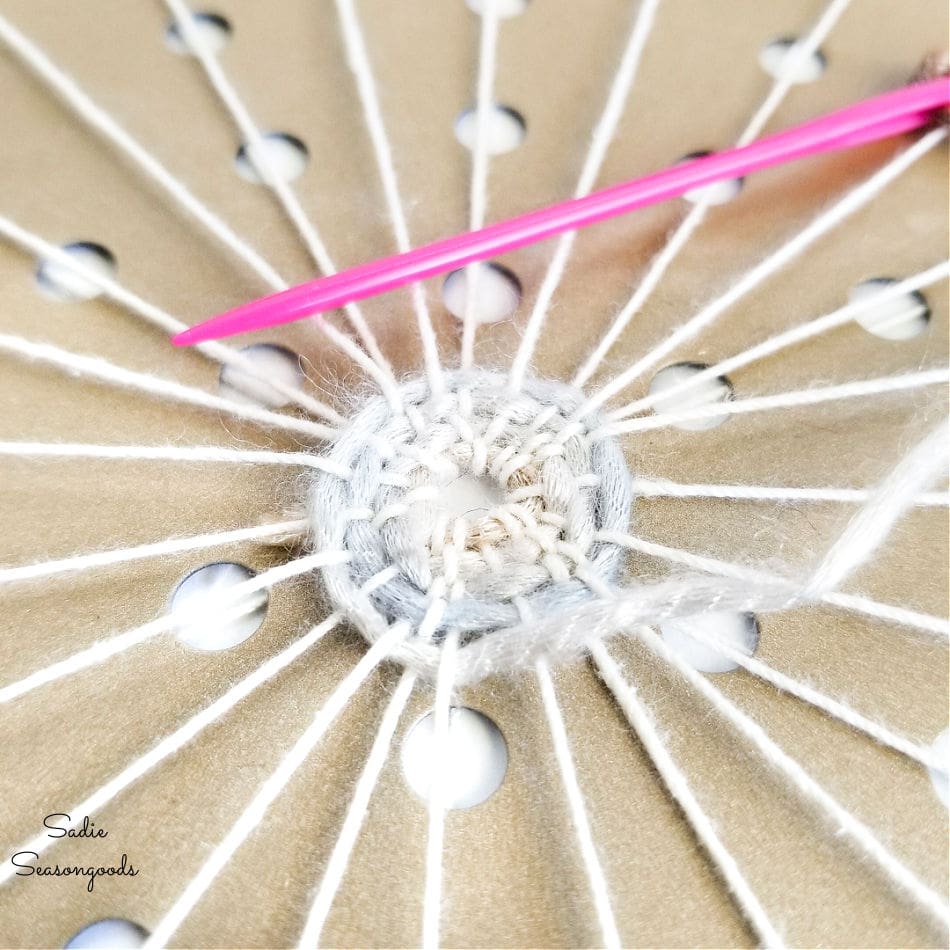
From there, it was just simple over/under weaving! And I didn’t even need a comb to push the stitches down. Pulling the yarn taut-ish (while holding the tail in back of the pan) kept my woven circle relatively tight and close together.
Next, I continued weaving in a circle with different yarns in different (but coordinating) shades of cream, dark blue, and tan.
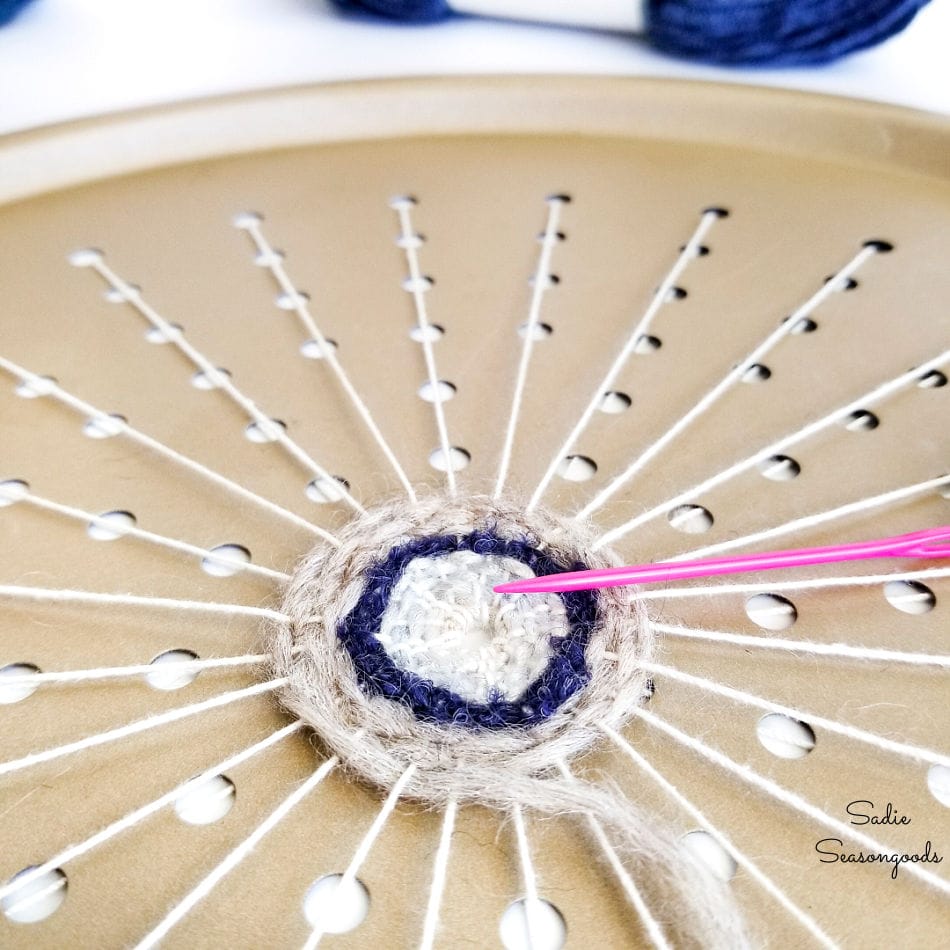
Admission time! Weaving purists know that a circular loom requires an uneven number of “spokes” in order for uninterrupted over/under weaving. But this pizza pan had an even number of holes and thus spokes.
So, occasionally my weaving had to be under/under/over to accommodate that. But, honestly, I didn’t really care because of how pretty it was turning out!
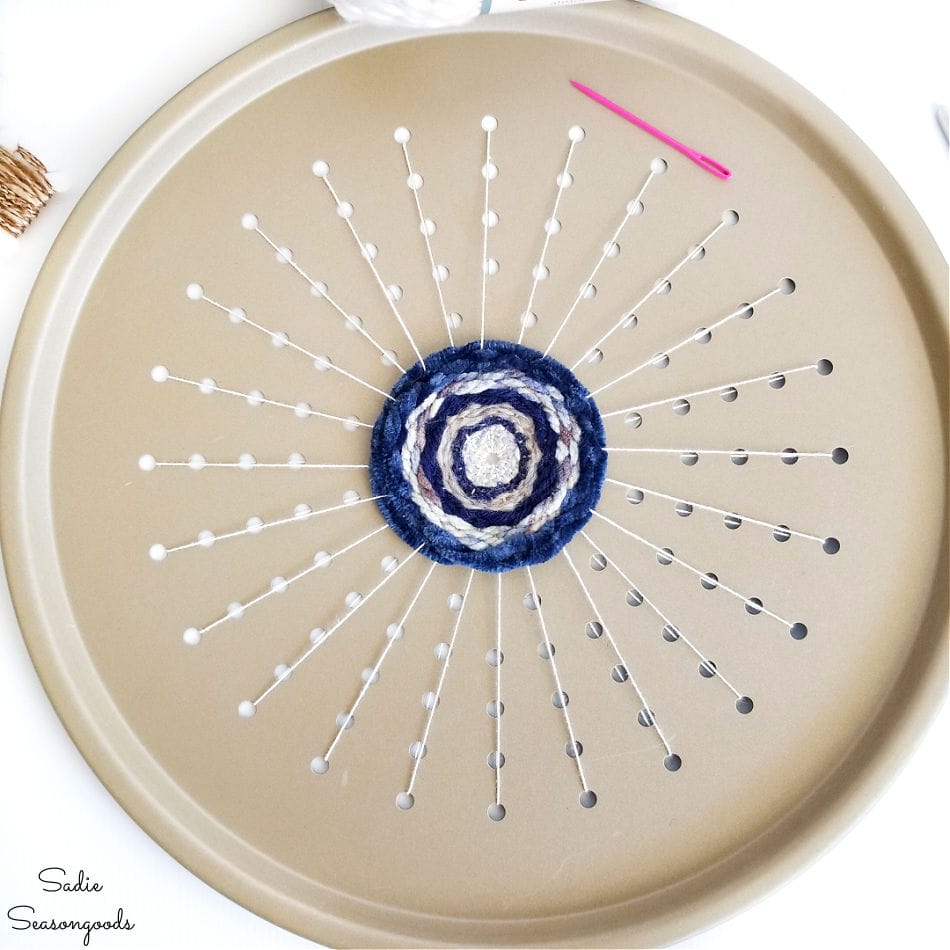
I used chunkier yarn as I moved outwards, and continued to alternate colors and shades. It was SO dimensional, which I failed to capture adequately in my photos.
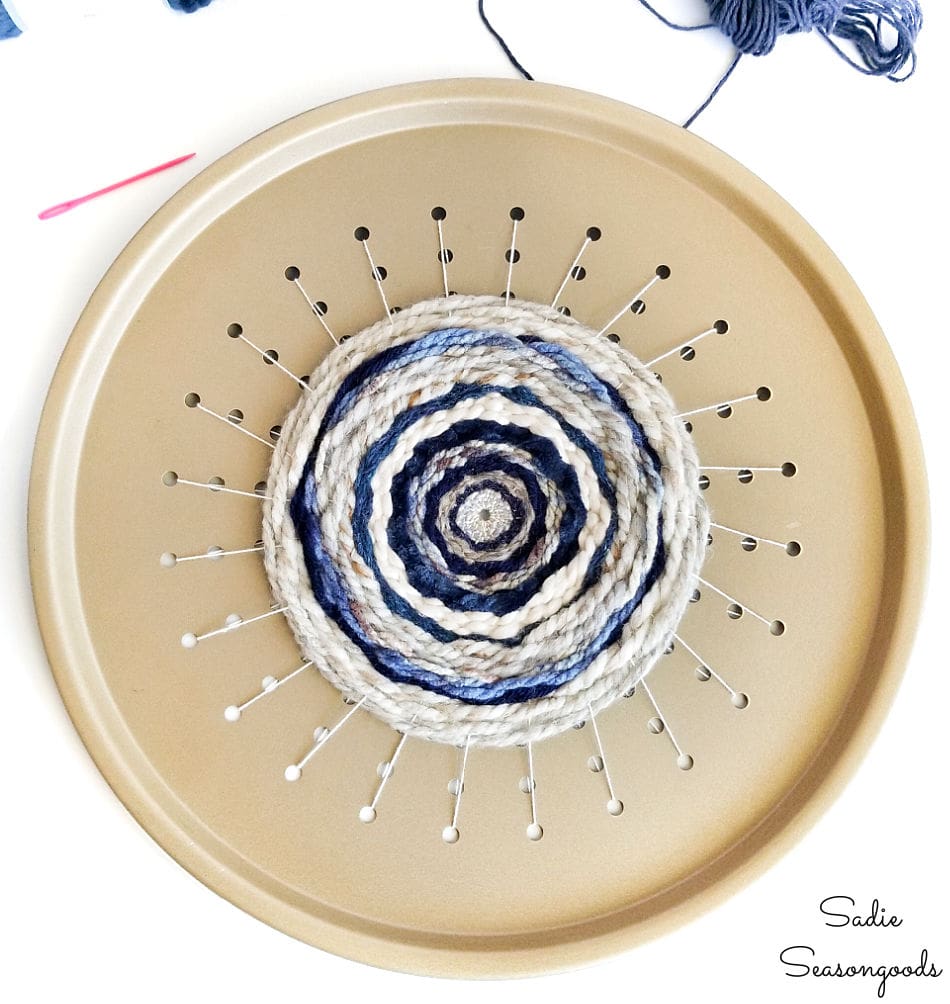
And I continued to add in new yarn from the back, leaving tails to tie to other yarn tails. I didn’t mind one bit that the back wasn’t pretty, either- as I planned to cover it in felt!
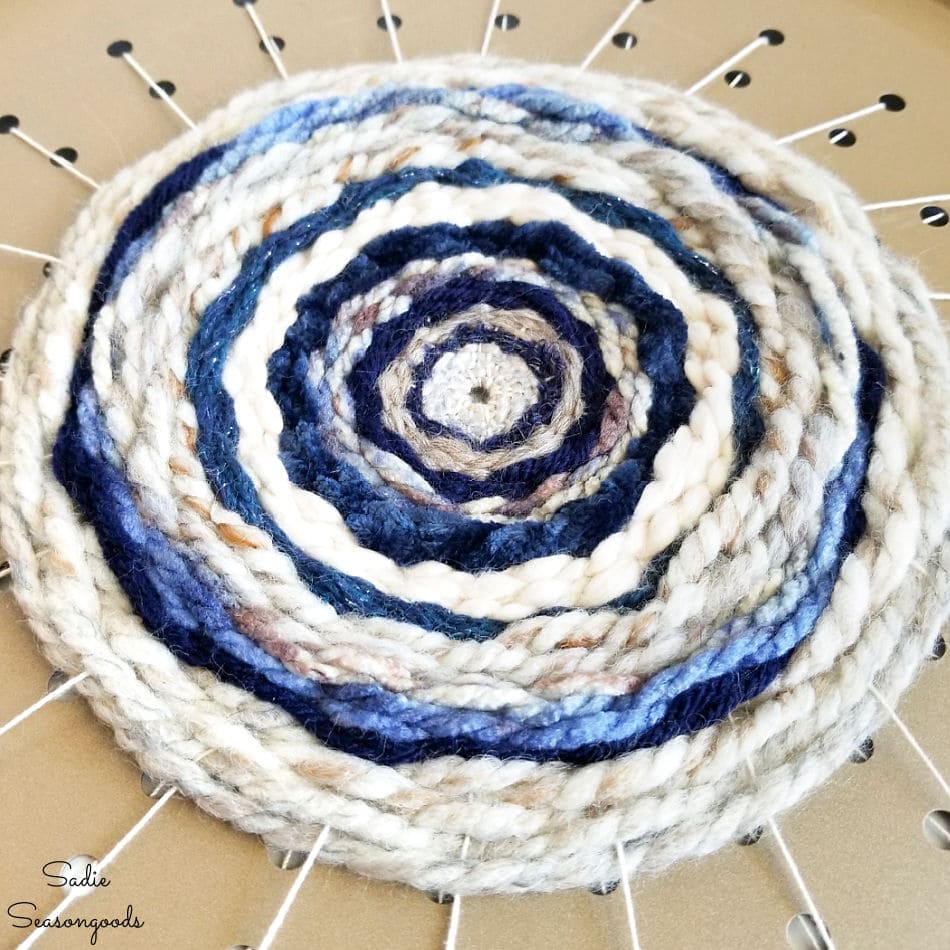
Weaving in a Circle on a Pizza Pan
When I reached the very outermost set of holes, I stopped weaving. Instead, I used some chenille yarn to back stitch around the outer perimeter, which effectively covered over the holes!
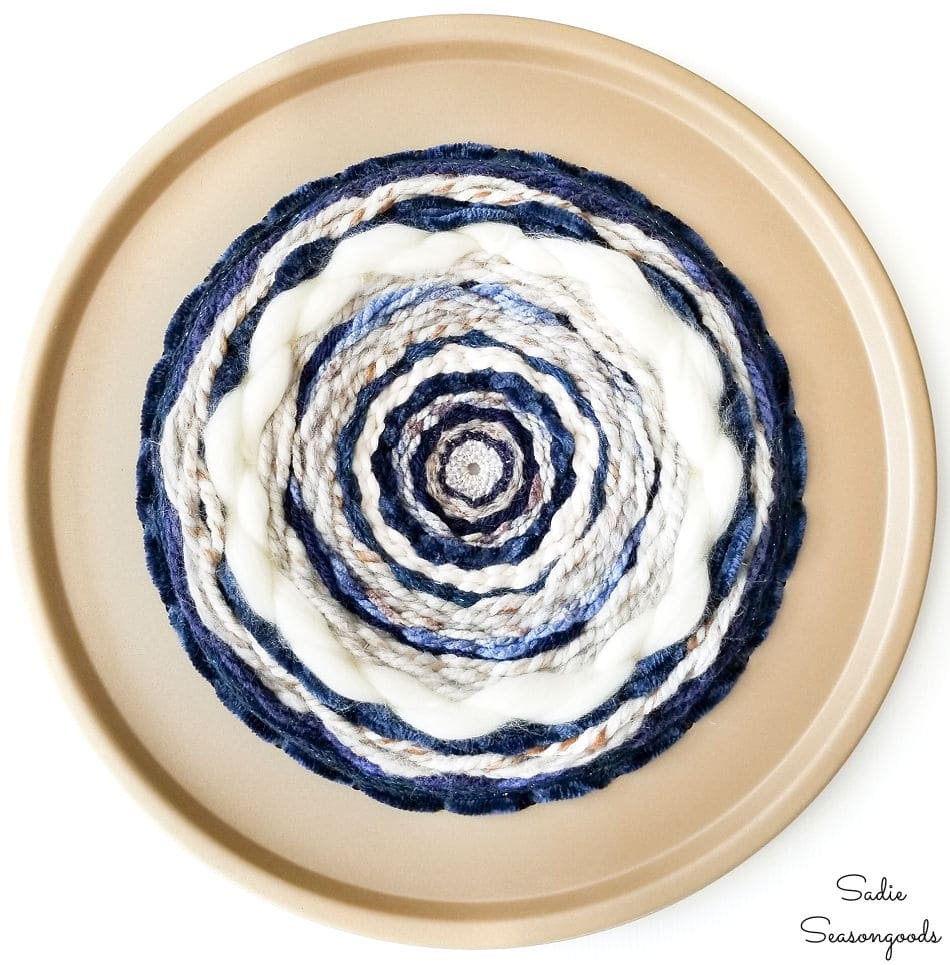
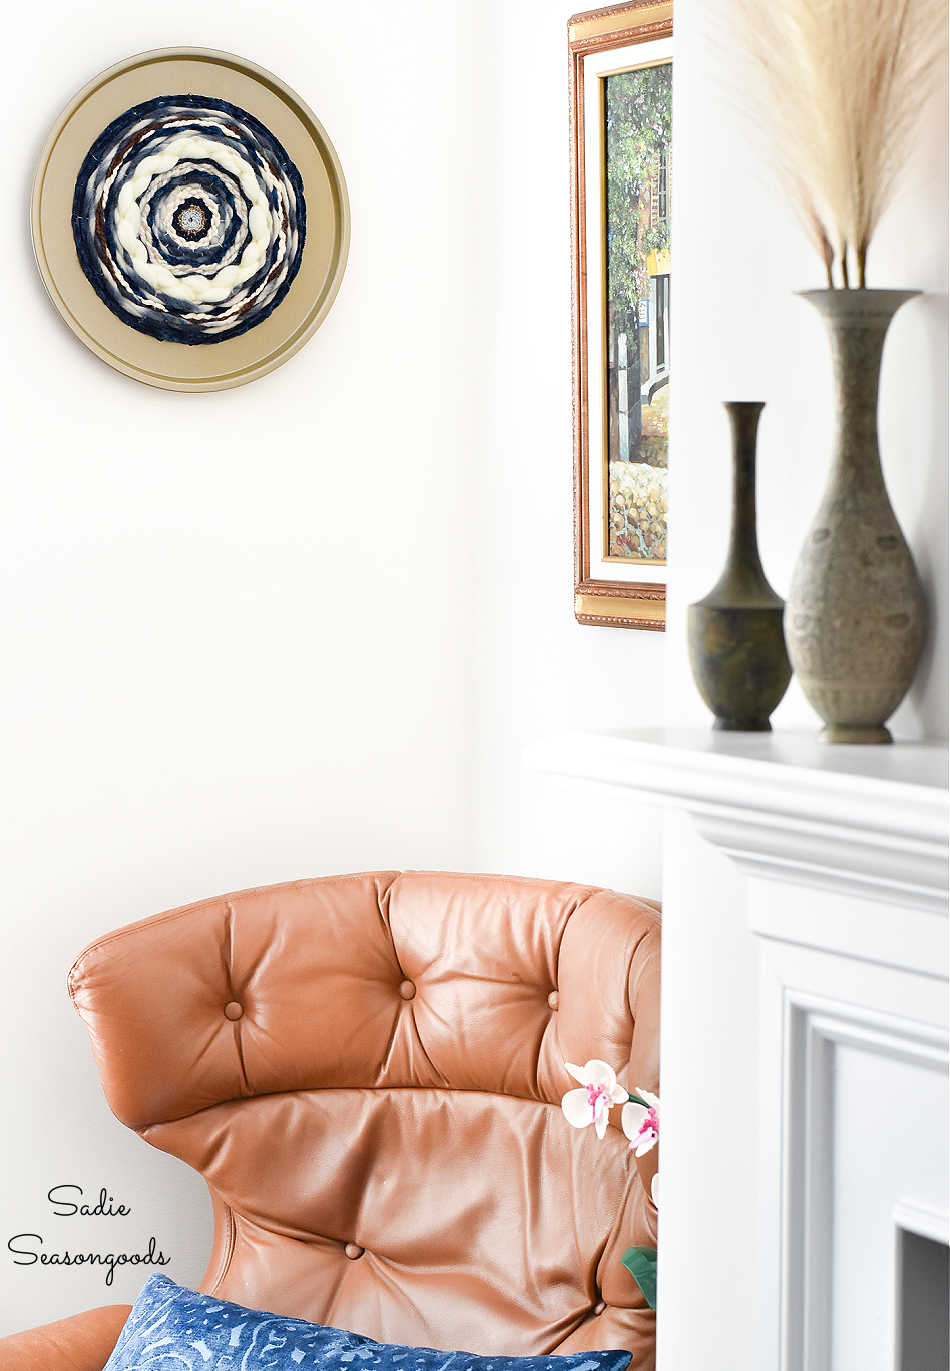
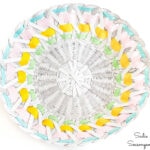
That backstitching almost looks woven, doesn’t it? Either way, I am ABSOLUTELY IN LOVE with how it turned out! I honestly could not be happier with my woven wall hanging.
So, tell me what you think. Is it completely weird to upcycle a pizza pan into a circular loom? Or is it actually super cool and unique??
Obviously, I’m completely biased and think it’s fabulous! And when I tell you that the pictures don’t do it justice, please believe me- I wish you I could show you it in person!
*****
Speaking of fabulous, today is Thrift Store Decor Team Day which means my blogging friends have been upcycling, too! Check out what they’ve been working on recently.
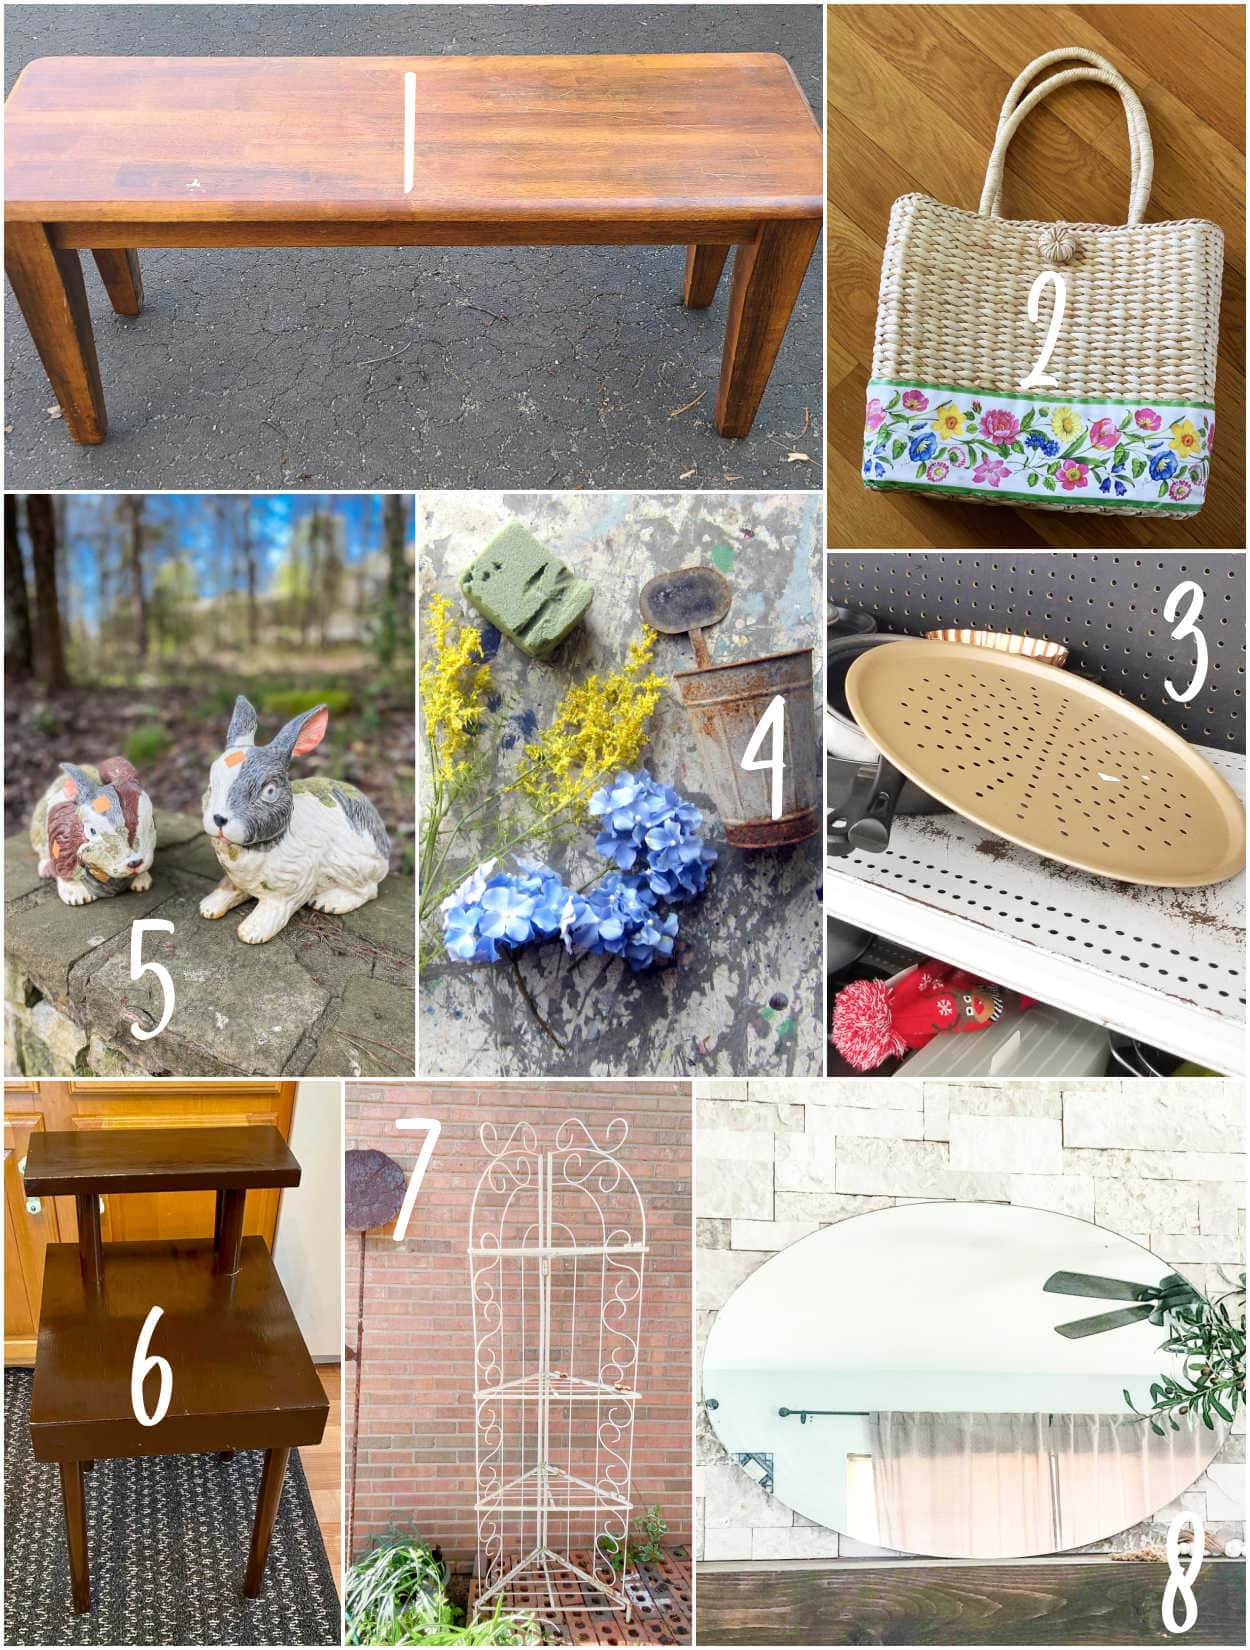
1. Wooden Bench Seat Makeover – My Repurposed Life
2. Summer Purse Upcycled Wreath – House of Hawthornes
3. Weaving in a Circle on a Pizza Pan – Sadie Seasongoods
4. Repurposed Cabinet Door Flower Display – Petticoat Junktion
5. DIY Faux Concrete Bunny Rabbit – Our Southern Home
6. Mid Century Modern Table Nightstand Makeover – Organized Clutter
7. Vertical Herb Garden – Shop at Blu
8.. DIY Oval Mirror Frame – Domestically Speaking
*****
Also, as it turns out, I was able to figure out that my gold pizza pan is actually from Williams Sonoma! So, maybe that explains the hefty thrift store price?
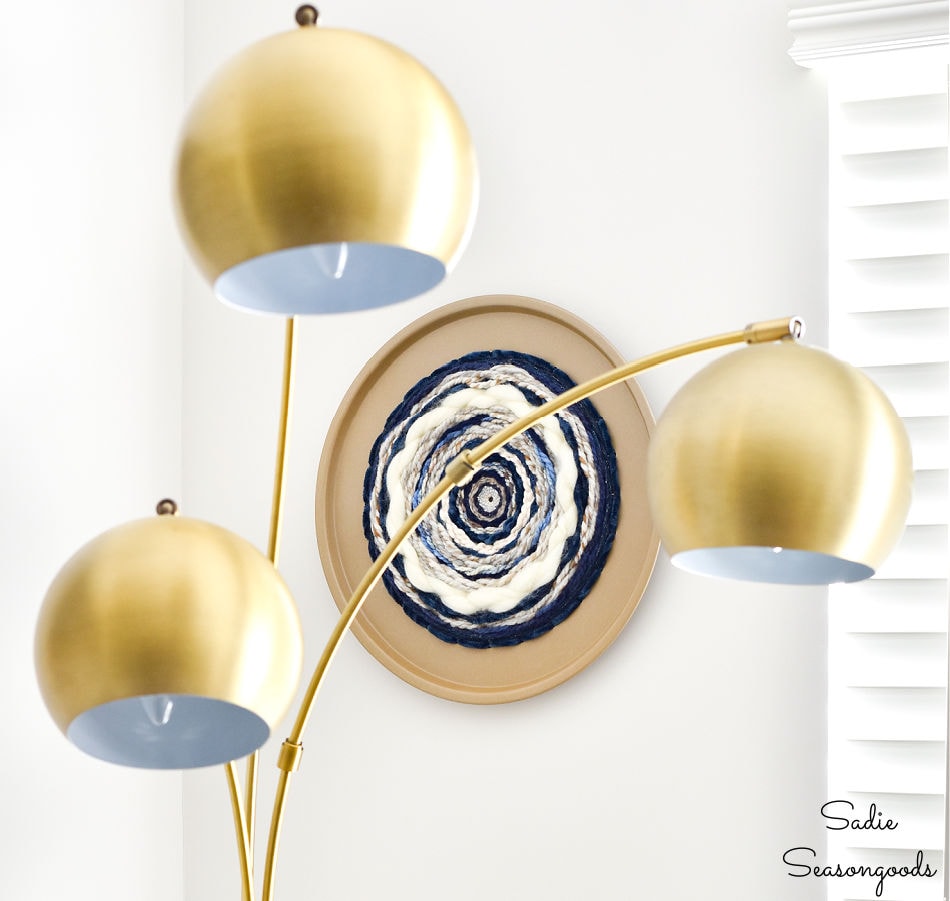
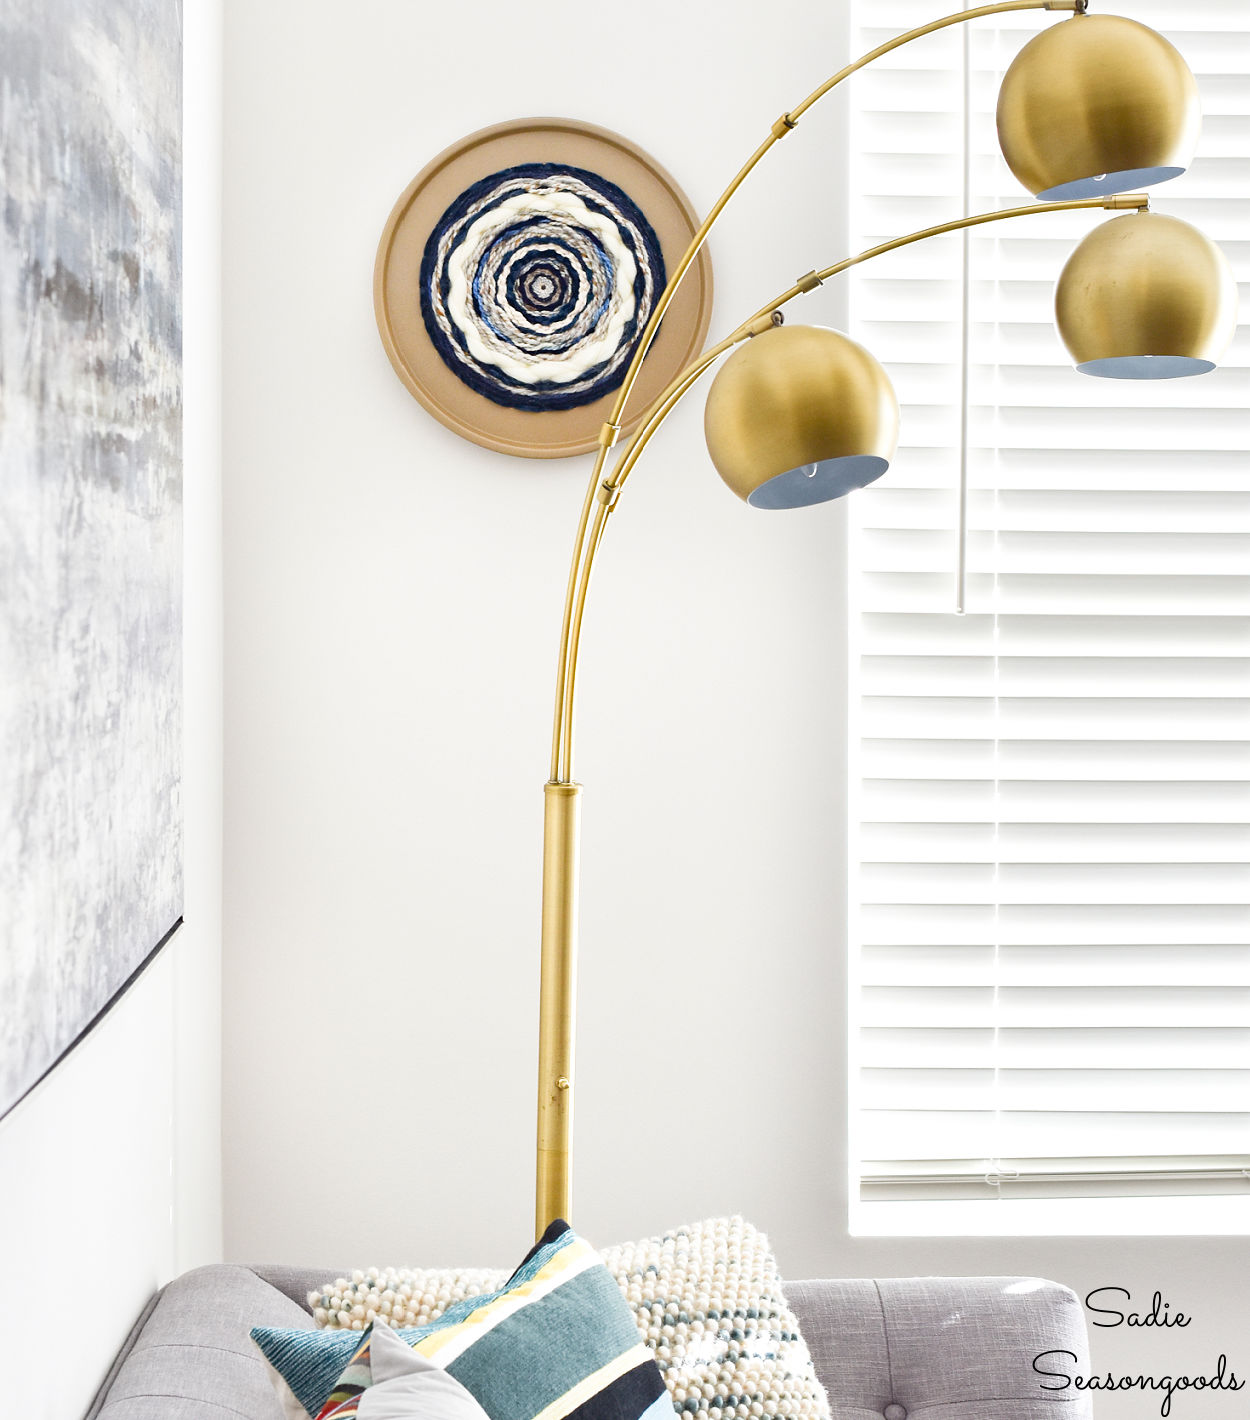
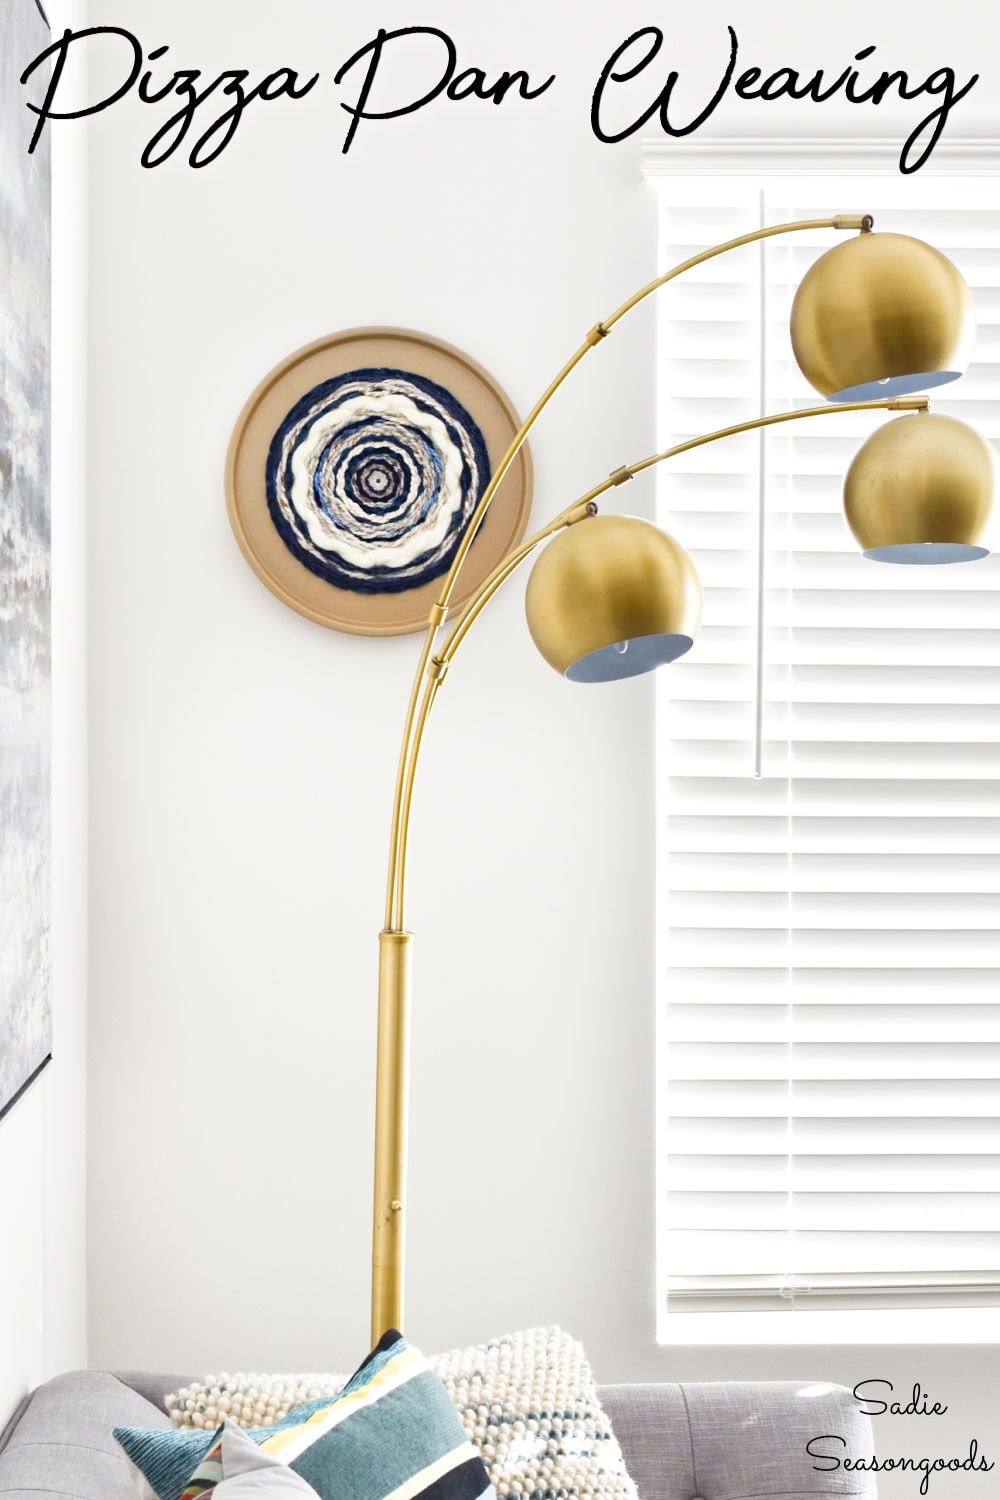
Anyway, I bought another pizza pan (new, from Williams Sonoma) and created a mismatched but coordinated pair of these to hang in our eclectic living room. I mean, I had plenty of yarn leftover, so…
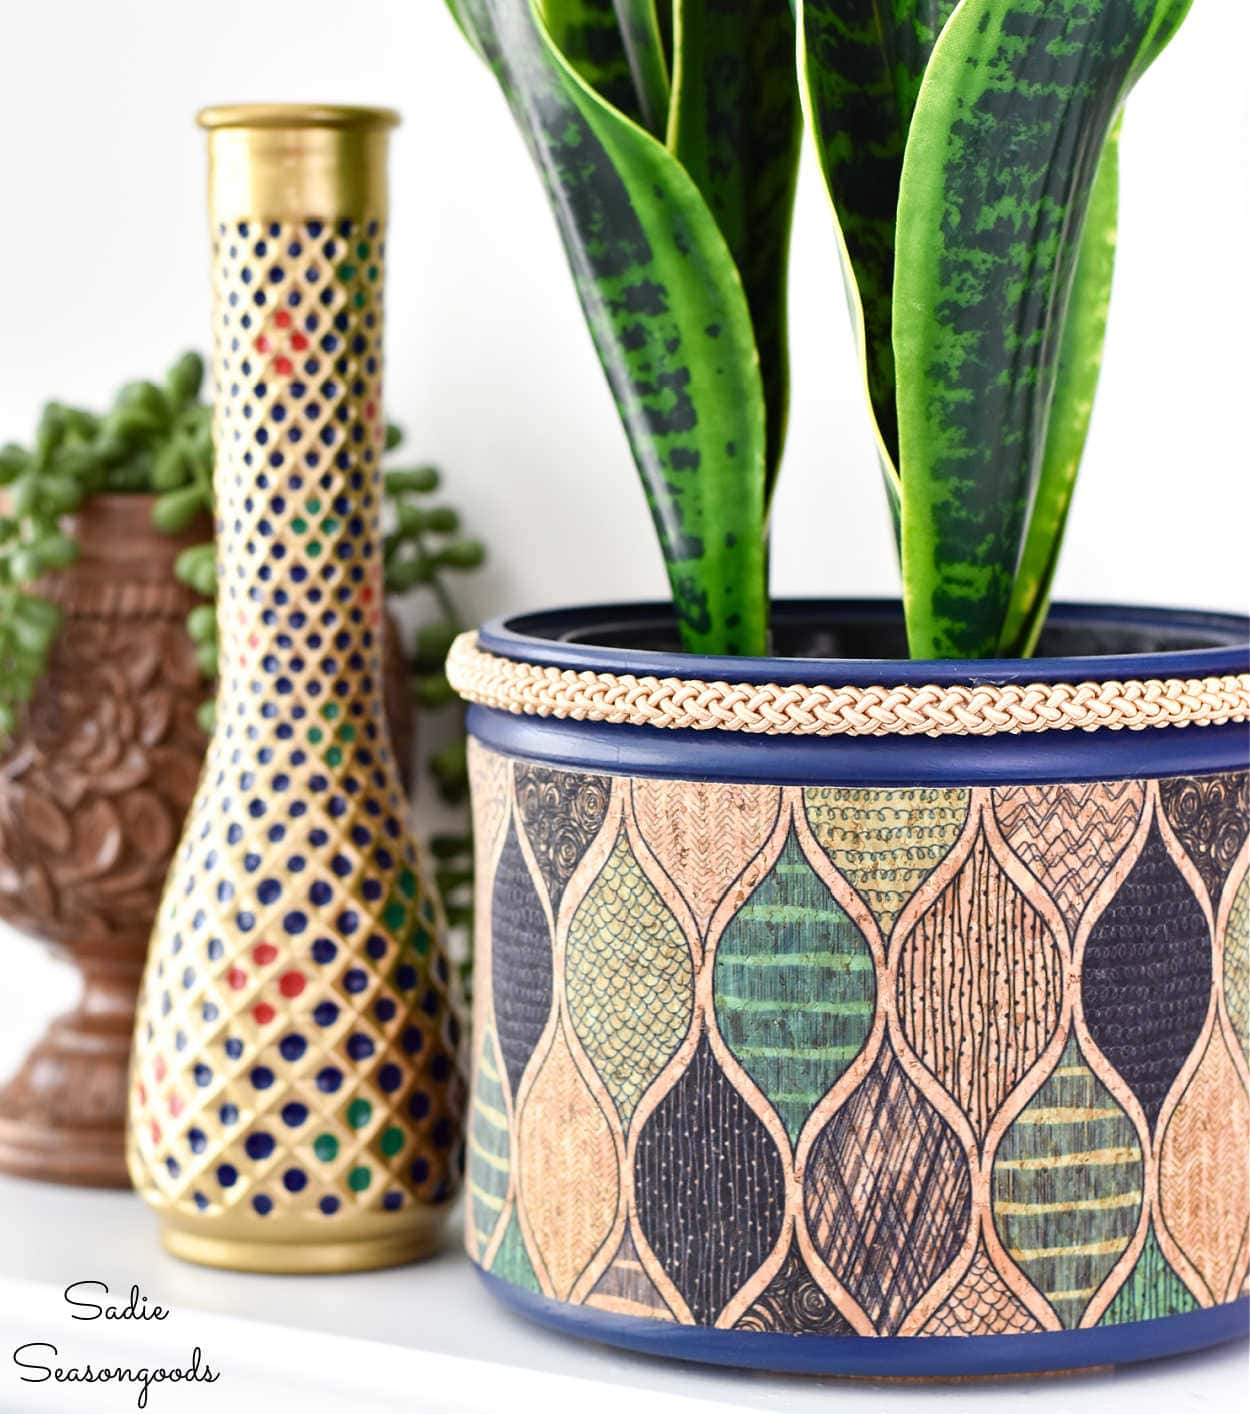
If you loved this upcycling idea for our home, continue on the dark-blue-and-gold theme with me for this upcycled planter from a…PLASTIC FOLGERS COFFEE CANISTER!
Craft on!
S
Want to be notified when I publish my next upcycling project tutorial?
Join me on Social Media:
PIN ME!
Sarah Ramberg is the owner of Sadie Seasongoods, a website that celebrates all things secondhand. From upcycling ideas and thrifted decor to vintage-centric travel itineraries, Sadie Seasongoods is a one-stop shop for anyone who loves thrifting and approachable repurposing ideas. Sarah is also the author of “Crafting with Flannel” and has been featured in numerous media outlets and magazines.




You win the gold start for the month! I absolutely LOVE this idea. We need wall art at the lake airbnb and this would be perfect. I’ve never tried weaving like this. Thanks for the instructions!
Thank you so very much, Christy!!
Wow what a clever idea! Love the colors and texture!
Thanks, Carlene!
That is so cute and boho-ish! Love the colors you chose also.
Thank you, Pam!!
This is gorgeous! I not only love your color combination, but the warm texture of the yarn against the cool metal backdrop is stunning! I love what you created. One of the most original projects I’ve seen in a while.
Thank you so very much, LisaRose!
Your super vision continues to yield super results.
Thank you!!
Very nice indeed.
Thanks, Edie!
This is so unique. I wonder if it would work as a trivet? If backed with either a felt backing or corkboard there’d be enough to allow such use.
Hmm, I don’t know the answer to that, Jane! I am such a fan of my wine cork trivet, though- I’ve used it for years and just love it!
So creative! It reminds me of a geode rock.
Thanks, Maryann- YES, I can totally see that!!
Wow! Sarah, that project is awesome. I’ve never woven anything before-never even thought of it. You’re so clever and creative!
sharing on pinterest and twitter!
Thank you so much, Gail!!
Beautiful and so creative. Thank you so much for a great inspiration idea.
Thank you, Judith!
This is such a clever and cool idea. I want to try it!
Thanks, Claire!
Awesome! You did a wonderful job! Your use of the increasing textures is wonderful. I had to take a weaving art course while an OT major back in the early 70’s. THAT’S where I got my appreciation for color; how they blend together fascinates me to this day!
Thank you so very much, Kathy. I absolutely loved working on this project- I’d probably really enjoy a weaving course, too!
I absolutely love this creative idea! My mind is whirling with the possibilities. Thank you for sharing!
You are so very welcome, Kat- happy weaving/crafting!