
The thrift store is a never-ending source of surprises, is it? Just when you think you’ve seen it all, the thrift store throws you yet another curve ball. That’s how I felt when I kept finding rolls and rolls of HAZMAT stickers. They had been scattered across the store, so I turned it into a scavenger hunt to find them all. That’s when I decided that I needed a roll to make some Halloween coasters.

My favorite was the roll of skull and crossbones labels. And they were truly the perfect size to be used on coasters.
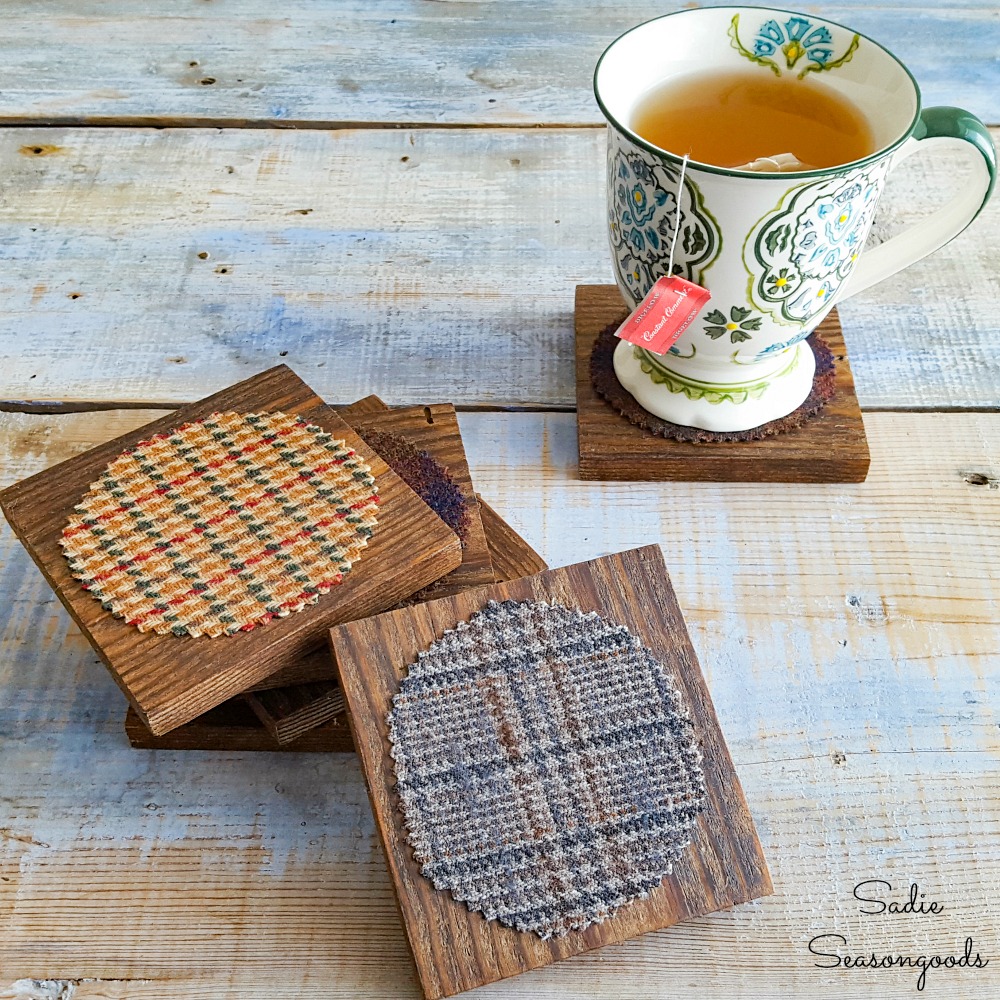
And as luck would have it, I already had a stack of extra 4” x 4” wood squares from another coaster project that I just didn’t need. Remember these coasters I made for Fall?
Anyway, since the HAZMAT stickers were nearly a perfect fit, I knew my plan for Halloween coasters was meant to be.

Anyway, I had a feeling this project WOULD turn out, though…and may end up being a wee bit creepy. Either way, I was eager to get started and see what I could do with it all!
This project contains affiliate links for your crafting convenience. As an Amazon Affiliate, I earn from qualifying purchases. All blue, bold, and underlined text is a clickable link, either to a product or to a related post.
HAZMAT Stickers for Spooky Decor
The first order of business was to give the wooden coasters a dark stain. So, I sanded down the edges to remove splinters and gave them a coat of this new-to-me wood stain.

But it wasn’t dark enough for the look I was going for. I really wanted the white (well, somewhat yellowed) HAZMAT stickers to pop against dark wood grain.
So, I remedied the situation by adding another coat of a different stain. Combining stains is such a fun experiment! NOW I had the deep, rich color I was looking for.

Next, I tore off a few of the poison labels (look! I found the same ones on Etsy!) and traced the wooden coaster on one of them.

I wanted a sliver of wood to frame the HAZMAT stickers, so I trimmed off the excess just inside my tracing. There- that would be perfect.

Using some decoupage glue, I first coated the coaster. I placed the label on the glue surface and used my finger tips to press it into the wood grain and remove any air bubbles.

Finishing the Halloween Coasters
Once the glue had dried, I used some fine-grit sandpaper to rough up the labels a bit. I wiped off any sanding dust and brushed on another coat of decoupage glue to seal it in.

NOW, I could have stopped there and called it a day.
But, I didn’t.
To amp up the creepy factor, I decided to splatter some paint (like, um, blood splatter) across the hazard labels. For the purposes of this blog post, I did the following steps for the underside of my Halloween coasters, thus giving me two options!
I gathered some super cheap toothbrushes (which will forever live in my craft room now) and some craft paint. Red for traditional splatter…green for aliens…and purple for monsters, etc.

I dipped the bristles in the paint and brushed my fingertip through the bristles over the hazard labels. This is a fun technique, but messy! Make sure you have a good size drop cloth covering your work surface before you begin.
In the end, though, I really only liked the red splatter! And it looked EERILY authentic- PERFECT for my Halloween coasters.

Halloween Coasters with HAZMAT Stickers
Just like before, I layered decoupage glue and the hazard labels on the underside of the wooden coasters. And when the second layer of glue had dried, I had a set of VERY creepy Halloween coasters!

*****
And guess what today is? It’s Thrift Store Decor Team Day! Make sure you check out what my friends have been up to – use the links beneath this collage to see the “after” results!

6. Creepy Halloween Craft with Hazard Labels
7. How to Create a Driftwood Finish
*****
I know this project might be *too* creepy for some, but it was the ideal project for me to try out that technique for paint splatter.

If you enjoyed this upcycling idea for Halloween decor, then you may also be interested in how I achieved this faux rust finish on some plain plastic pumpkins!

Craft on!
S
Want to be notified when I publish my next upcycling project tutorial?
Join me on Social Media:


PIN ME!

Sarah Ramberg is the owner of Sadie Seasongoods, a website that celebrates all things secondhand. From upcycling ideas and thrifted decor to vintage-centric travel itineraries, Sadie Seasongoods is a one-stop shop for anyone who loves thrifting and approachable repurposing ideas. Sarah is also the author of “Crafting with Flannel” and has been featured in numerous media outlets and magazines.


Those are so creepy, they’re cute! Love the blood effect!
Thank you!! A fun departure from my normal cutesy Halloween projects. 🙂
Sarah!
First, let me say I love how you color coordinated the toothbrushes to their corresponding colors of paint! hahaha
You’re right, they are extra creepy with the blood spatters. Great choice!
You find THE best stuff at thrift stores. I have too much stuff in my stash right now, so I haven’t been shopping lately. lol
pinning!
gail
HA!! I wondered if anyone would notice that I did that. It was by accident, at first, until I reviewed the photos and decided to switch two of the brushes to match. 😉 Thank you so much, Gail!
You are so stinking creative! Love these. I’ve added labels to my thrifting list!!
pinned it for later!
Debbie
Thank you, my friend!
Awesomely creepy! Any mad scientist worth his gas mask would be proud of you.
I actually thought about buying a vintage gas mask just for the final photos!!! Thank you so much, Patricia!
What an awesome find! I wonder if they were all from the same people that donated the stickers? Love what you did with them, perfect!
Why anyone would have even had these at home to donate is beyond me, LOL! Thanks, Kristin!
My husband gets alot of gag gifts regarding Farting. Those Flammable Gas ones would be perfect for him. Again I wish I had a thrift store as neat as yours.
Your comment made me LOL and LOL some more, that is too funny! And you’re right, those labels would be PERFECT for fart-themed gag gifts!
This is so freaking cool!!! With that roll, you should whip these out and sell them on Etsy!!!
Thank you and RIGHT? I have literally thousands of these labels left, LOL.
So fun for a Halloween party! Love how you did the blood splatter!
Thanks, Maryann!
Love the creepy factor of different colors of blood! Great upcycle!
Thank you!
You are so Clever girl. I enjoy reading your articles and seeing all the things you create. Keep them coming. Thanks.
Thanks, Lynda!
This is such a perfectly creepy project! The coasters would make fun little gifts for guests at a Halloween bash!
Thanks, Kaycee!
This is JUST why I am tempted all the time to go to G.W.! You never, ever know what you will find and this is why I enjoy your blog, since most, normal folks would walk away from those stickers. Can we list our habit as a pre existing condition?
It’s so hard to drive on by the GW without feverishly wondering what’s inside!! I think it’s definitely a pre-existing condition.
What a fun idea!
Thanks, Kathy!
Oh my goodness… totally brilliant, girl! I mean, who knew thrift stores carried hazard labels?! Now that’s a find!
Thanks for sharing them at DIY Salvaged Junk! I’m featuring them this weekend! 🙂
Thank you so much, Donna! I’ll probably never find anything quite like these again.
Those labels were just waiting for someone uber creative like you to put them to good use. Your coasters are ADORABLE! I laughed when I read Gail’s comment and had to scroll back up to take a look. Talk about attention to detail!
LOL, right?? And thank you!