My husband and I are currently in the process of downsizing (and relocating) my storage unit. This means that there is a LOT of purging underway- as well as some reinvigorated inspiration. And one of the recent “Re-donate? Or keep?” pieces was this small round side table.

Image credit: Sadie Seasongoods.
As you can see, much of the veneer top had chipped away and it was in a pretty sorry state. Plus, one of the feet had clearly broken off in the past and was glued on. Not exactly a fine piece of furniture anymore- and at $5, it might have actually been overpriced.

Image credit: Sadie Seasongoods.
Admittedly, it’s lived in my storage unit for a few years now, waiting for its day to shine. It only survived previous purges because it didn’t take up much room and was such a prime project piece.
Well, I’m so excited to finally tackle this little table. The plans came together pretty quickly once I found this large brass tray at Goodwill just a few weeks ago.
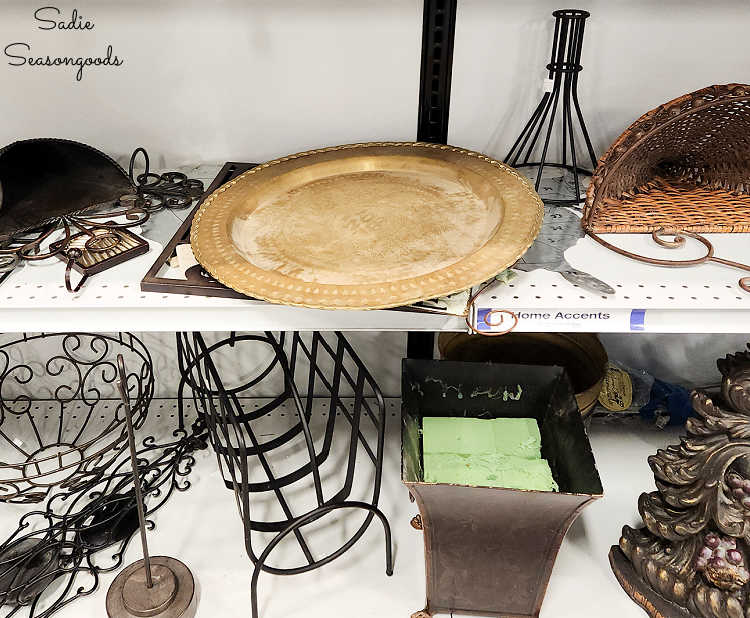
Image credit: Sadie Seasongoods.
I bet you’re getting an idea of where this is going! So, let me show you what we did and how it came together.
This post contains affiliate links for your crafting convenience. As an Amazon Affiliate, I earn from qualifying purchases. All blue, bold, and underlined text is a clickable link, either to a product or to a related post.
Upcycling the Small Round Side Table
There were three main steps we needed to take with this table: (1) smoothing down the top; (2) re-staining the base and legs; and (3) adding a new top.
First, we started with number 1, smoothing down the original top. Jon chipped away all the remaining veneer. Then, he used a heat gun and a putty knife to remove the cracking leather.
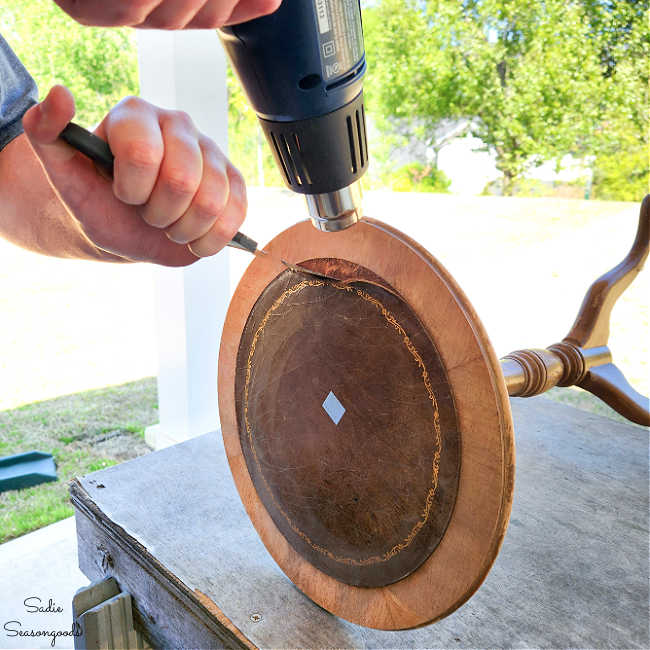
Image credit: Sadie Seasongoods.
It took a little time, but the heat gun slowly softened the old glue and he was able to remove the entire leather circle. Without damaging the wood underneath, which I appreciated.
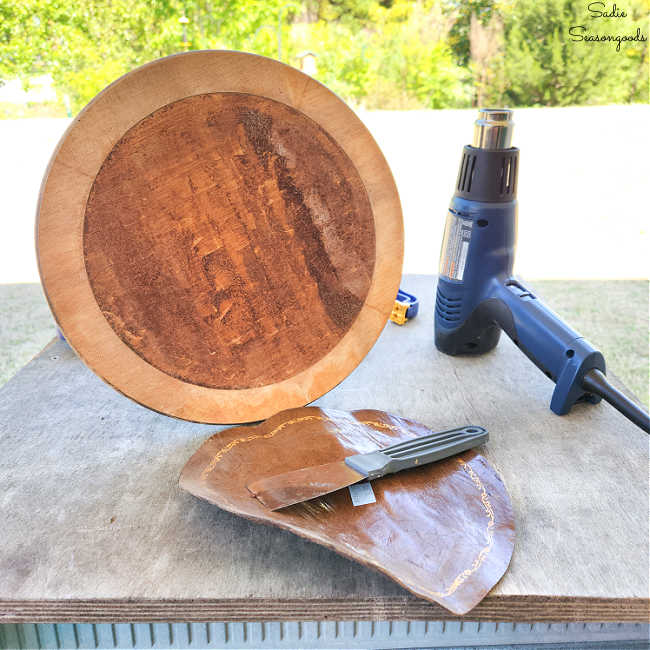
Image credit: Sadie Seasongoods.
Next, he sanded down the entire top until it was nice and smooth.
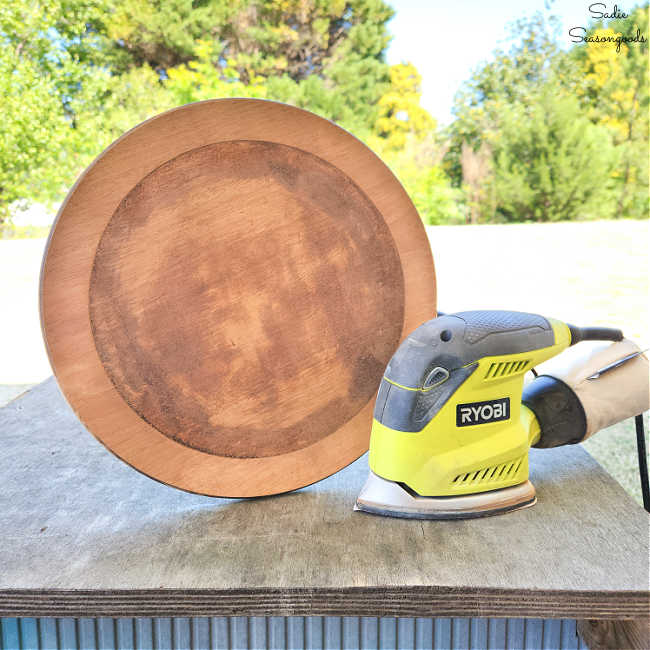
Image credit: Sadie Seasongoods.
Now that the old tabletop remnants were gone, I took the optional step of staining the fresh top with some walnut wood stain. Even though I’ll be covering it up later, I decided to stain it anyway. No only did it seem weird to leave it naked like that, I already had the stain and supplies in our garage.
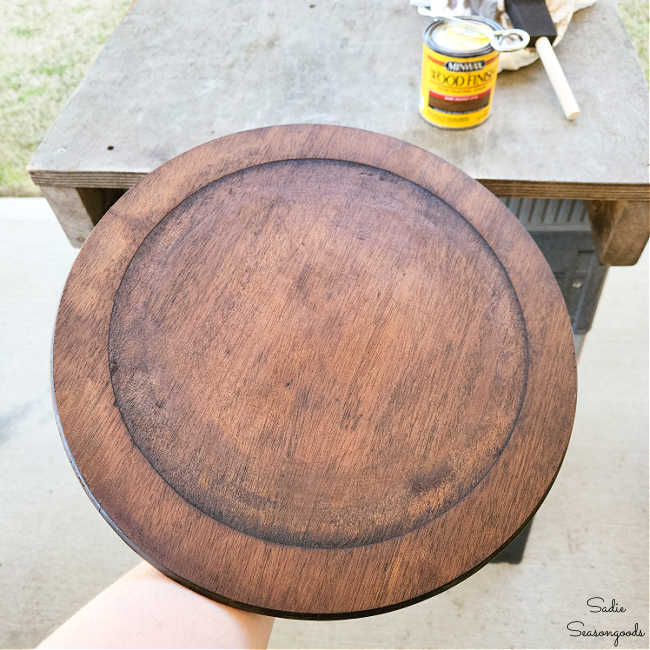
Image credit: Sadie Seasongoods.
Then, it was time to attack the base and legs of the table. As you can see, they were a very unremarkable shade of weird brown. But I wanted everything walnut to complement the other furniture in our home.
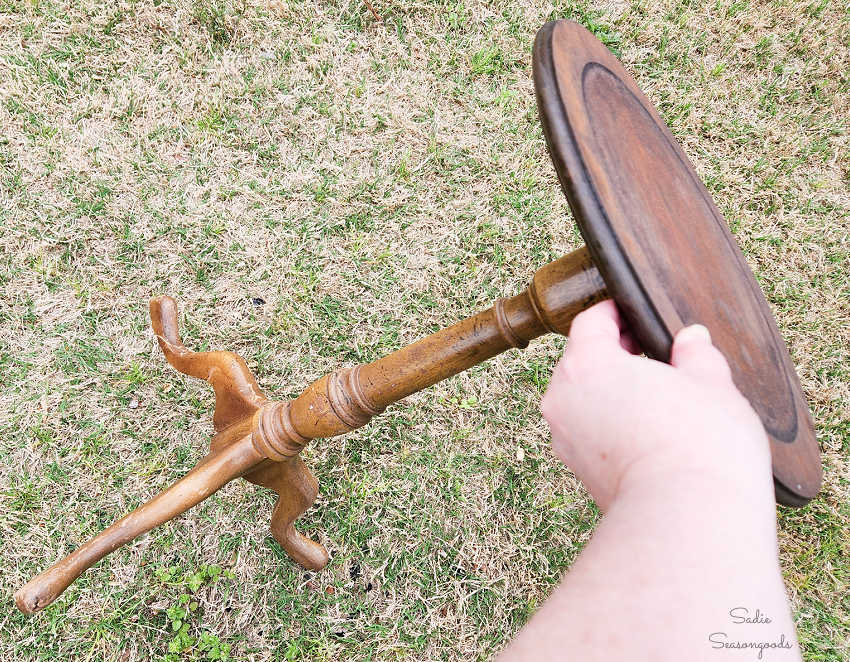
Image credit: Sadie Seasongoods.
Since the pedestal and legs were already stained and I wasn’t about to strip or sand that all away, I chose the easy route: Restor-a-Finish.
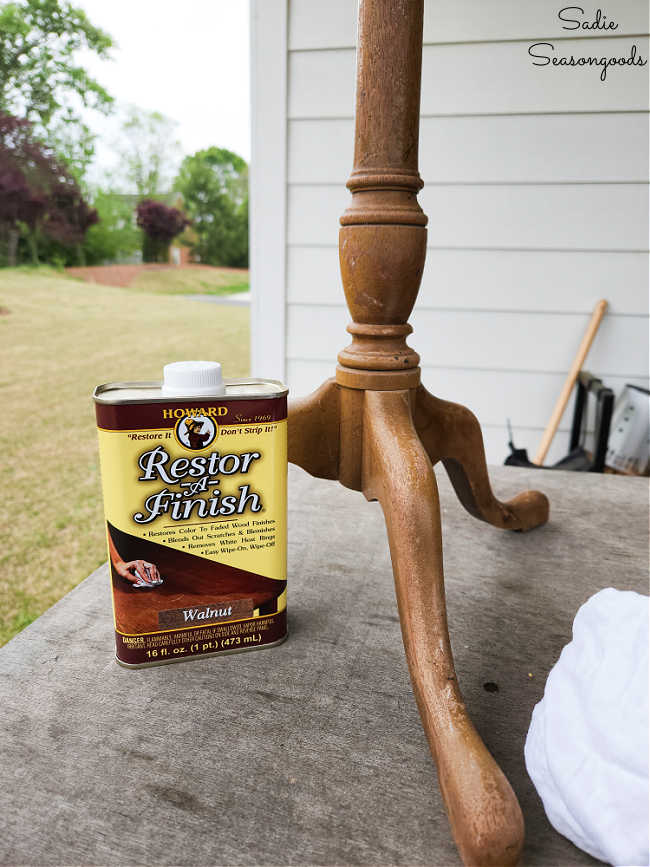
Image credit: Sadie Seasongoods.
This is the same stuff I used on this MCM wall decor project! And it worked brilliantly again on the small round side table.
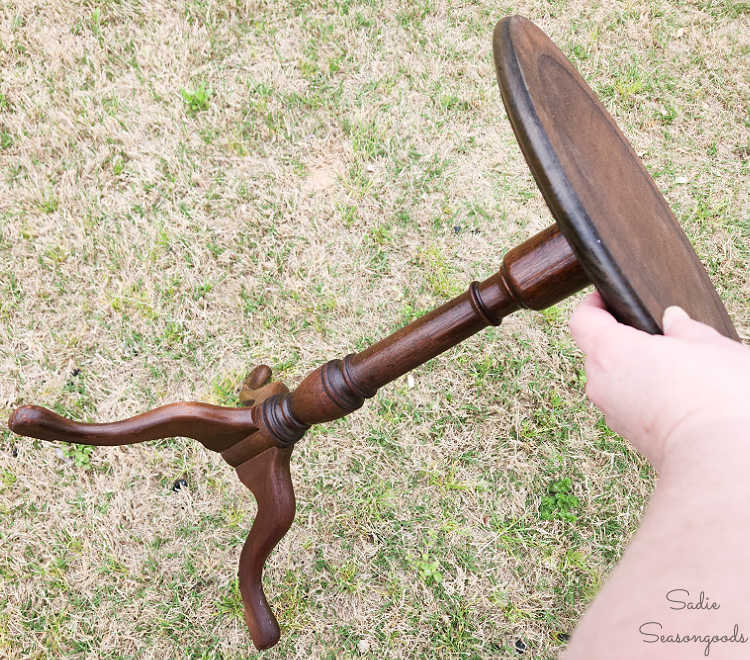
Image credit: Sadie Seasongoods.
I used Restor-a-Finish on the pedestal and legs because it is formulated to penetrate existing stains and finishes. Since the top was effectively raw, unstained wood, I used traditional stain on that.
Now that Steps 1 and 2 were completed, I moved on to Step 3: adding a new top to the table.
Brass Tray as the Tabletop
The brass tray had an Asian motif and a “Made in Hong Kong” sticker on the back. It also had an original price tag of $39.99 from a store called “World Bazaar”. Does that ring a bell to anyone? I’d never heard of it.
Anyway. Before I upcycled it as a tabletop, I needed to polish it up. As found on the Goodwill shelf, it was pretty dull and unremarkable.
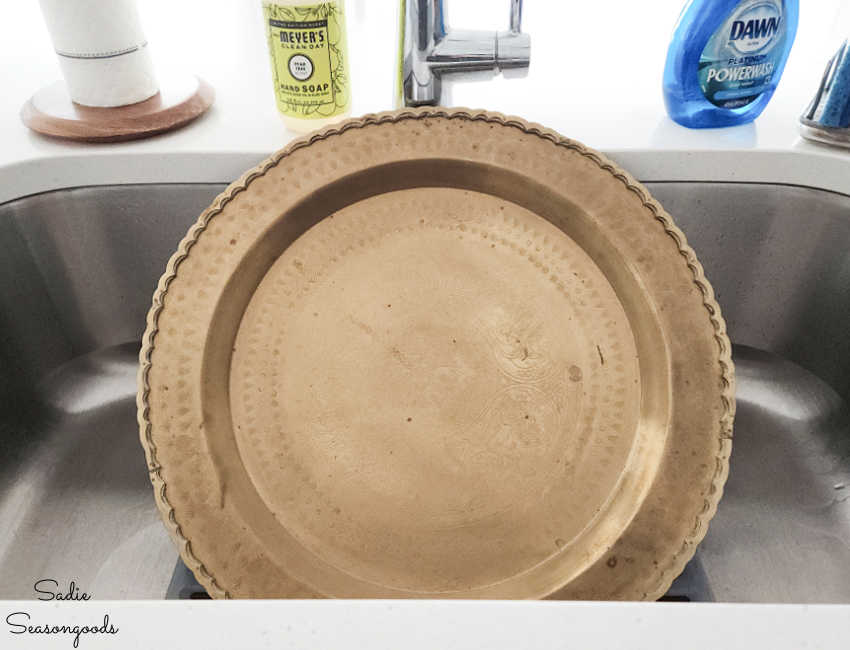
Image credit: Sadie Seasongoods.
Since I didn’t want to use anything abrasive on it, I used my favorite method of polishing vintage brass: ketchup!
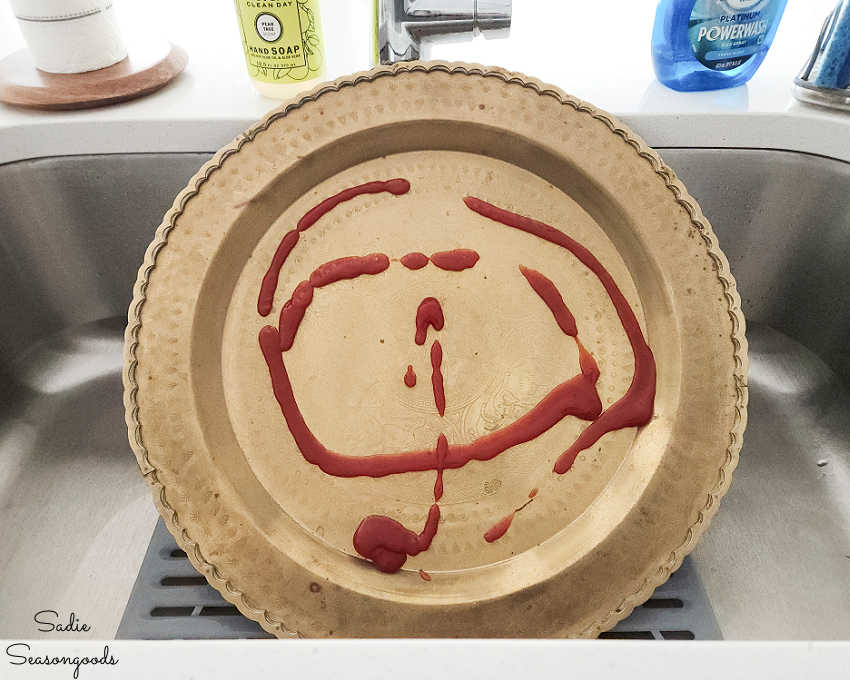
Image credit: Sadie Seasongoods.
The acid from the tomatoes and vinegar does a phenomenal job of refreshing brass. Remember how I used it on this DIY candle project?
After I squirted a bunch of ketchup on the tray, I simply smeared it with my hands all over the tray- front and back. I even used a cheap chip brush covered in ketchup on the scalloped edge of the tray.
Then, I let the ketchup sit on the tray for a few minutes- literally, maybe five or six. After that, I simply rinsed off all the ketchup with water, making sure to use the (now clean) brush along that scalloped edge again. Look how refreshed the tray looks now!
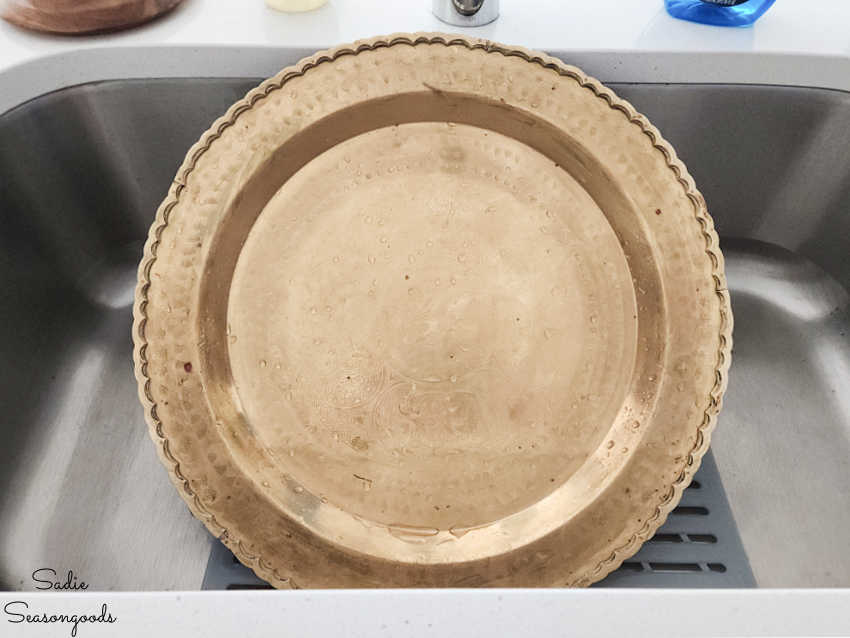
Image credit: Sadie Seasongoods.
Once the tray was completely dried, it was time to attach it to the small round side table. But I didn’t want to use glue.
Believe it or not, I used heavy-duty double-sided mounting tape. I know- that sounds completely bonkers! But it seemed like the best bet that wouldn’t ruin the brass tray or the wood.
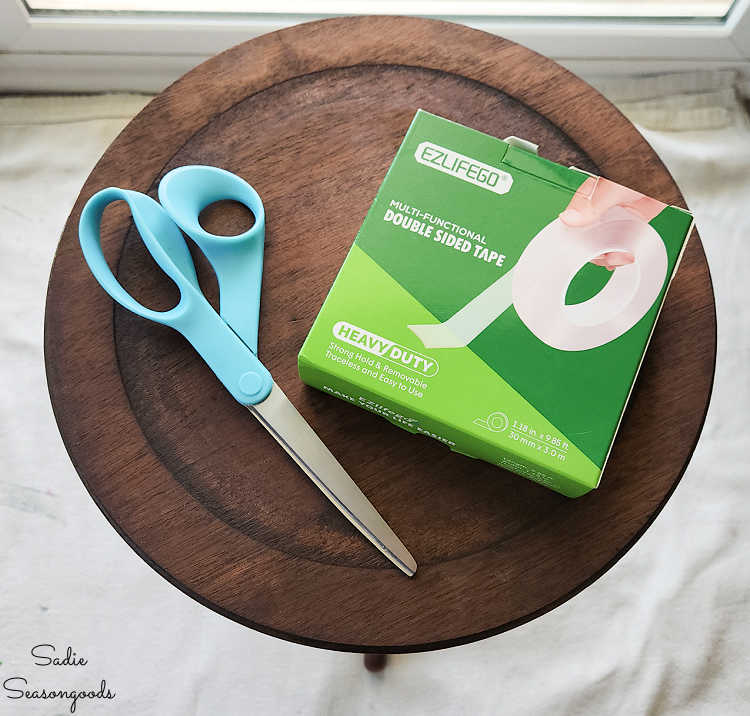
Image credit: Sadie Seasongoods.
After all, I’d already purchased the roll for this cactus dish garden project but ended up not using it! Anyway, I then cut off long strips of tape and stuck them on the small side table. I pressed them down as hard as I could before removing the top layer of film.
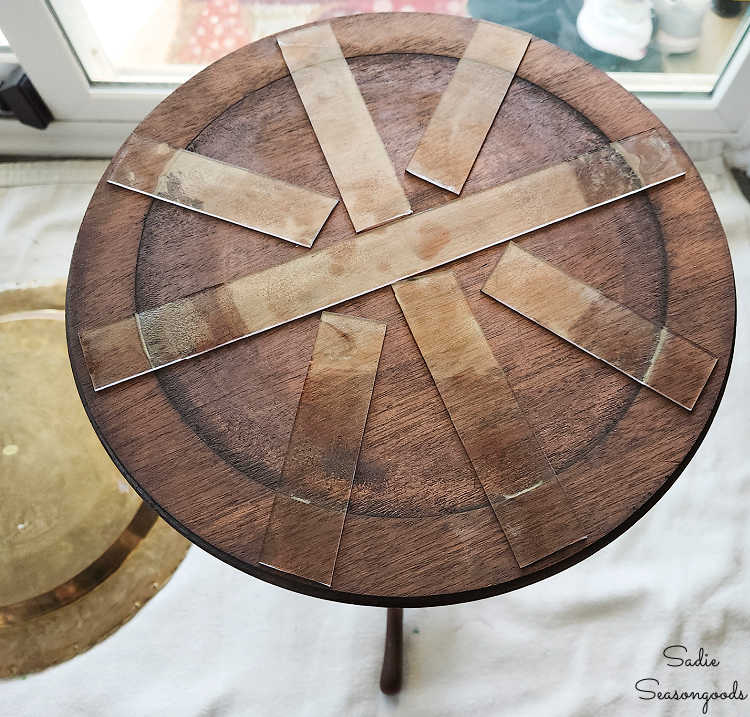
Image credit: Sadie Seasongoods.
Finally, I centered the tabletop as best I could over the upside-down brass tray and pressed down firmly.
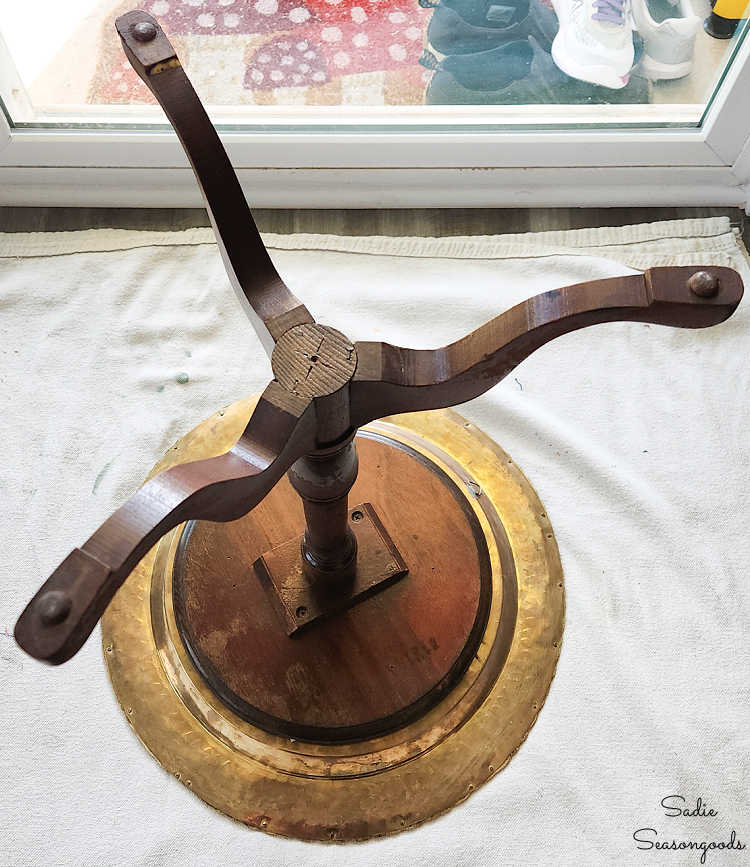
Image credit: Sadie Seasongoods.
Wondering if it worked? Let’s find out.
Repairing a Small Round Side Table with a Brass Tray
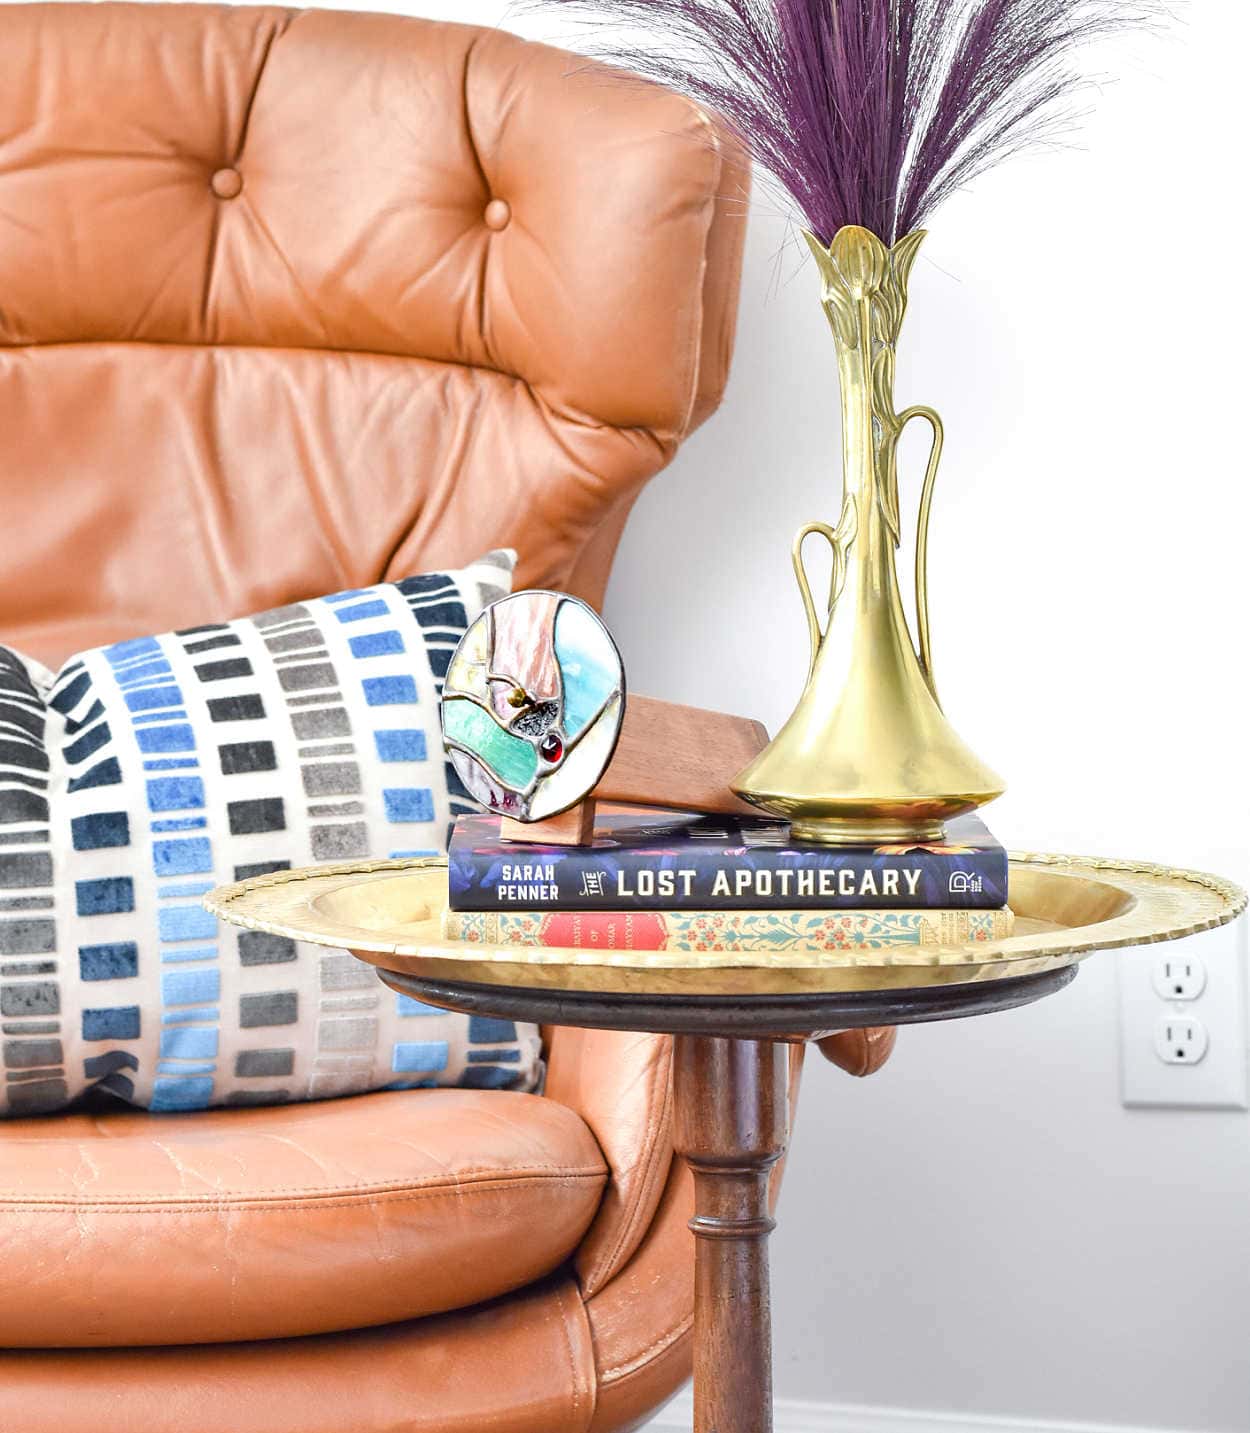
I’m so pleased to tell you that it worked PERFECTLY! The mounting tape holds amazingly well- I can carry the table by the tray alone.
But most importantly, we now have a beautiful new side table for the living room.

Image credit: Sadie Seasongoods.
And while most vintage brass tray tables have nicer, trendier bases, our version only cost $15 to make. So, you know, it’s a sacrifice I’m obviously willing to make.
Especially now– more on that at the end of the post.
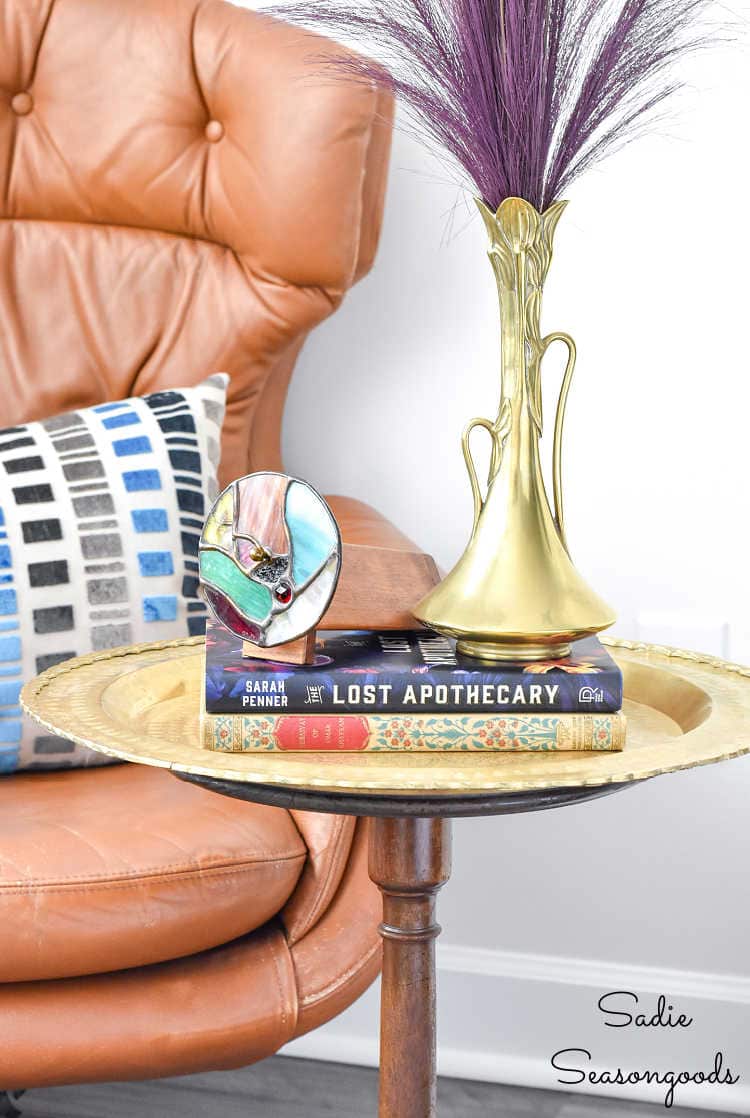
Image credit: Sadie Seasongoods.
Today is also the second Wednesday of the month, which means it’s Thrift Store Decor Team Day! I hope you’ll check out what my upcycling friends have been up to.
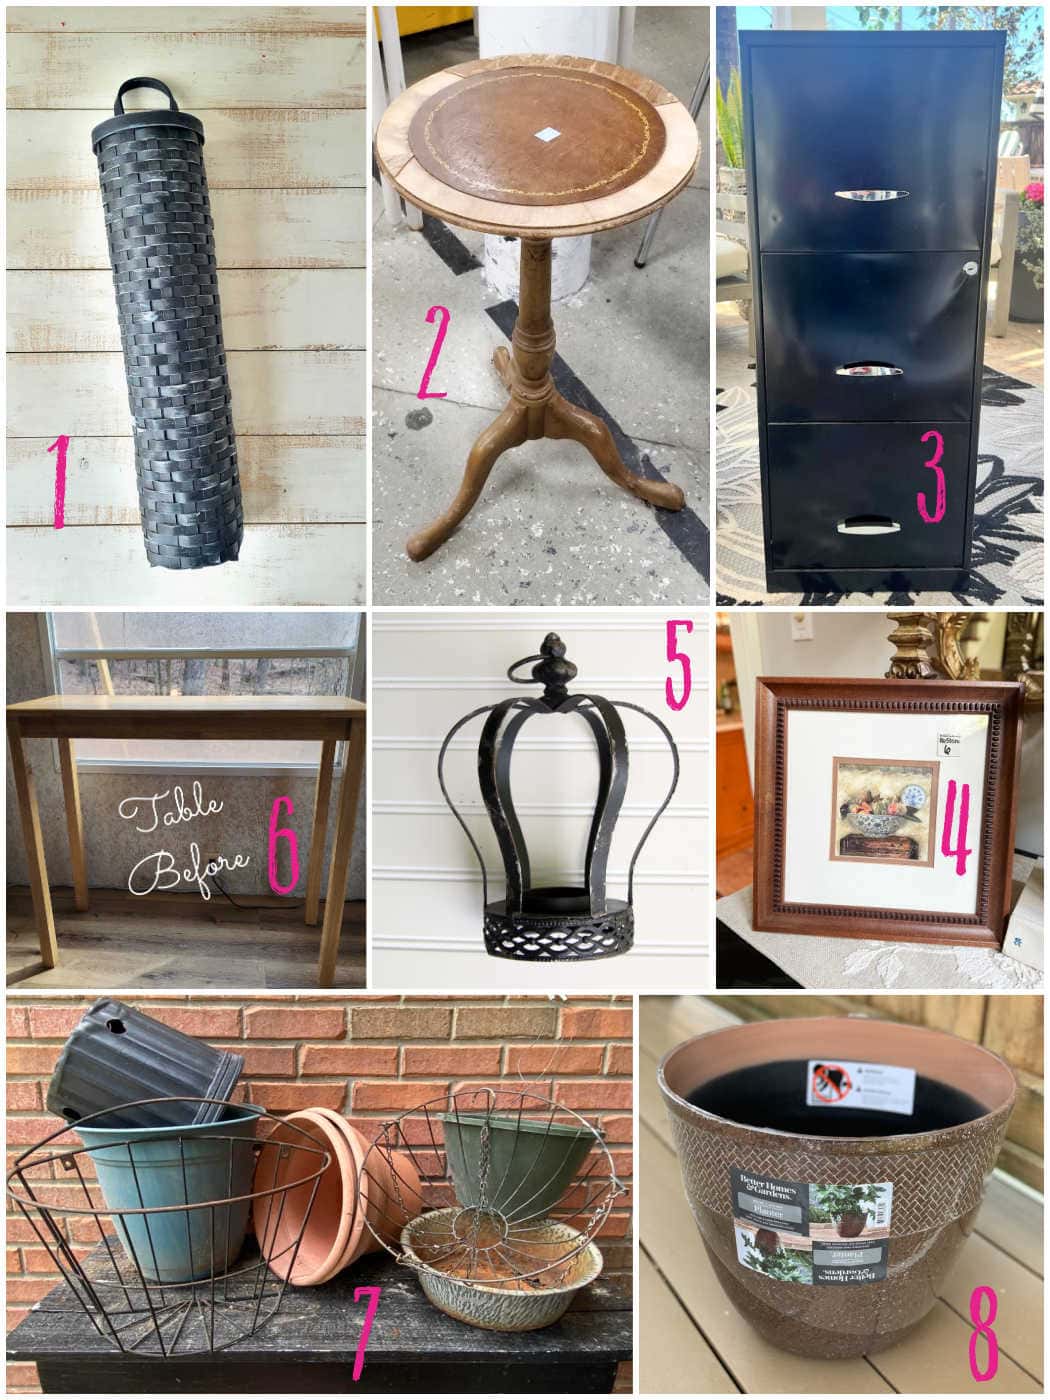
1. Rope-Wrapped Hanging Basket – Domestically Speaking
2. Fixing Up a $5 Broken Side Table – Sadie Seasongoods
3. Turn a File Cabinet into a Planter – My Uncommon Slice of Suburbia
4. Refresh Dated Art – Our Southern Home
5. Thrift Store Candleholder Makeover – Petticoat Junktion
6. High Top Table Makeover – My Repurposed Life
7. DIY Garden Hanging Planters – Shop at Blu
8. Conceal Your Hose with This Simple Flower Pot Hack – House of Hawthornes
~~~
Anyway, I couldn’t be happier with how this small round side table project turned out. Keeping it in storage for all these years made it worth the wait.
My husband was also helping me with this project because he was recently laid-off. And while it’s not exactly wonderful news to us, he’s looking forward to a brief respite from corporate life. I’m already putting him to work on other projects and now this little blog o’ mine is our main source of income.
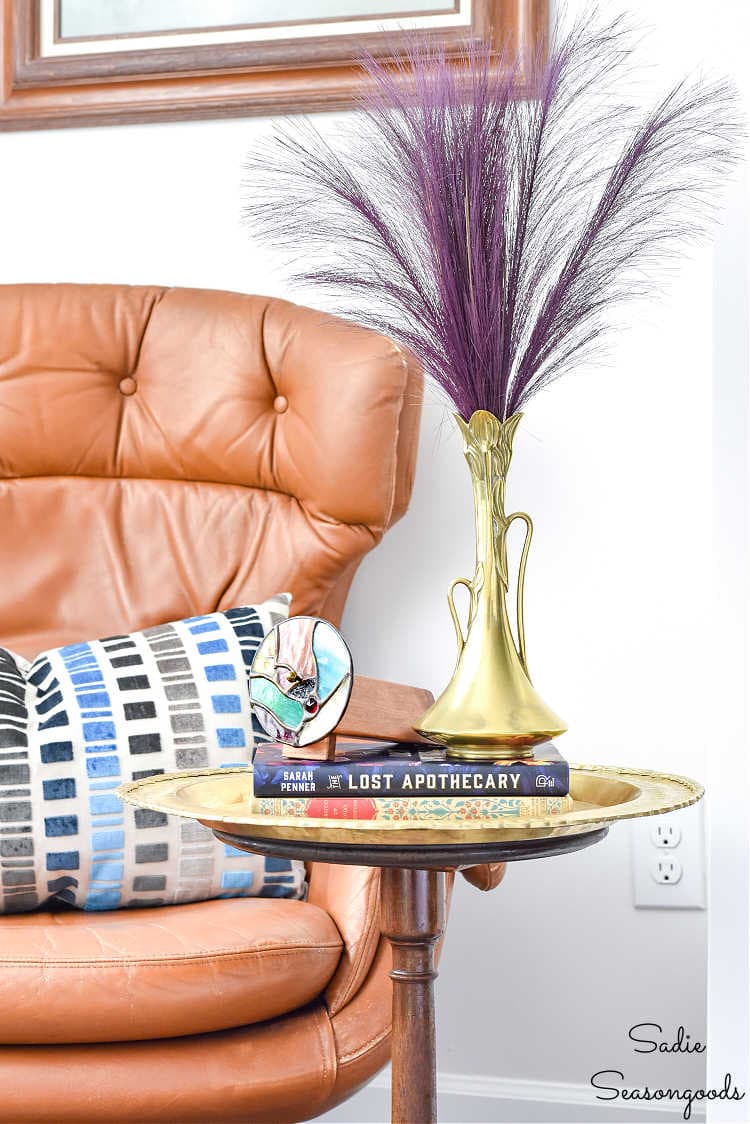
Image credit: Sadie Seasongoods.
This means more travel posts, project tutorials, and inspiring round-ups are in the works! But I still promise not to send too many newsletters to my subscribers. Scout’s honor!
I just appreciate you visiting my site and finding creative inspiration here. Now that I’m the sole breadwinner, your time here means more to me than you’ll ever know…
Craft on!
S
Want to be notified when I publish my next upcycling project tutorial?
Join me on Social Media:


PIN ME!
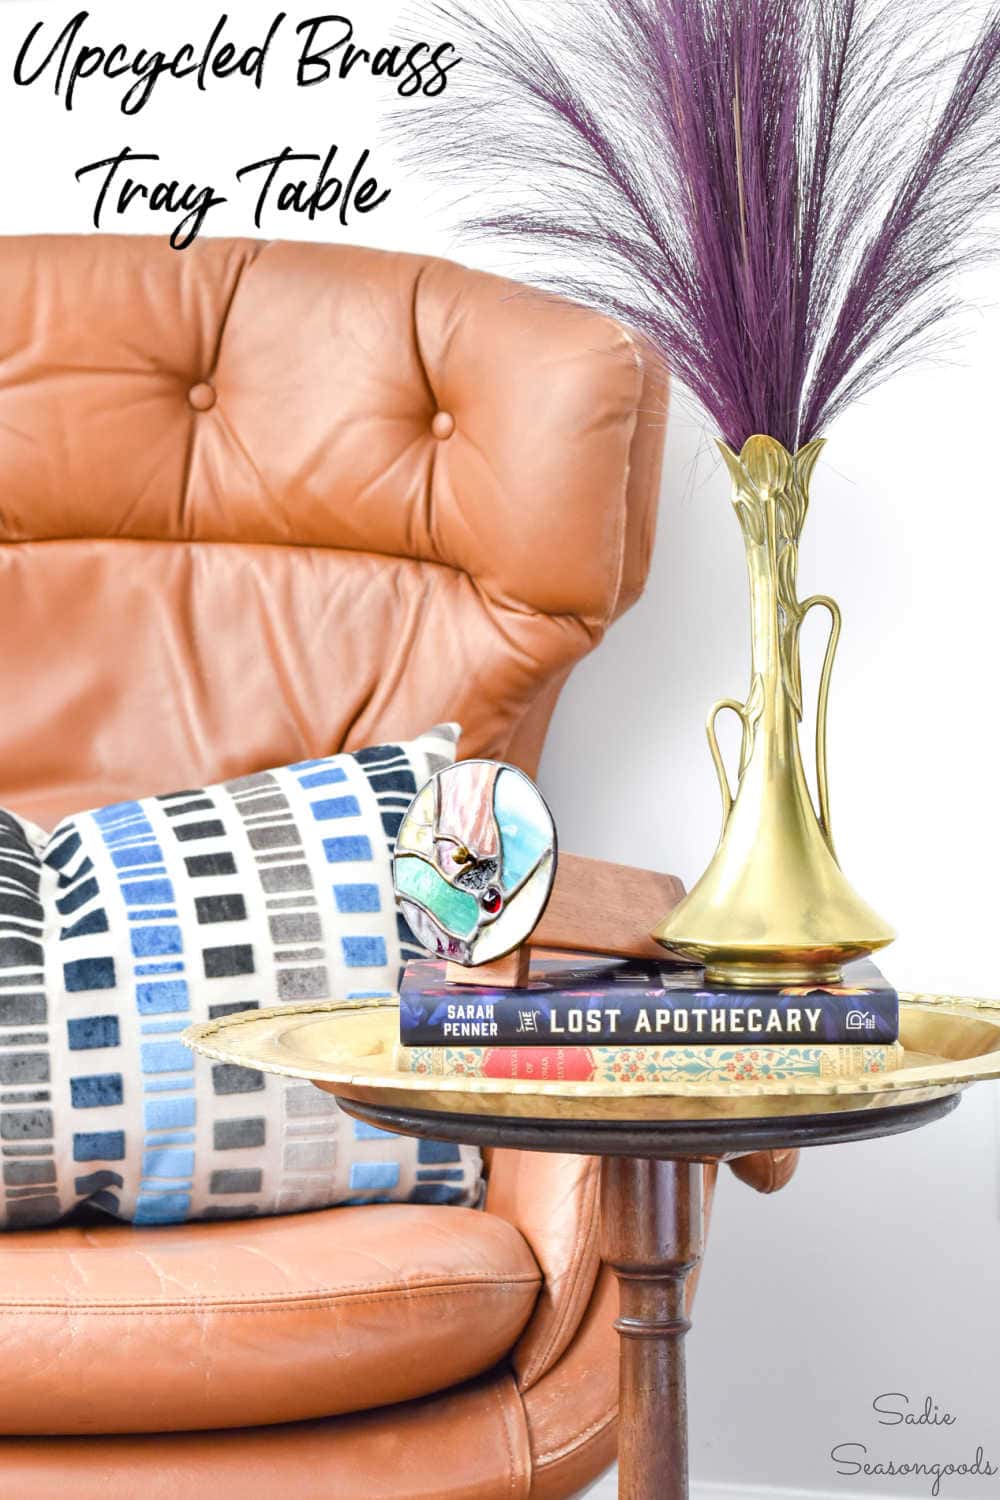
Image credit: Sadie Seasongoods.
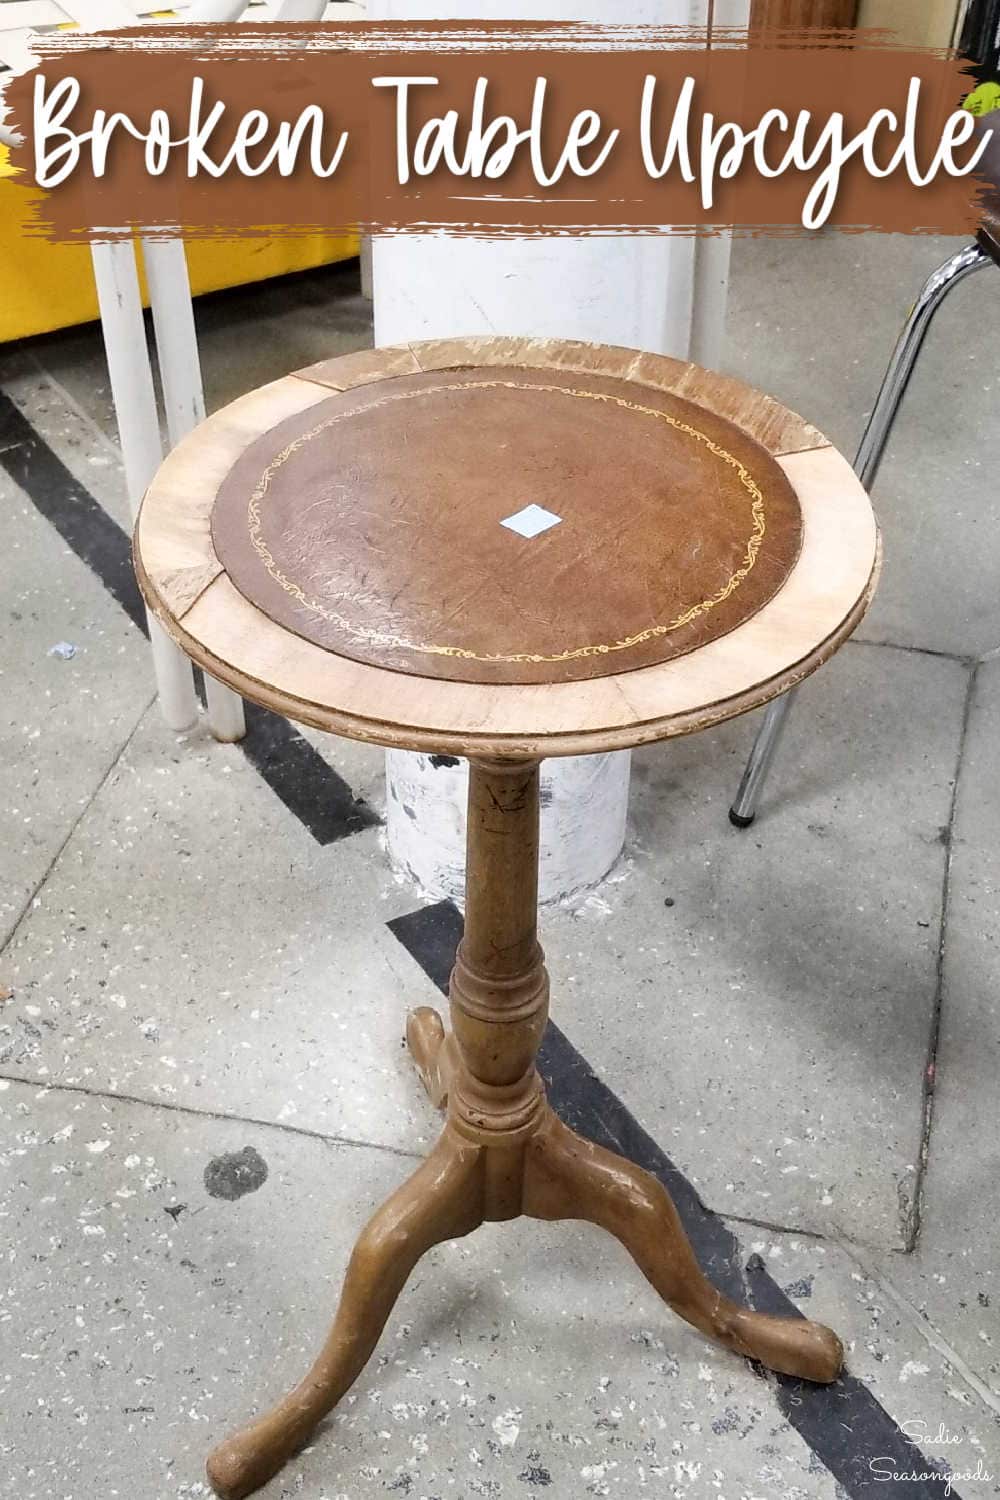
Image credit: Sadie Seasongoods.
Sarah Ramberg is the owner of Sadie Seasongoods, a website that celebrates all things secondhand. From upcycling ideas and thrifted decor to vintage-centric travel itineraries, Sadie Seasongoods is a one-stop shop for anyone who loves thrifting and approachable repurposing ideas. Sarah is also the author of “Crafting with Flannel” and has been featured in numerous media outlets and magazines.


I remember World Bazaar. I think it was in the mall back in the 80s. I live in southeastern Virginia. And yes, lots and lots of brass in the 80s.
Ahhhhh!!! It’s very possible that it was in our Chicago-area Malls in the 80s, but I was more interested in clothing and music stores during that decade! 😀 I always enjoy finding those original price tags on pieces, though- it adds a fun element of interest for sure!
So many things to comment on here! LOL! Oh the amount of rethrifting that goes on over here. I’m trying to get more selective with my purchases going forward. That Restor-a-finish is the bomb! But Ketchup? I have never hear of this. So creative!
Thanks, Christy!
Hi Sarah – the table is so cute – and so you. 🙂
Hoping the coming months will offer new and exciting challenges for you and Jon.
Sheila
Thank you so very much, Sheila! We’re hopeful for greener pastures for him soon, but it always takes a couple of months to find the right fit. And hurray for this blog of mine, eh? It saved me all those years ago by giving me a new found sense of purpose, and it’s saving us again!
I look forward to your emails and don’t mind more! Always interesting to me and thank you for that!
Oh, Lenore, that just makes my heart sing- THANK YOU!
Sarah,
Yes, I remember World Bazaar, but that price seems very high for that time period! Yikes!
I love your new little table, adding the large brass tray was perfect.
Did I miss what you did about the broken foot?
Pinned!
gail
Right?? That price seemed extraordinary for that time period- who who knows. And the foot had already been reglued by the time it was donated back to the thrift store. I just made the observation that this was in fact, not a great piece to begin with, LOL.
I love your new side table with the new brass tray, great idea using the heat gun. I’m sorry about Jon being laid off, something great will be waiting for him, until then it’s nice he will be able to help you with your projects. Good luck with downsizing the storage, my husband needs to downsize the amount of junk in our garage lol. Thinking of you!
Thanks, Kristin!