By now, just about all of us have tried the glitter-on-the-inside ornaments. It’s a great craft idea for clear ornaments from the craft store, as it is wonderfully easy and inexpensive. Well, I decided to apply the same principles but with slightly different media- in this case, coarse salt! I wondered if I could create snow ornaments, like little snowballs hanging on a tree.I had stumbled on this partial set of clear ornament balls at Goodwill for $0.50. Either someone made them for a gift and the recipient didn’t care for pom-pom filled ornaments.
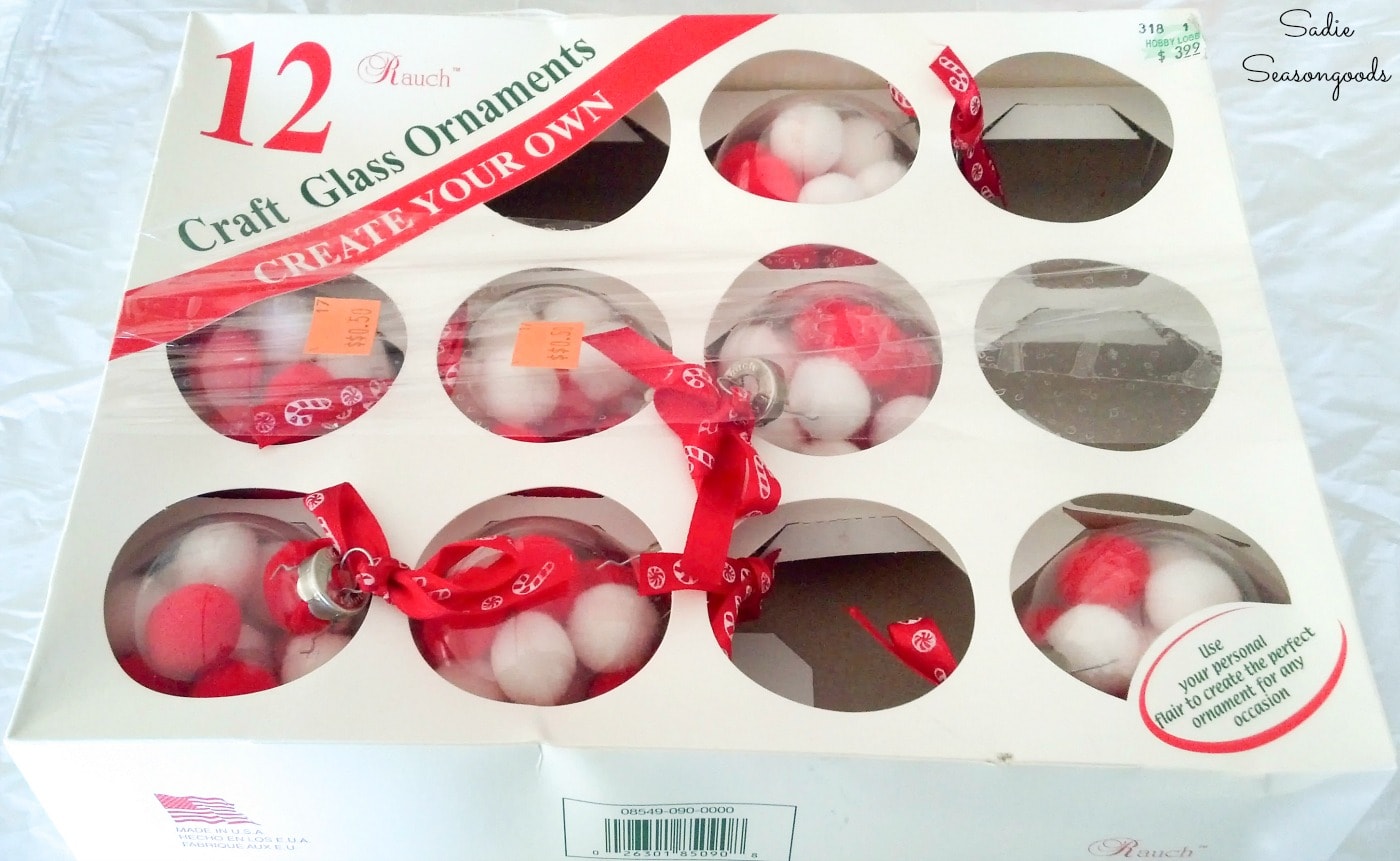
OR perhaps someone didn’t like their own craft and tossed it in their donation pile (been there, done that).
Removing the pom-poms would be easy so that I could try my own craft idea with the clear glass ornaments.
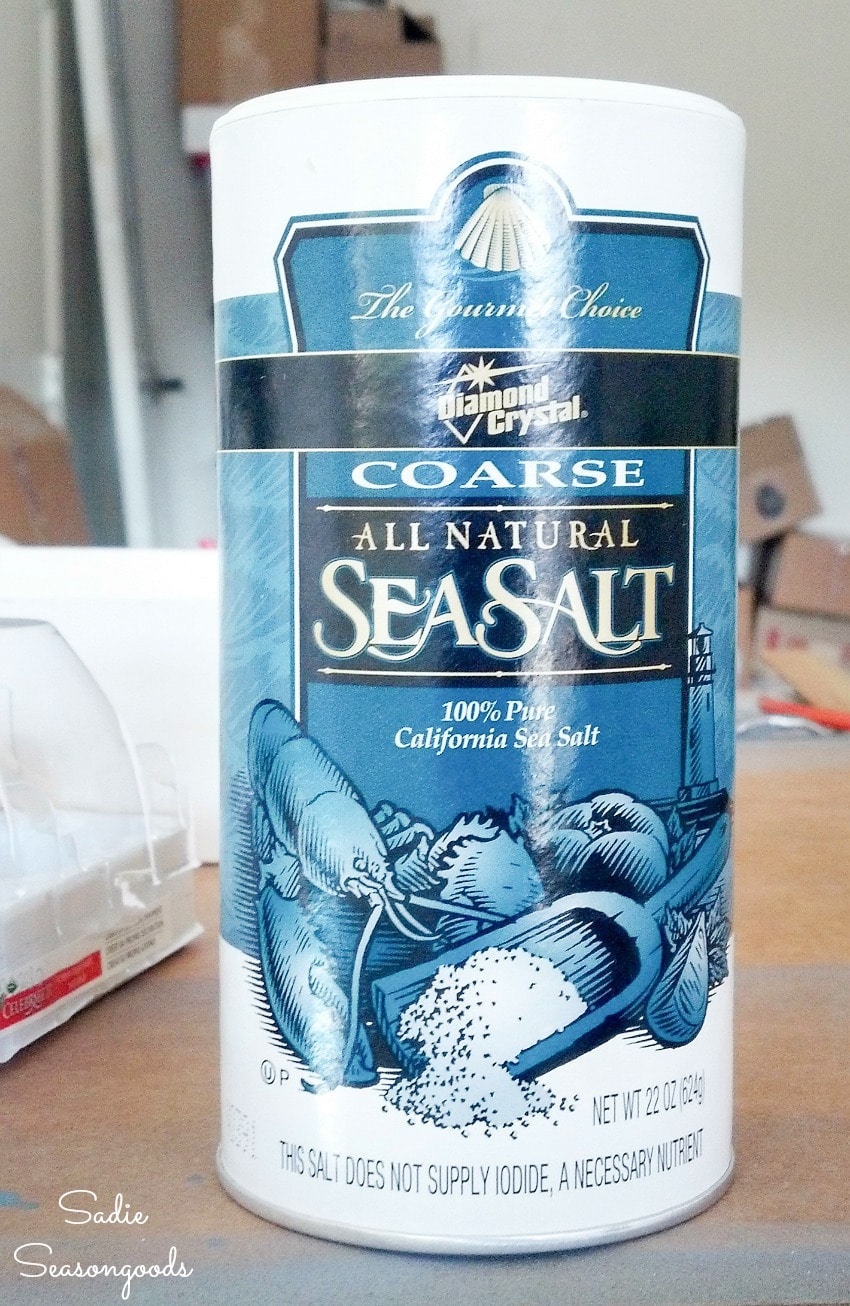
So, I gathered a few more things…including coarse salt from my kitchen.
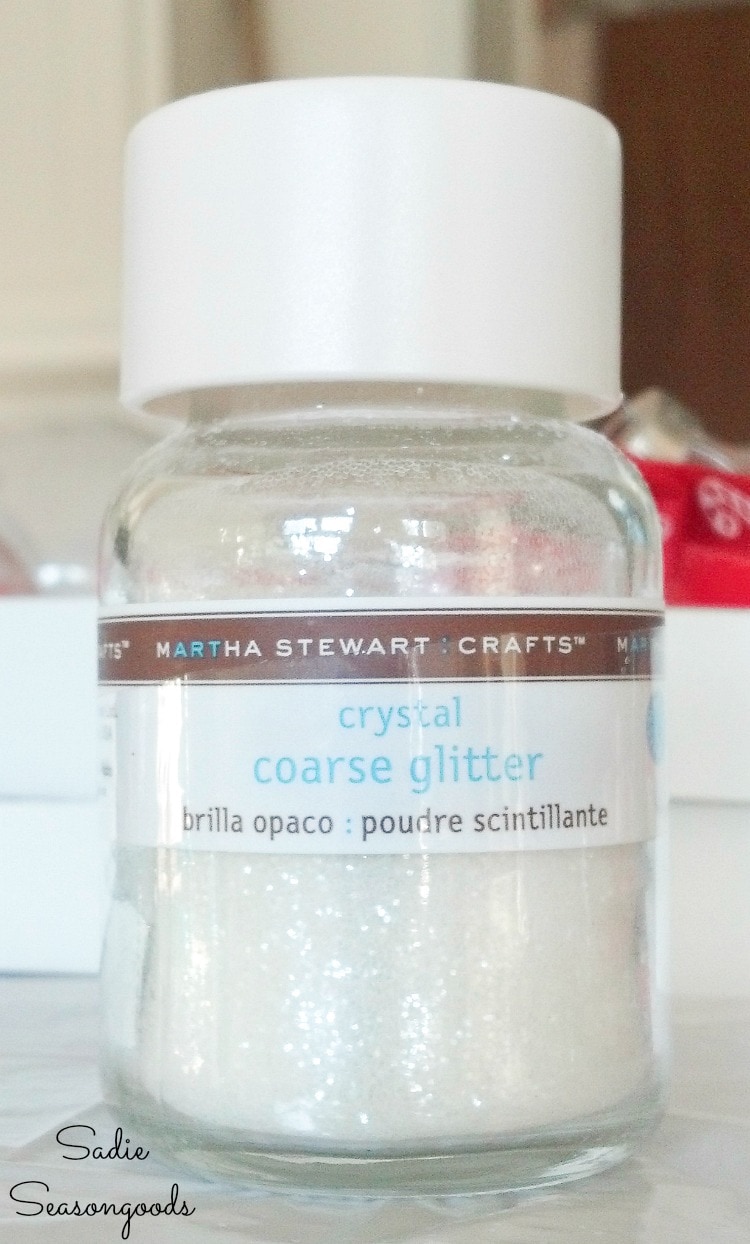
And some crystal glitter from my craft room!
I just needed one more thing to create these snow ornaments. And I bet you’ll be shocked when you find out what it is.
This post contains affiliate links for your crafting convenience. As an Amazon Associate, I earn from qualifying purchases. All blue, bold, and underlined text is a clickable link, either to a product or to a related post.
Clear Ornament Ideas with Salt and Glitter
Believe it or not, but the secret ingredient to this ornament idea is Pledge Floor Care! Although, I think they changed the name to Floor Cleaner now…and if you can’t find it, I’ve heard (but not yet tried) that clear glossy polyacrylic will work as well.
Anyway, it is perfectly clear and dries hard, keeping the glitter (or in my case, coarse salt) in place.
After removing the ornament cap, I poured some Pledge into one of my clear ornament balls. Then, I swirled it around several times to ensure a good coating.
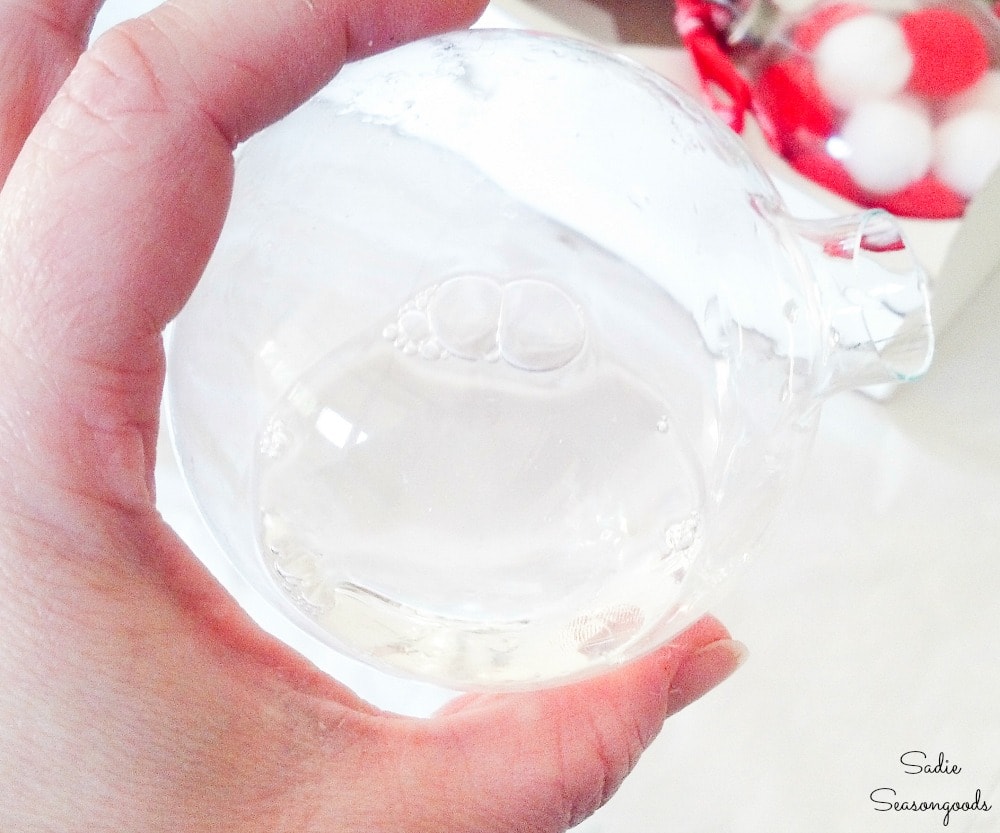
I also swirled it around in the neck of the ornament, too.
When it seemed as if I had thoroughly coated the interior of the ornament, I poured out the excess Pledge back into the original bottle.
Next, using a craft funnel, I poured in a couple of tablespoons (approximately) of coarse salt.
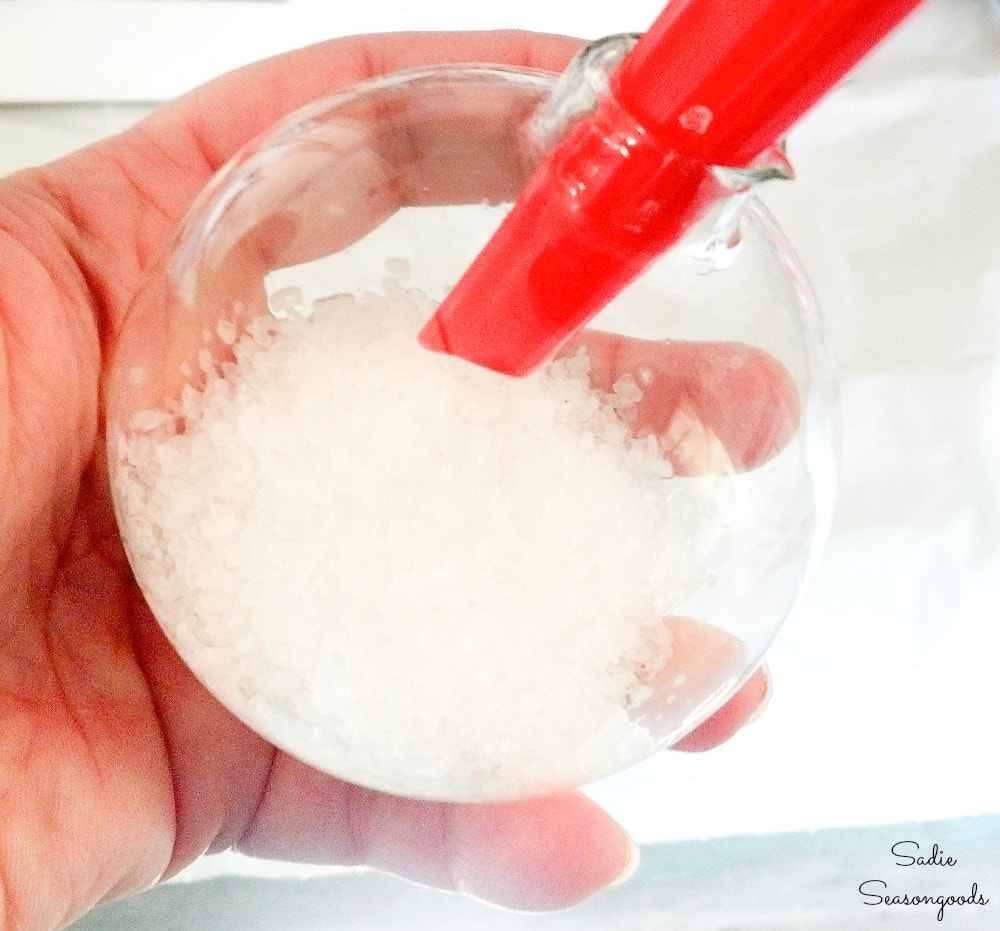
Now, unlike the glitter ornaments where you shake the glitter vigorously, the coarse salt requires a far more gentle approach. So, I slowly turned the clear ornament ball in my hands, allowing the salt to coat the interior.
Shaking the ornament causes the salt to clump up instead of clinging to the sides. Trust me, I figured this out the hard way!
When I was satisfied with the salt coverage, I tapped out the excess salt onto the paper plate (NOT the container of salt). You could either toss the excess salt or possibly use it for the next ornament, but do not use it for cooking or eating.
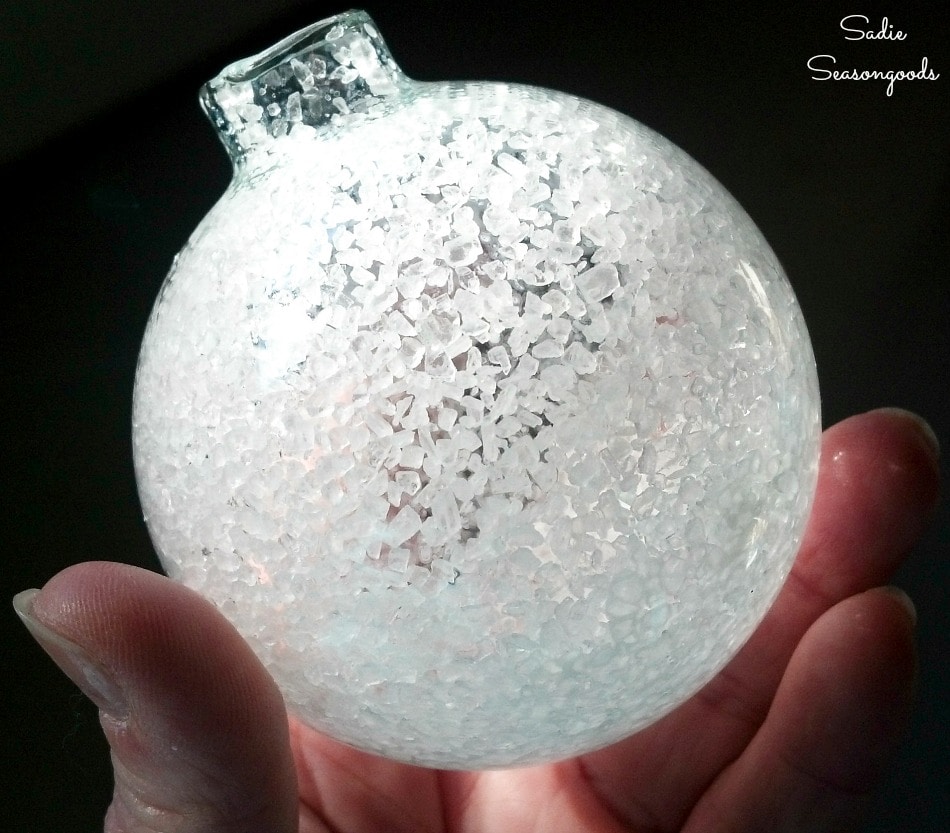
Snow Ornaments for Your Christmas Tree
To fill in the gaps between salt particles, I added some crystal glitter to the clear ornament. Once again, I slowly turned the ornament ball in my hand to allow the glitter to coat the interior.
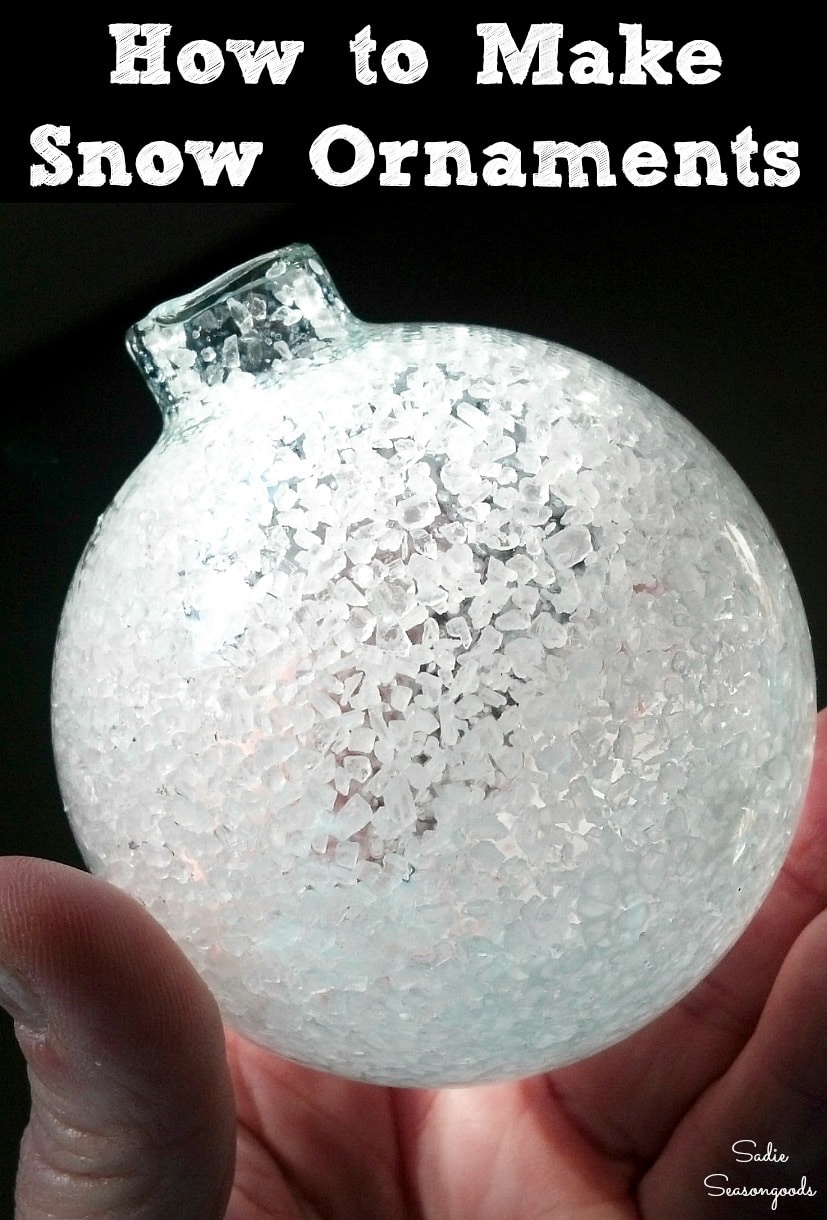
When I was happy with how it looked, I dumped out the excess glitter on a paper plate. And this is what I was left with!
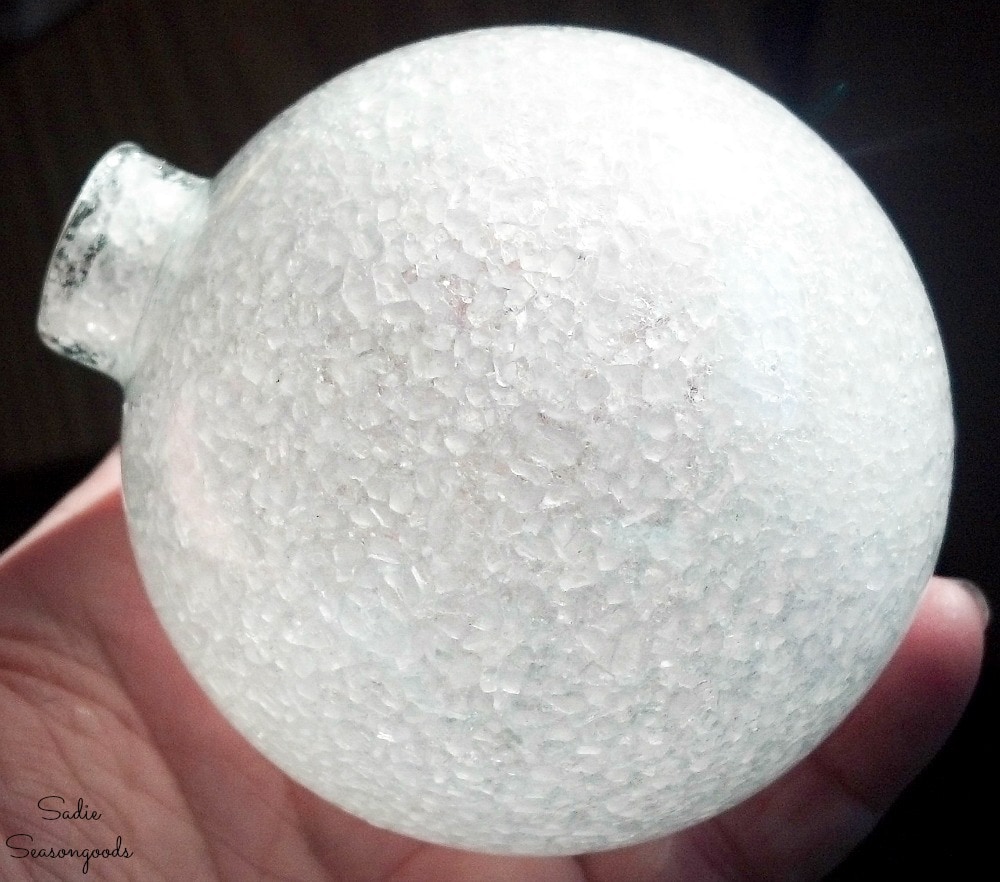
Next, it was time to finish off my snow ornaments by putting the ornament caps back on. But not the original ornament caps that came with them. I’d saved vintage ornament caps from broken ornaments for this very purpose! I just love the ridged caps.
But back to replacing the caps on my snowball ornament. If I did it in one step, I would likely scratch the salt and glitter in the neck.
So, I first removed the hanger wire from the cap and set the cap on the ornament.
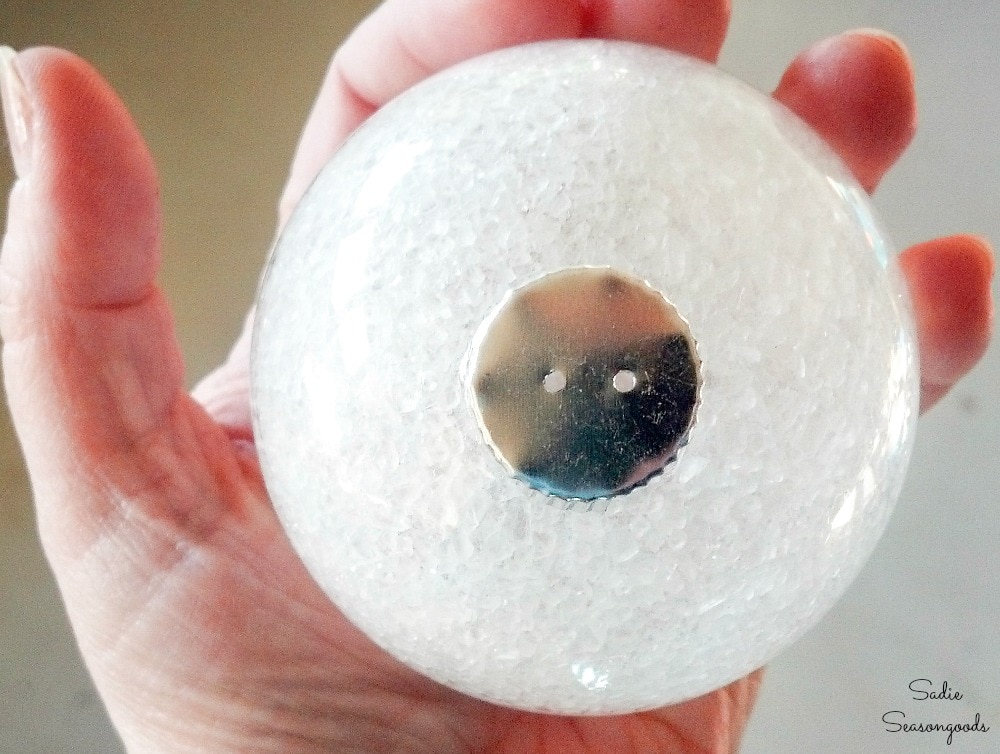
Next, I squeezed the wire hanger and set it in the holes of the ornament cap.
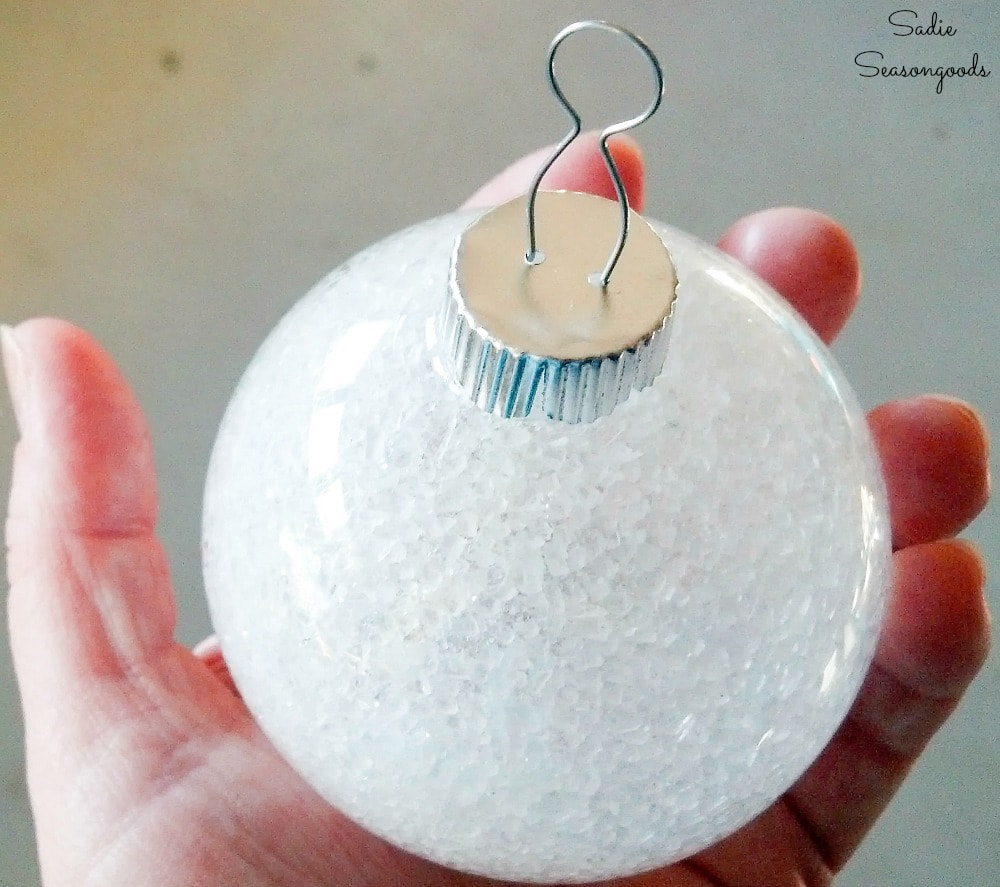
Lastly, I pushed it down gently until it “clicked” into place. No scratches, no mistakes!
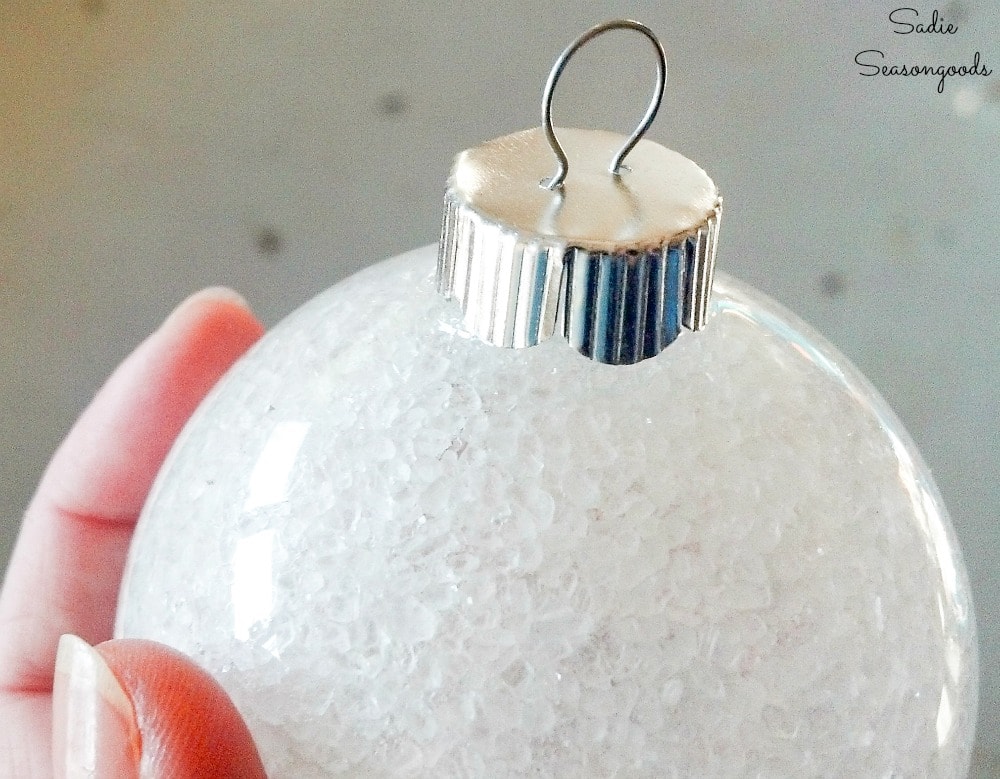
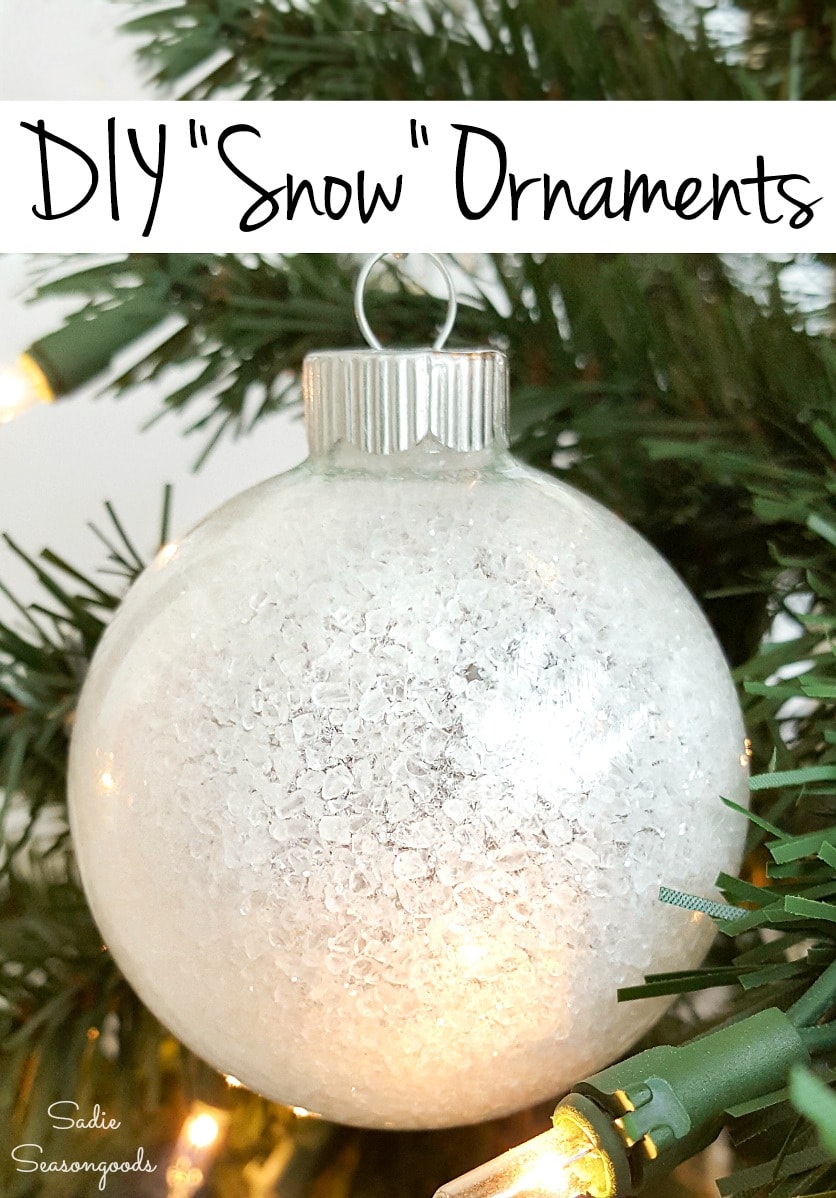
And just like that, the first of my snow ornaments was done!
Snow Ornaments from Clear Ornament Balls
There you have it, a no mess snow ornament that won’t get glitter on everything it touches.
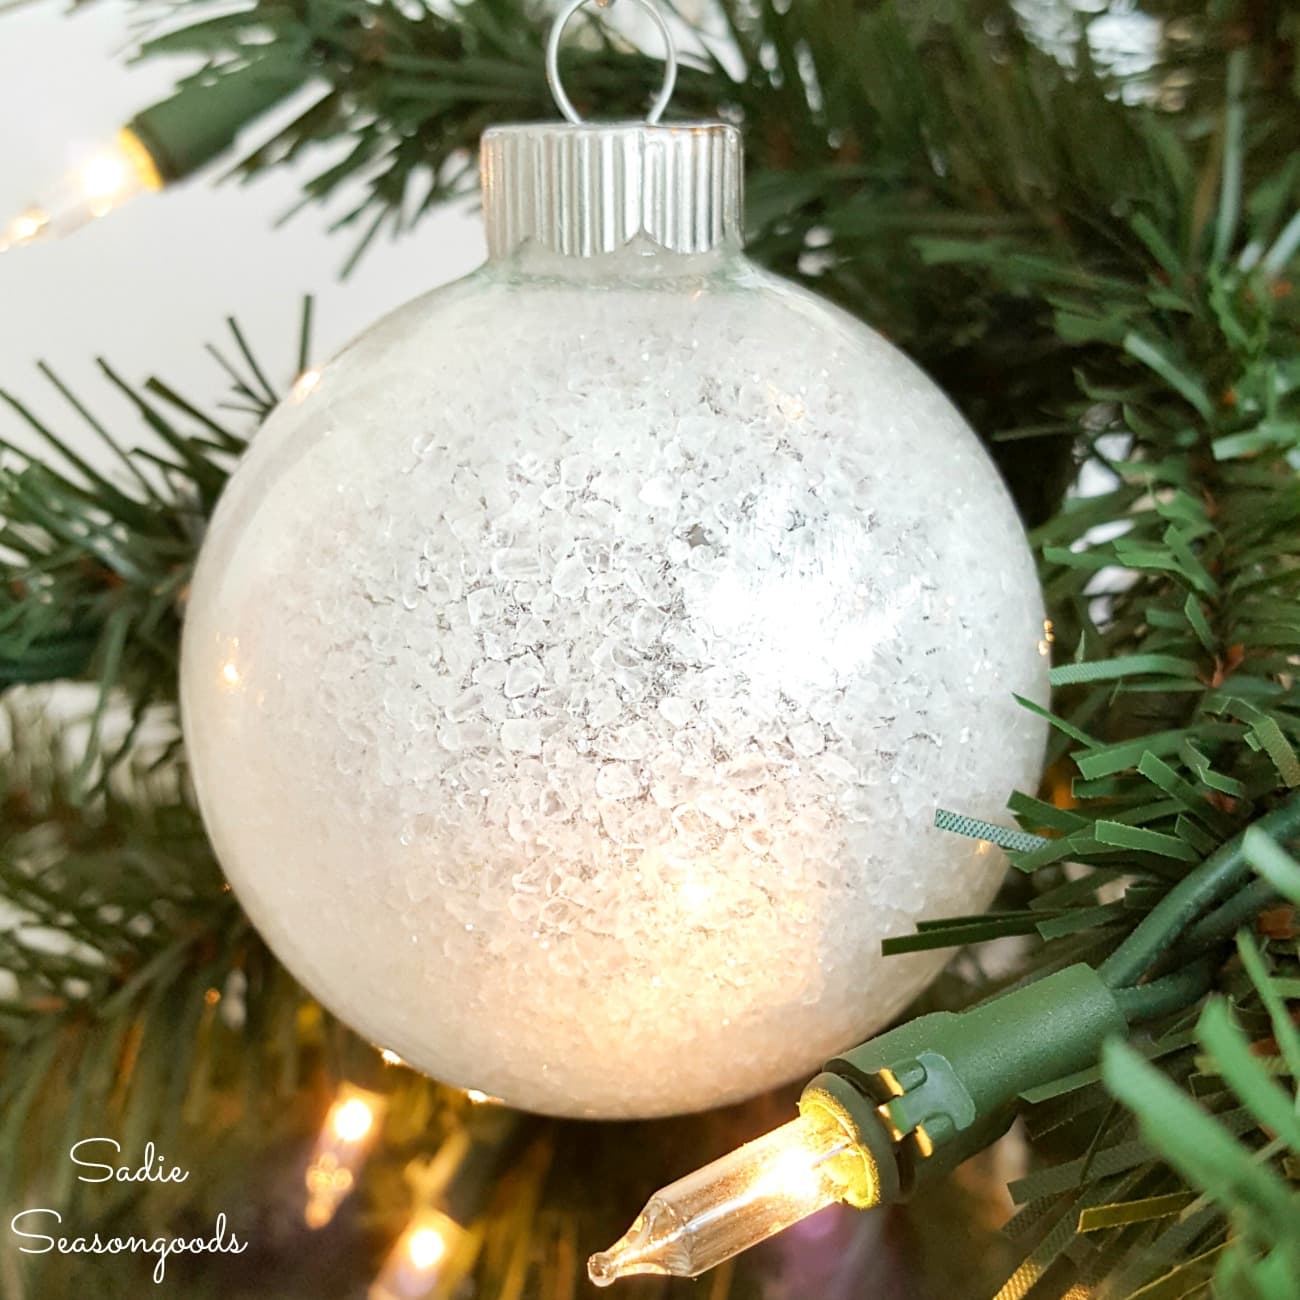
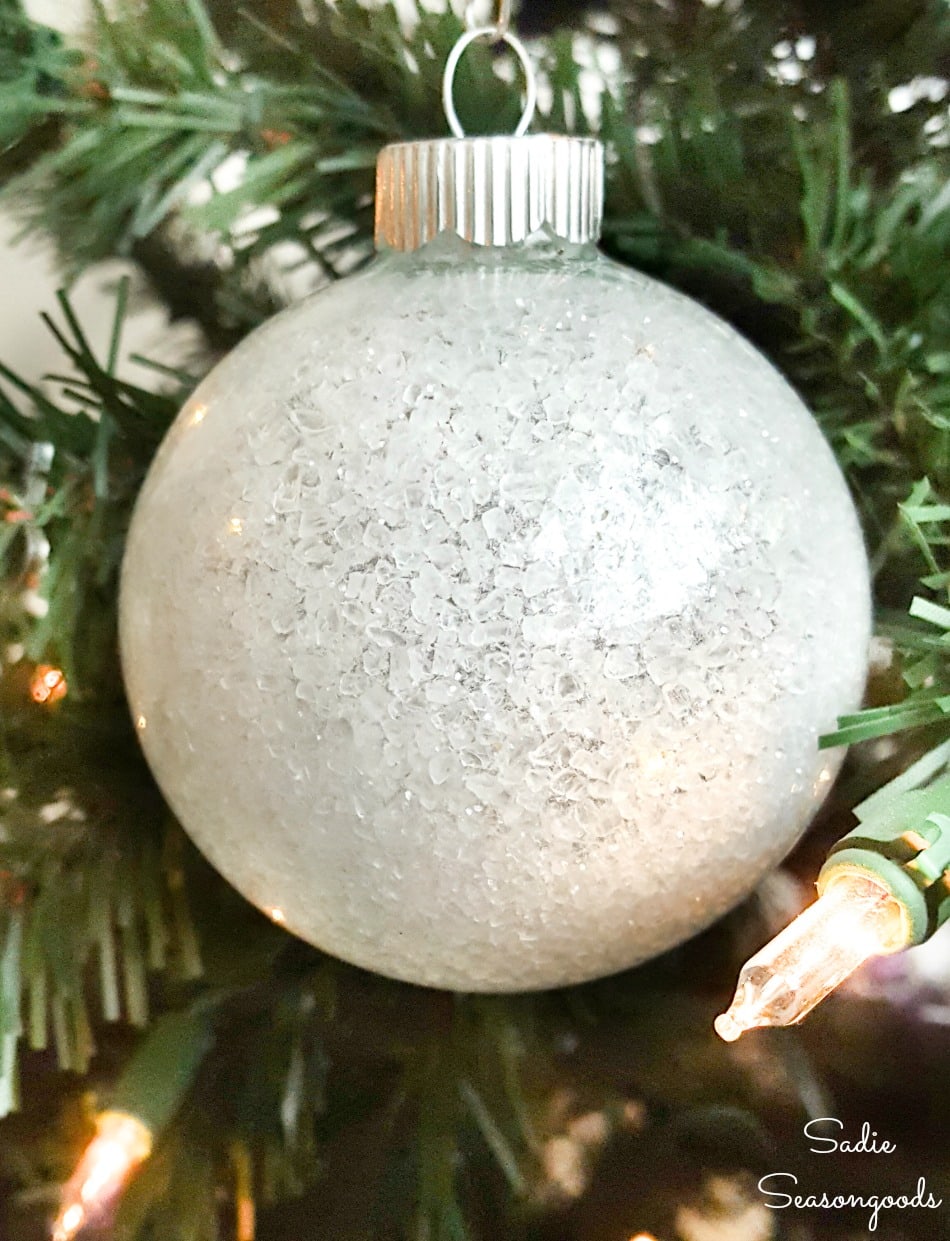
And update, I’ve had the same ones for years and it looks as good as it did when I first published this Christmas craft project tutorial!
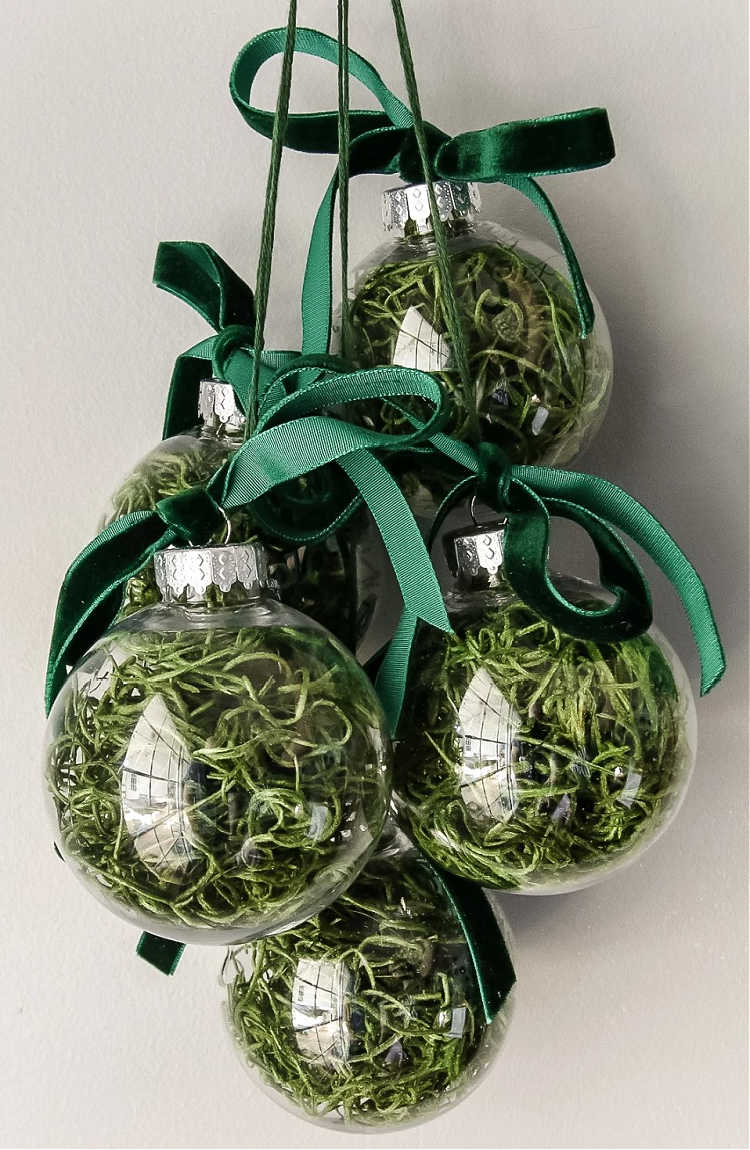
Here’s another fun idea for embellishing these clear glass craft ornaments in a mess-free way! Check out what my blogging pal, Morgan, did here– such a nod to the look of lowcountry South Carolina or Savannah, Georgia.
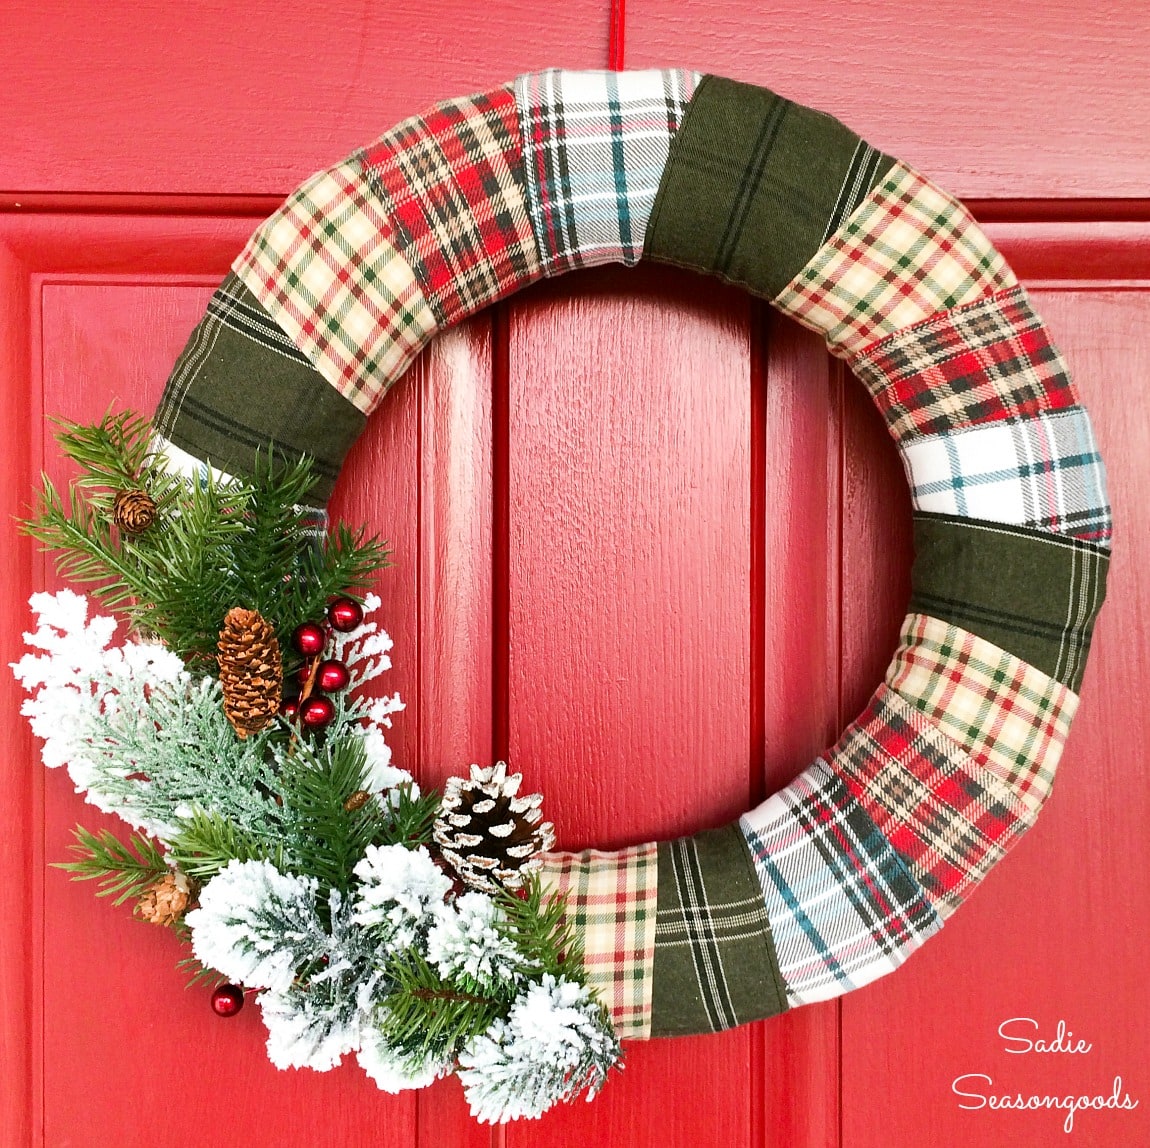
And if you enjoyed this upcycling idea for gorgeous Christmas ornaments, then you’ll love my rustic Christmas wreath that was made from flannel shirts!
Plus, don’t forget- my first book, “Crafting with Flannel”, has an entire chapter dedicated to Christmas projects. Including three upcycled ornament ideas!
Craft on!
S
Want to be notified when I publish my next upcycling project tutorial?
Join me on Social Media:
PIN ME!
Sarah Ramberg is the owner of Sadie Seasongoods, a website that celebrates all things secondhand. From upcycling ideas and thrifted decor to vintage-centric travel itineraries, Sadie Seasongoods is a one-stop shop for anyone who loves thrifting and approachable repurposing ideas. Sarah is also the author of “Crafting with Flannel” and has been featured in numerous media outlets and magazines.





These are so cute!!
Question . . . do you pour the Pledge out before adding the salt?
Hi, Stefanie- yes, pour out the extra Pledge. There still should be plenty clinging to the inside of the glass ornament, but you don’t want a little puddle at the bottom. Good question!!
AWESOME! Can’t wait to get started!! 🙂
And really easy!! I love the normal glitter ones, but the salt really adds something special!
This is so clever! I would have never thought of using a cleaning product to adhere glitter/salt! And I agree with the whole doing christmas projects early…people think I’m crazy for preparing for Halloween in July! Thank you for sharing!
It’s has COMPLETELY revolutionized my ornament-making skills!! I love glitter, but I don’t love it all over my house during the holidays…so “Glitter/salt on the inside” is like an answer to my crafting prayers! 🙂
This is a great idea! I find that glitter only sometimes looks a bit too kitsch but the salt really balances it out. Thank you for sharing! Visiting via Inspire Me Wednesday Linky Party
These look great and I will definitely be pinning them to my Christmas 2014 board… Although I have no idea yet what theme we’ll be using, I’m sure I can fit these cuties in!
I’ve seen the glitter technique for these before, but never the salt – brilliant and thank you for sharing (found you at Kathe’s party today).
Thanks, Sarah!! Yes, I thought this was a nice change from the glitter- but I still love those, too. 🙂
These are beautiful! I love how it looks like snow, but it won’t be messy!
Thank you!!! And that’s the best part, whether you use the salt or glitter- no mess!! 🙂
When I saw the name “frosty balls” I had no choice but to pop over and have a look! I am allergic to Christmas in the summer but for this fun idea I have made an exception!
Thanks, Julie! My other title option was “Salty Balls” and I figured “Frosty Balls” was a little less cheeky. 😉
Those frosty balls are great! lol, I love your writing it’s great. And I agree those pesky pom poms do leave a trail of fuzz! Cheers!!
Thanks, Jen!!! What a wonderful compliment!! And hello, I love that you’re the cocktail lady. Did you see my cocktail umbrella wreath blog post? Clearly we are meant to be blog-friends. 🙂
these are beautiful and seem so simple. thanks for sharing!
Thank you, Audrey!
What a great idea! Thanks for coming and linking up at #The Weekend Social. Please be sure to come back next week starting Thursdays at 9PM EST on Kitchen Dreaming.com ! I hope to see you there!
These will be a great project to do with the boys at Christmas!
These will look so pretty on your tree! Every year I tell myself to start working on my Christmas projects before the snow falls, and every year I miss my deadline. I’ve got a couple of more weeks to see if this year will be any improvement. Thanks so much for sharing at the Make it Monday Party! Hope to see you again next week.
Very cool. I just love Christmas!! I remember I did this one year with different colors of paint. It did take a gentle hand, but is exciting. I love the salt idea. Thank you for stopping by Merry Monday. Pinned to my Christmas board!
First just let me say that I love Christmas, and love the fact that you make Christmas ornaments all year long. Most of the time I find that I am most inspired to create Christmas Decor right after Christmas but end up forcing myself to wait until November, but then by the time November hits I’m so busy making gifts and wrapping presents that I don’t have the energy to make decor. Now I’m thinking that I’m just going to embrasure my inspiration and create in January like I want to. Thanks for the inspiration.
PS I really love the Frosty Balls.
I know!!! You just can’t wait until Christmas music is playing on the radio because it’ll be too late. It’s hard to be inspired when it’s 95 degrees out, though!! 🙂
Love this!
Have you tried putting a sticker or some sort of mammogram on the inside? If so does the Pledge take it off or do you have another suggestion for this besides putting it on the outside? Thank you!
I haven’t tried that, Dee (assuming you mean monogram). I think it would be worth trying it with vinyl letters for sure!
Thank you for your suggestion and may have to try!
Ha! The title of your post gave me the giggles! Thanks for sharing! Also wanted to let you know about a new linky party starting this Saturday at 8pm called “Found & Foraged” Can’t wait to party with you at http://www.houseofhipsters.com
Awesome, Kyla- thanks!! I’ll plan to be there!
These are so pretty! And easy! I’m adding it to my “Christmas” board. Thanks for sharing at the Weekend Wind-Down party!
Nicole =)
Thank you, Nicole!
These are really nice!
Thanks for coming and linking up at our Happy Holidays Link Party. We’d love to see you back next week starting Saturdays @7pm ET on The Midnight Baker from now until Christmas!
Judy@ http://www.bakeatmidnite.com
I thought after letting them dry, adding colorful rice lights and making a garland for either your tree or use as a decorative piece. Love your ideas! Keep up the great work!
Hmmmm, wonder what results I will get with colored glitter? I wold think beautiful—gonna have to go try this.
Can you use plastic ornaments ????
Hi, Paul! I haven’t tried plastic, but another commentor did and said they worked just fine!!! 🙂
These are so cute and seem very easy to make. Question though…I’d like to create some that include the year inside, do you have any tips or advice on how I could do that?
How long do I need to “let these dry” before I put the “cap & wire” on top? SO anxious to make these! Thank you for sharing this great idea!
Hi, Clara- I actually can’t recall how long I waited (this project is several years old now). But I’d probably recommend about 30 minutes or so!
These are great! Sign me up for the no-mess glittery projects. 🙂
Preach!!
Love your no mess frosty ball ornaments they turned out so pretty, and best of all no glitter on everything. I never would of thought of using Pledge floor wax, will have to give that a try.
Sadie, can you take a picture of the liquid pledge you’re talking about with the frosted ornament? I think they are beautiful!! I want to try it but I don’t want to use the wrong thing.
Hey, Cindy- there should be a link (bold, blue, underlined) where I discuss it. They’ve changed the name over the years, so the packaging changes, but that link should take you to Amazon with the current name/packaging! (I’ve also heard that it’s sold at Walmart- but since I never shop there, I don’t know that for certain.) Hope this helps!
Great project Sadie, they look beautiful. I made some with glitter a few years ago and you can also use clear waterbased polyurethane to get the salt and glitter to stick.
Good to know!
I would like to know if it’s the spray pledge
No, it is not the furniture wax Pledge. I link to the product in my post!
Do the clear ornaments have to be glass or do you think the plastic ones will work?
I would assume plastic would work, but have not actually tried it myself to confirm.
Instead of glass wll plastic globes work?
Theoretically, yes- but since I haven’t tried plastic before, I can’t say for certain.
So I couldn’t find the Pledge brand floor cleaner. I used Quick Shine Multi-Surface Floor Finish. Also, I forgot to grab sea salt when I was out, but had Epsom salt leftover from another craft project. I used this method on plastic disc shaped ornaments that were on clearance at Michaels. Worked beautifully! I added vinyl names that I cut with my Cricut machine. Turned out great. Thank you so much for sharing this! 🙂