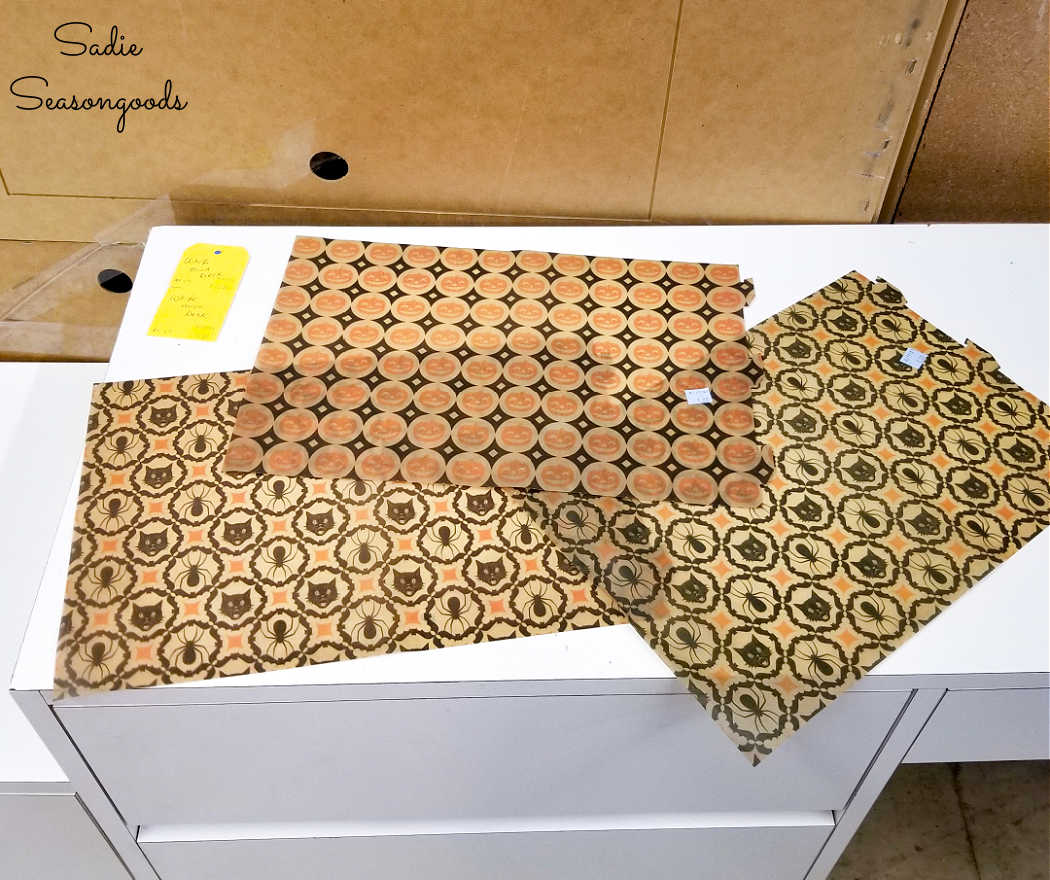
Finding this vellum paper while thrifting was quite the delight, I must admit. The graphics were vintage-inspired and my mind was immediately flooded with any number of project ideas. But the one that appealed to me the most involved making a Halloween tray.
And to make a Halloween tray that would show off a piece of the vellum paper, I’d need the right picture frame. Back to the thrift store I went!
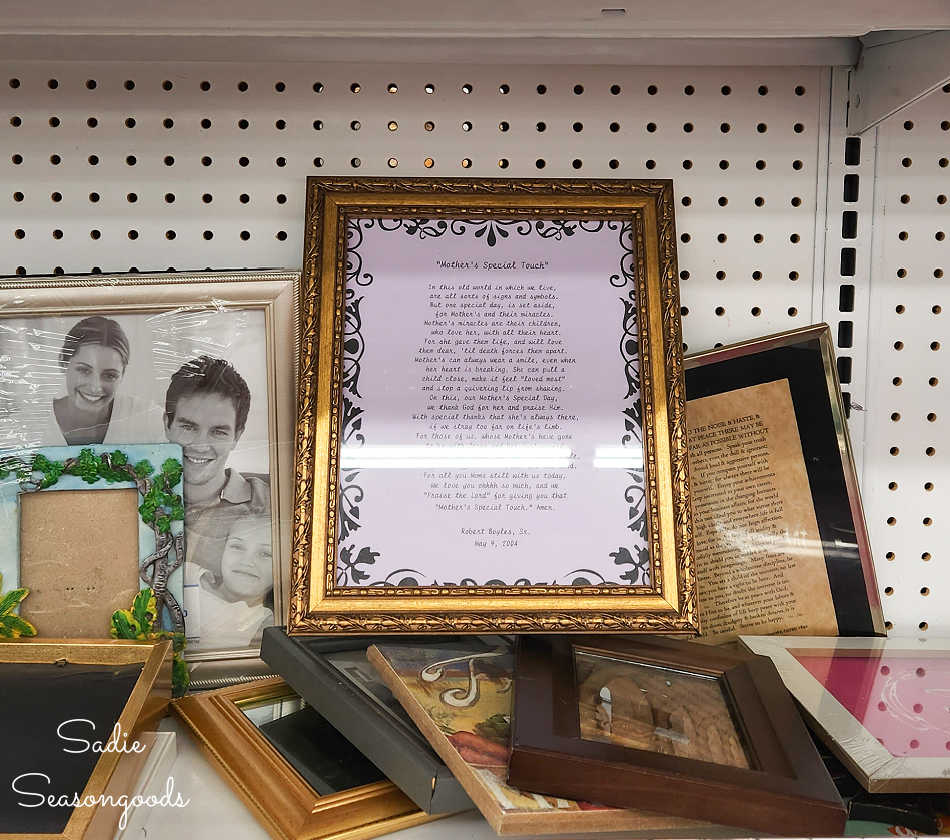
Now, I knew my Halloween tray could be cute enough with just the vellum paper and a painted frame. But what if I kicked it up a notch?
What if I turned my Halloween tray into a FOOTED tray? A footed tray that used PLASTIC SKELETON FEET as the, well…feet?
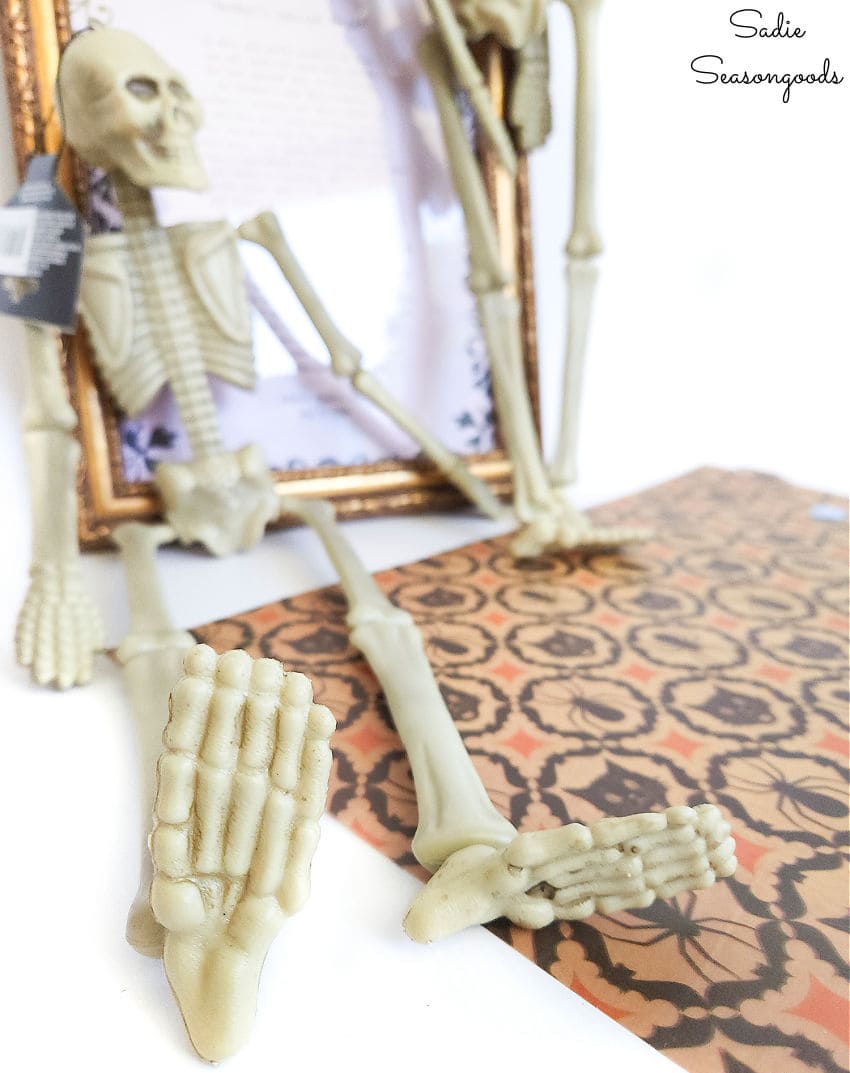
Oh my goodness, my plans were almost TOO exciting. And I couldn’t wait to get started…
This post contains affiliate links for your crafting convenience. As an Amazon Associate, I earn from qualifying purchases. All blue, bold, and underlined text is a clickable link, either to a product or to a related post.
From Picture Frame to Halloween Tray
First, I disassembled the picture frame, setting aside the glass pane to be cleaned. After wiping down the frame itself, I went outside to spray paint it black.
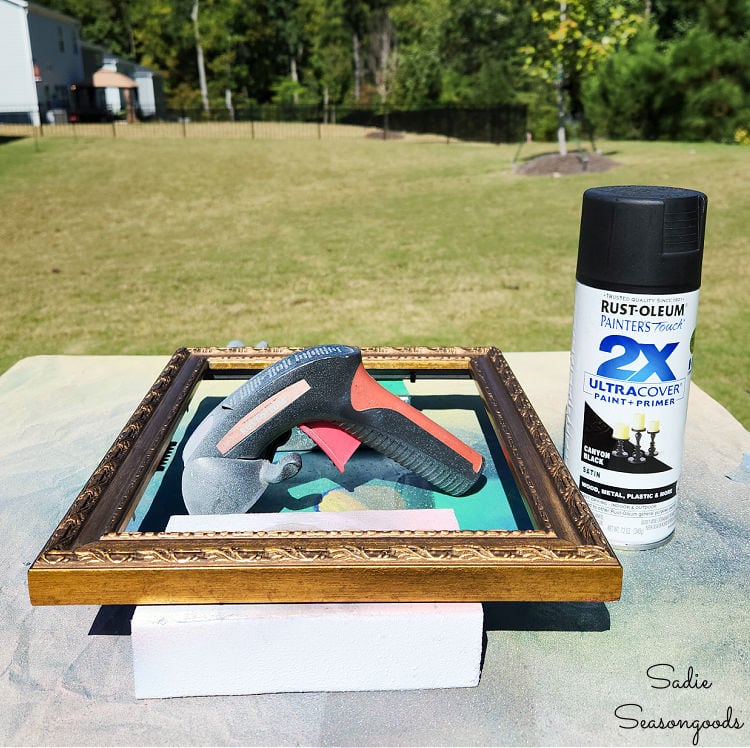
I let the black paint dry thoroughly. Then, I grabbed some rub n buff in my favorite Halloween shade of copper-orange.
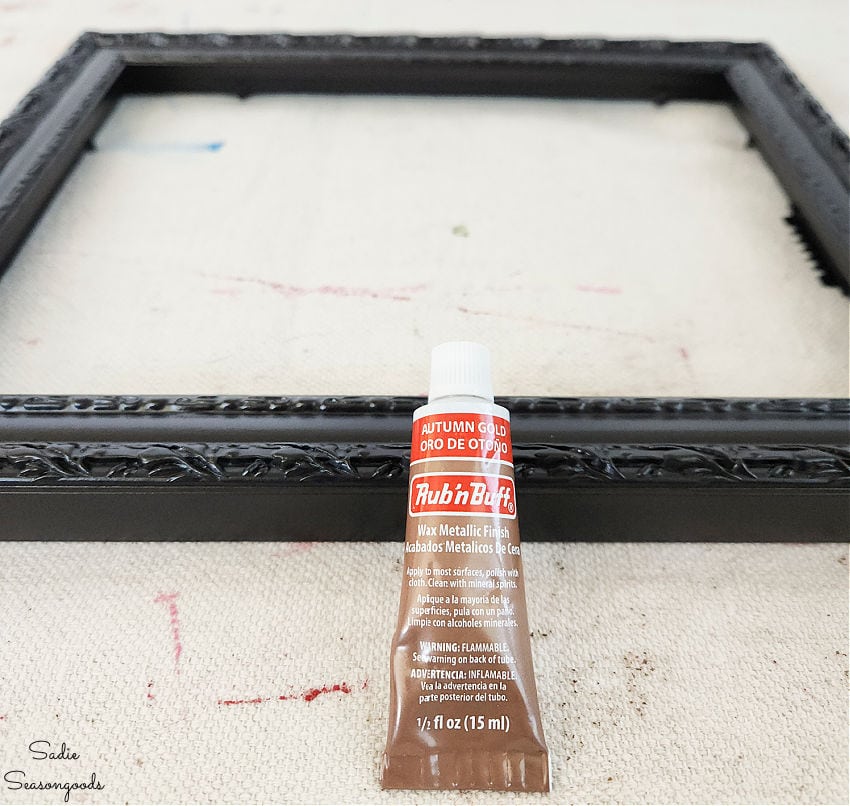
You may recall that I used the same color of rub n buff on this haunted house decor project! Well, I planned to highlight the embossed details on my Halloween tray frame the same way.
I squeezed a small dollop of metallic wax on a paper plate and touched a fingertip to it. Then, I simply ran my fingertip along the embossed details of the frame.
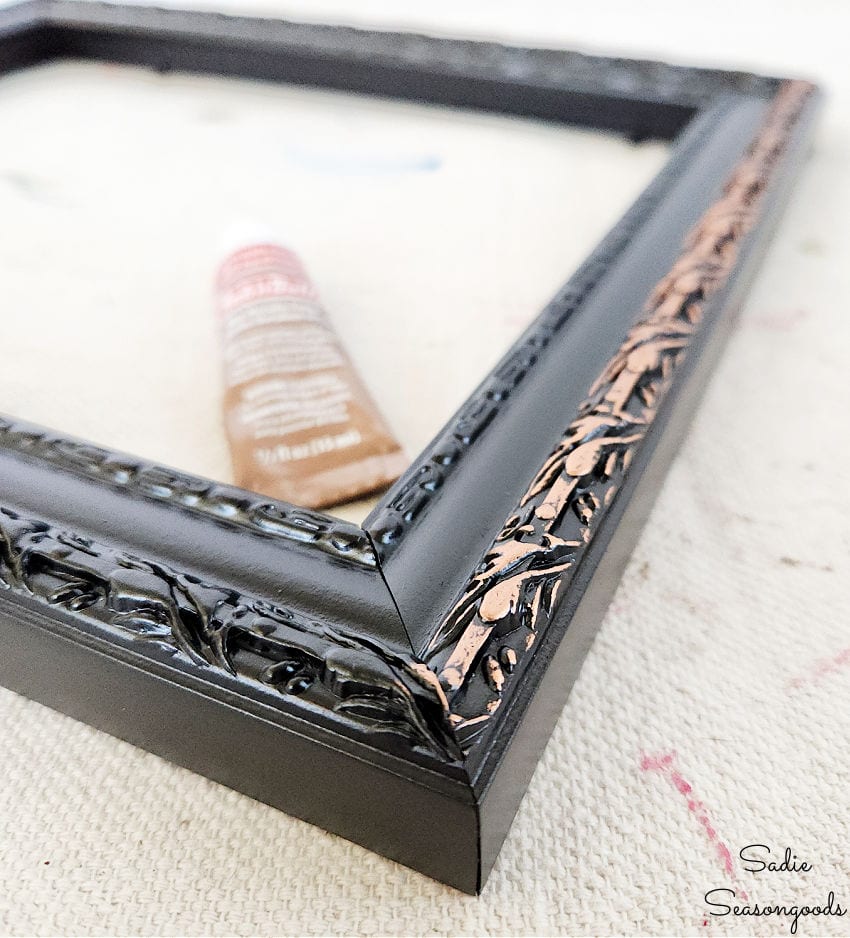
A little rub n buff goes a long way! Especially if you’re just trying to hit dainty details like this. And I simply find my fingertip to be the most foolproof method of doing this.
When all was said and done, my picture frame had been given quite the Halloween makeover!
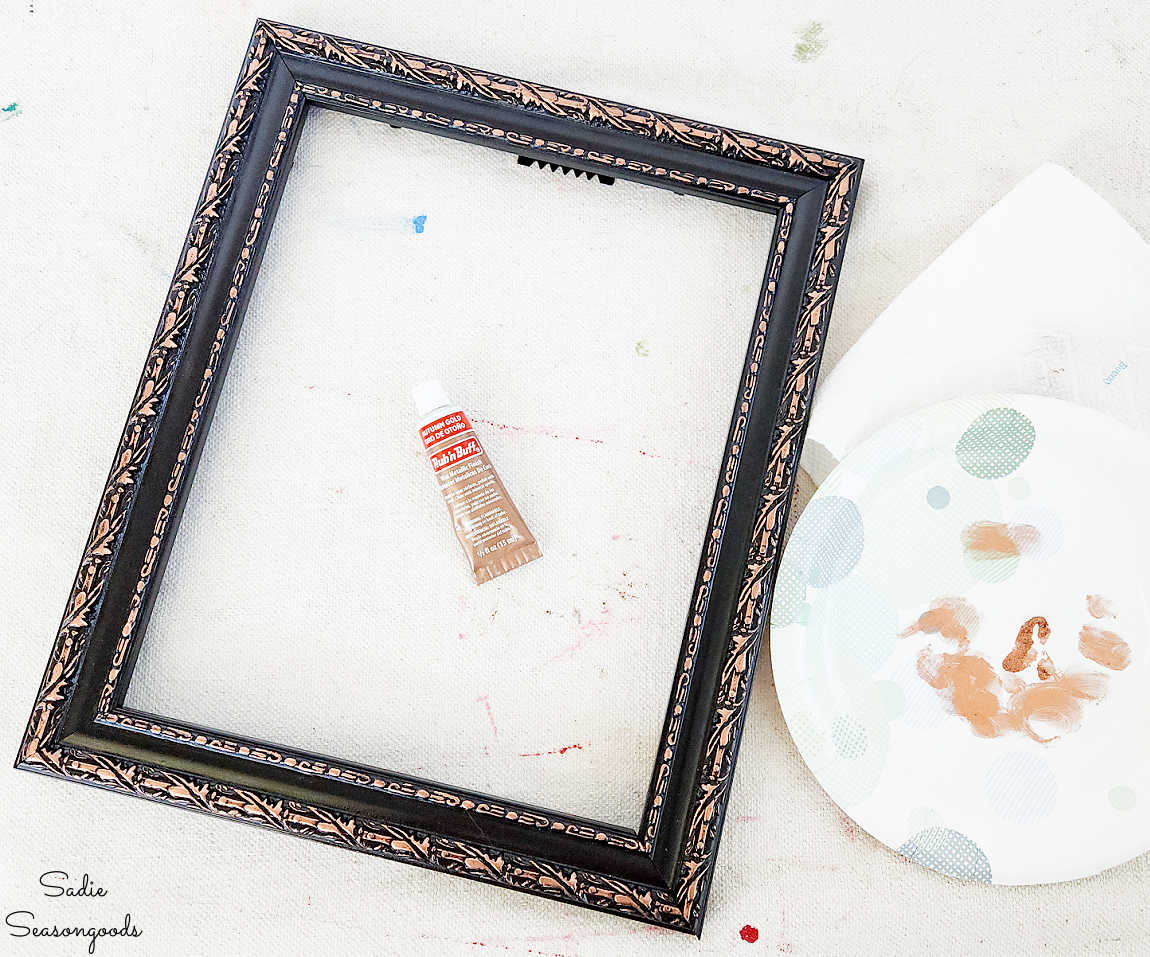
Next, I set the frame aside for the time being so that I could work on the plastic skeleton feet!
Skeleton Feet for a Footed Tray
Since the frame was now copper-on-black, I decided the skeleton feet should be black-on-copper. So, I “amputated” the legs from two Dollar Tree skeletons and brought them outside for painting.
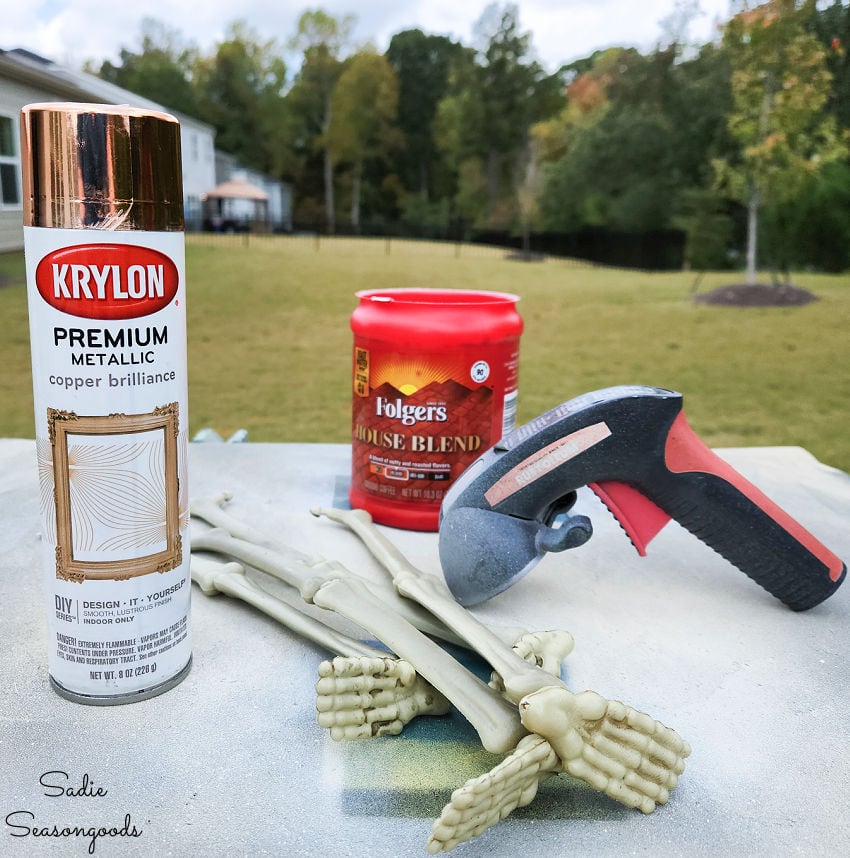
I don’t like shopping at Dollar Tree. But they had the best skeletons for my needs- the feet were flat and easy to remove from the rest of the skeleton. So, I made an exception to my normal rule of Dollar Tree avoidance!
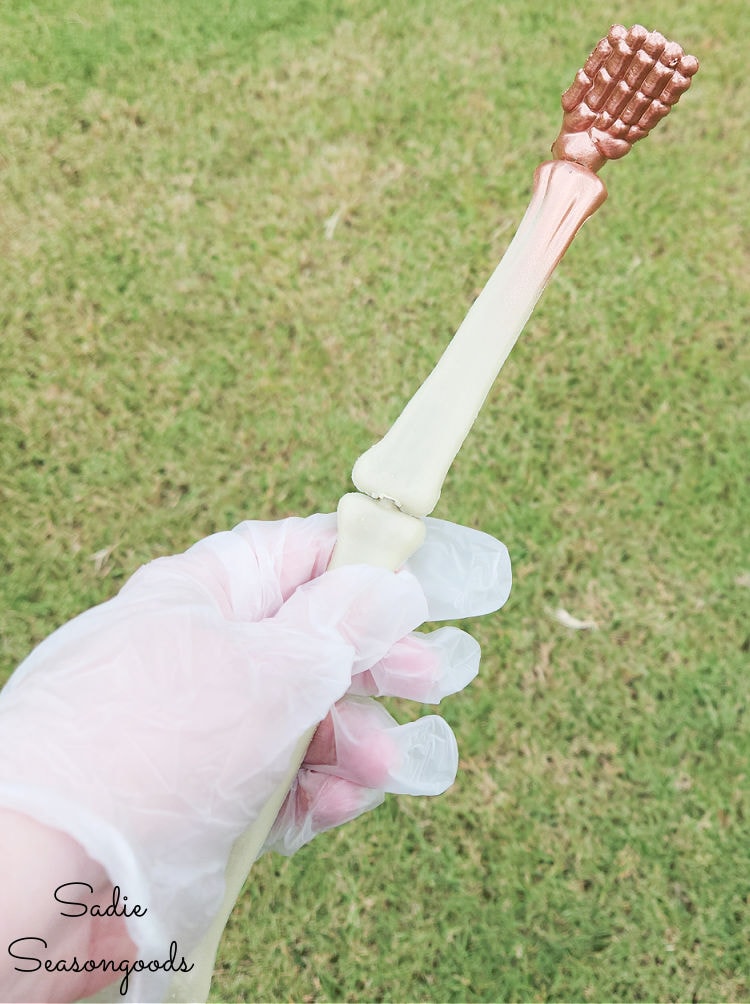
First, I held each leg in a gloved hand while I sprayed my favorite copper spray paint on the feet- all the way around.
Then, to dry, I stuck them in a repurposed coffee can that I’d filled with dried lentils!
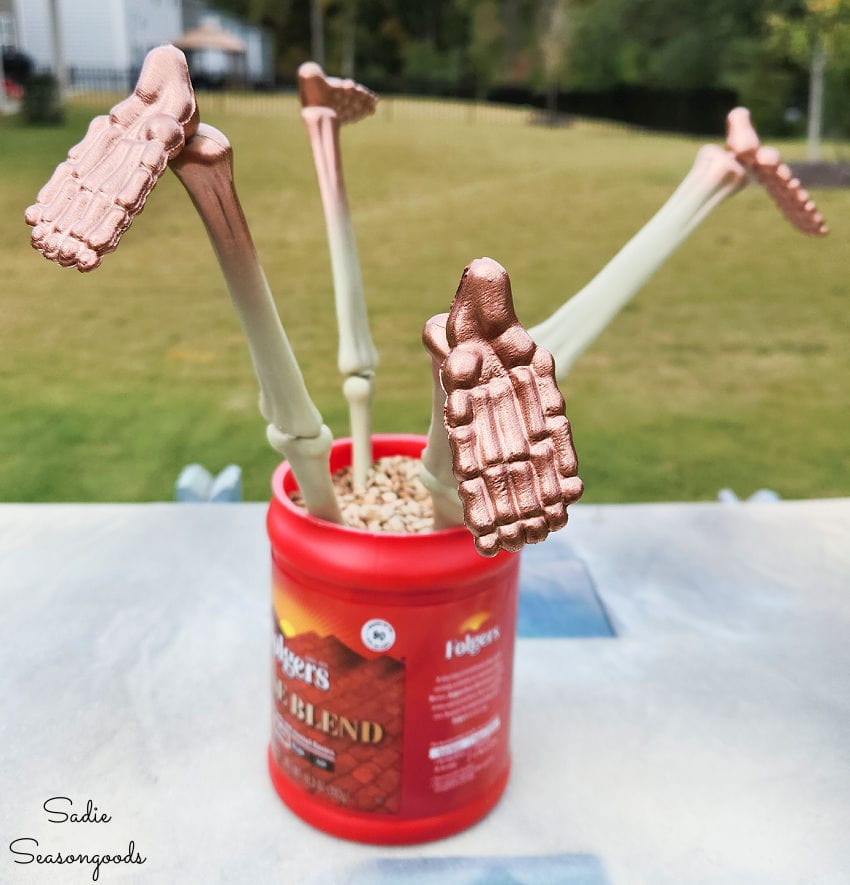
This way, the painted feet didn’t have to rest on any given side and scuff up the fresh coat of paint I’d given them! And I just store my “craft beans” in these coffee beans for whenever I need them.
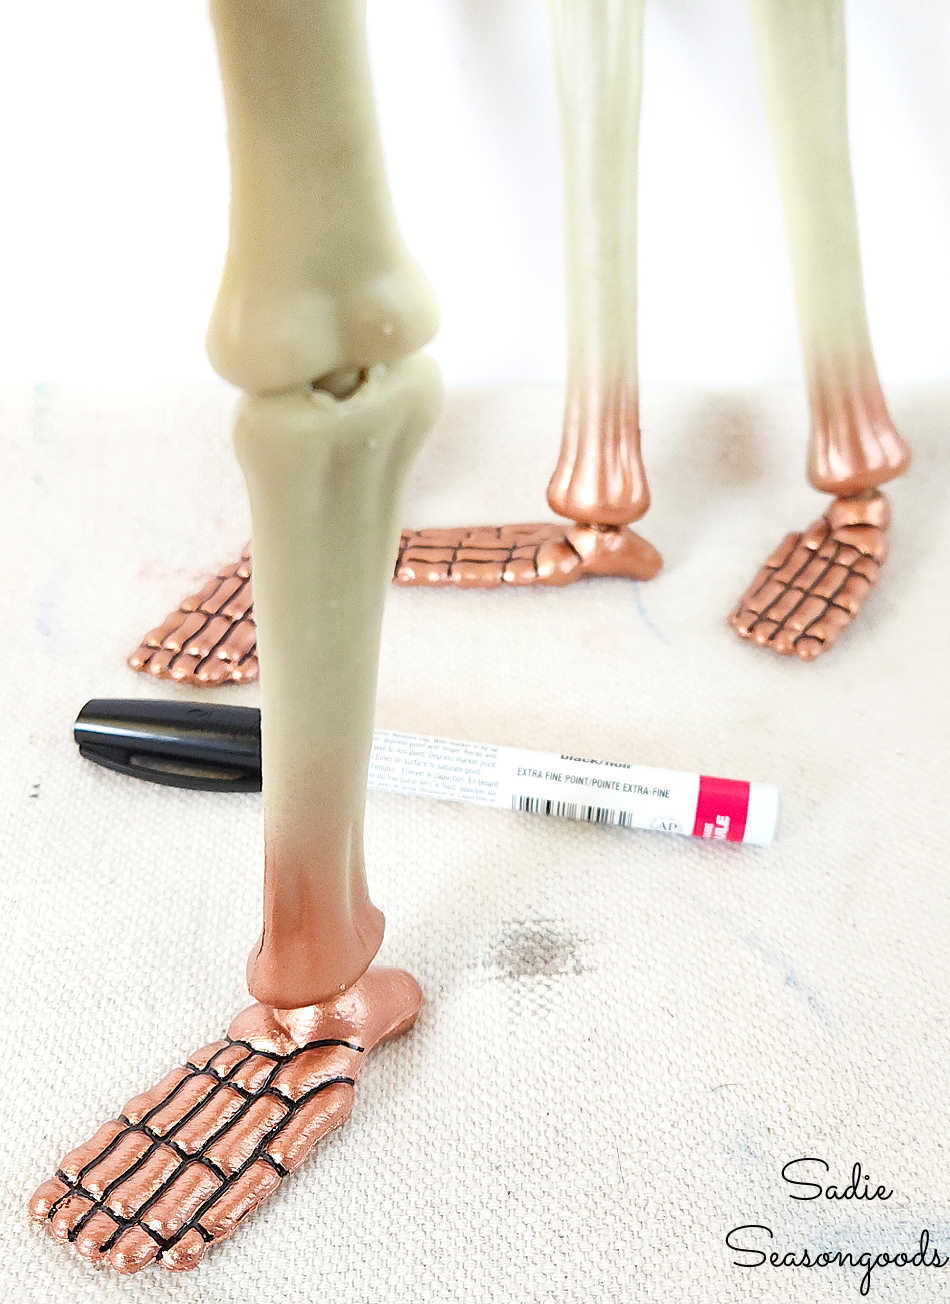
Once the feet had dried, I used this fine-point paint pen to outline the bones (only on the top, since the soles of the feet wouldn’t be visible). Hence the black-on-copper look I had mentioned earlier!
Finishing Up a Halloween Tray
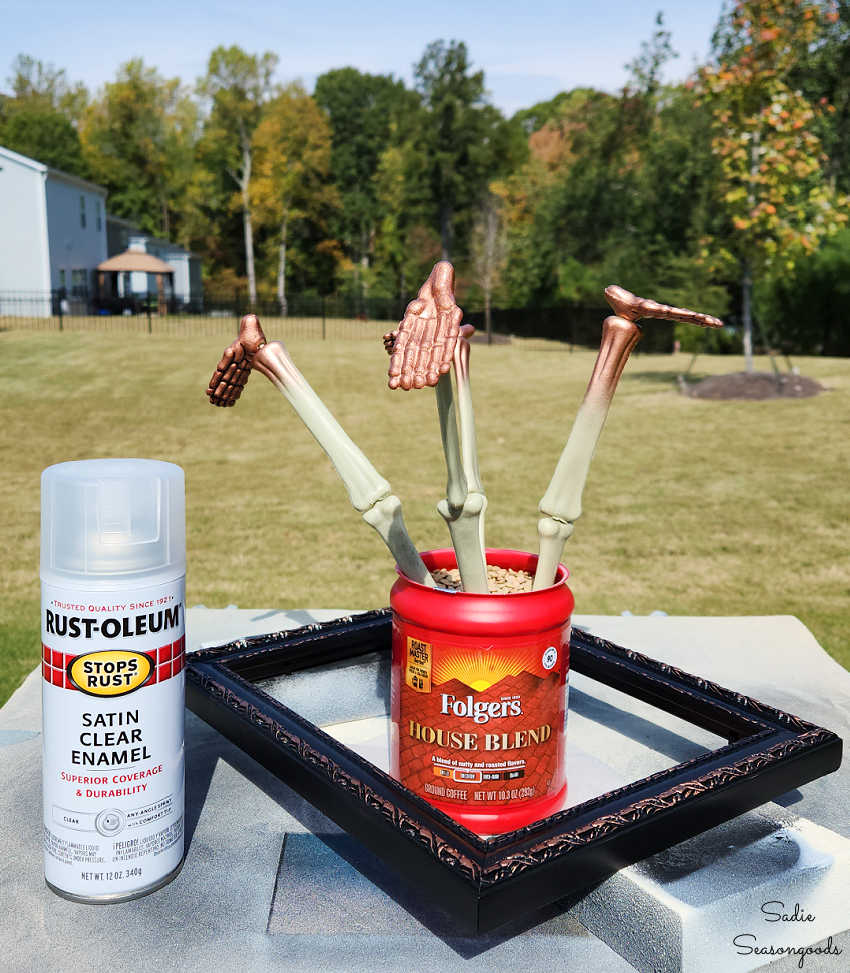
Now that everything had been properly painted, I sealed all the components with a clear coat to protect my hard work.
Finally, FINALLY, I turned to the vellum paper that first launched this idea for a Halloween tray! I cleaned the glass pane and used it to trace and cut out the vellum paper and some bright white foam board to back the vellum paper.
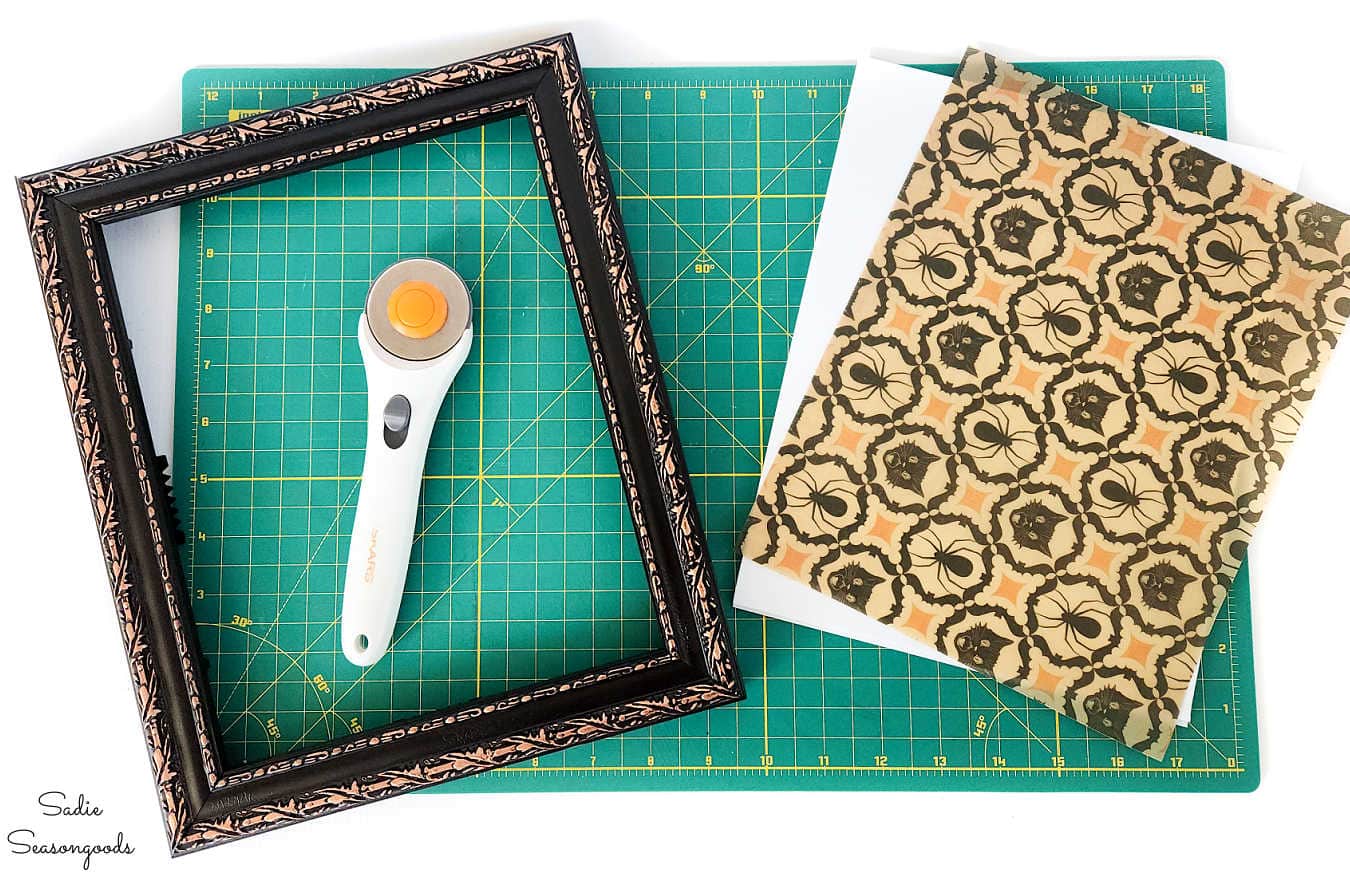
Bright white foam board helped the muted colors of the vellum paper pop! Much more so than the original cardboard backing that the frame came with.
Next, I assembled the frame and gathered the skeleton feet and my hot glue gun to finish up the footed tray!
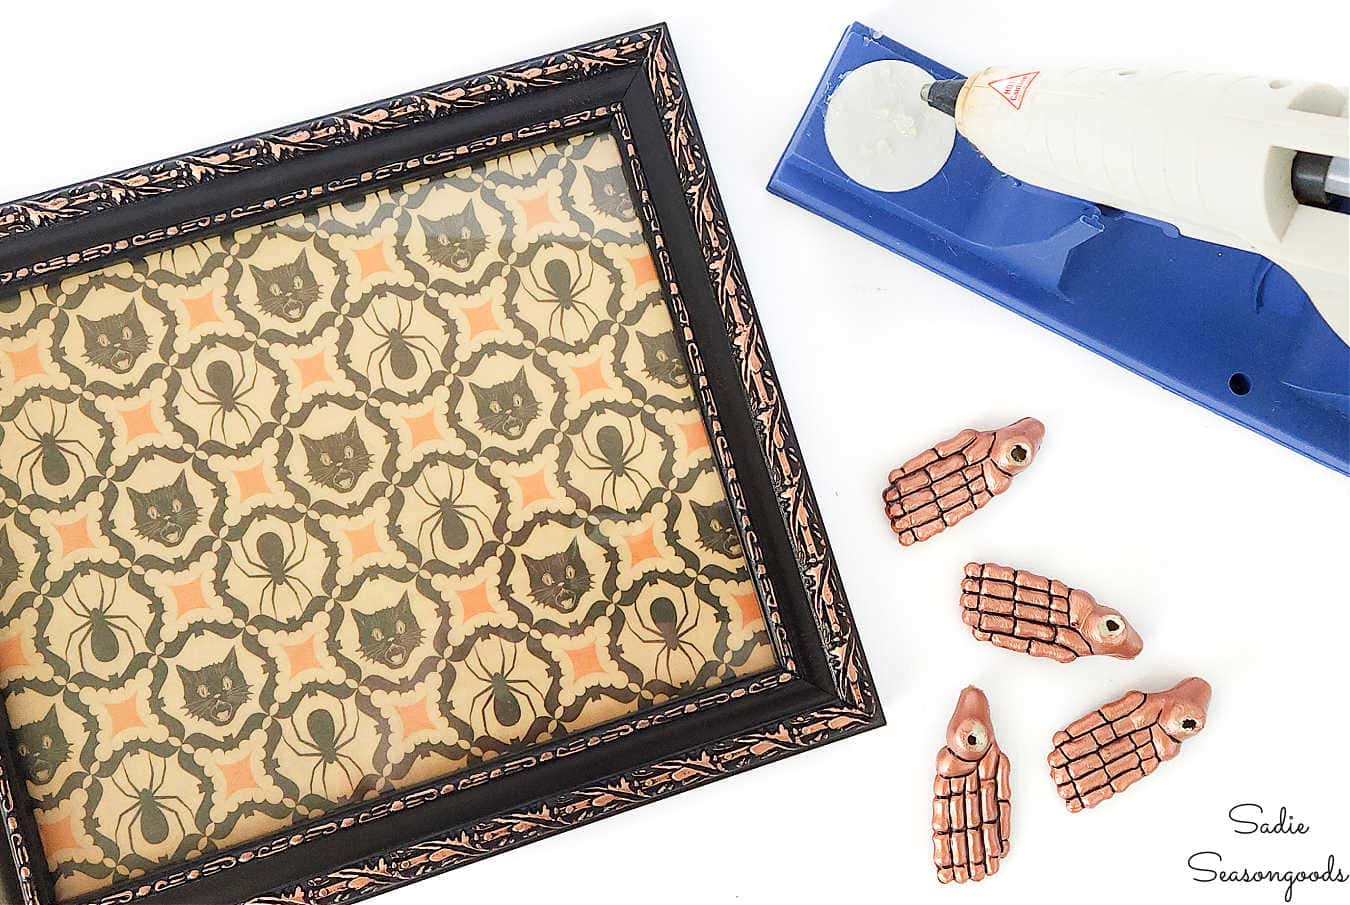
Now, I must admit, I was nervous about gluing the feet under the frame. I needed the tray to be flat, even, and not wobbly. In other words, I couldn’t just glue the feet under the frame all willy-nilly.
So, I set the frame on a couple of spray paint can tops and placed the feet under the corners. After adding a dollop of hot glue to each “ankle”, I lifted each foot straight up under the tray. Thus, ensuring my Halloween tray would sit perfectly straight and, well…firmly footed!
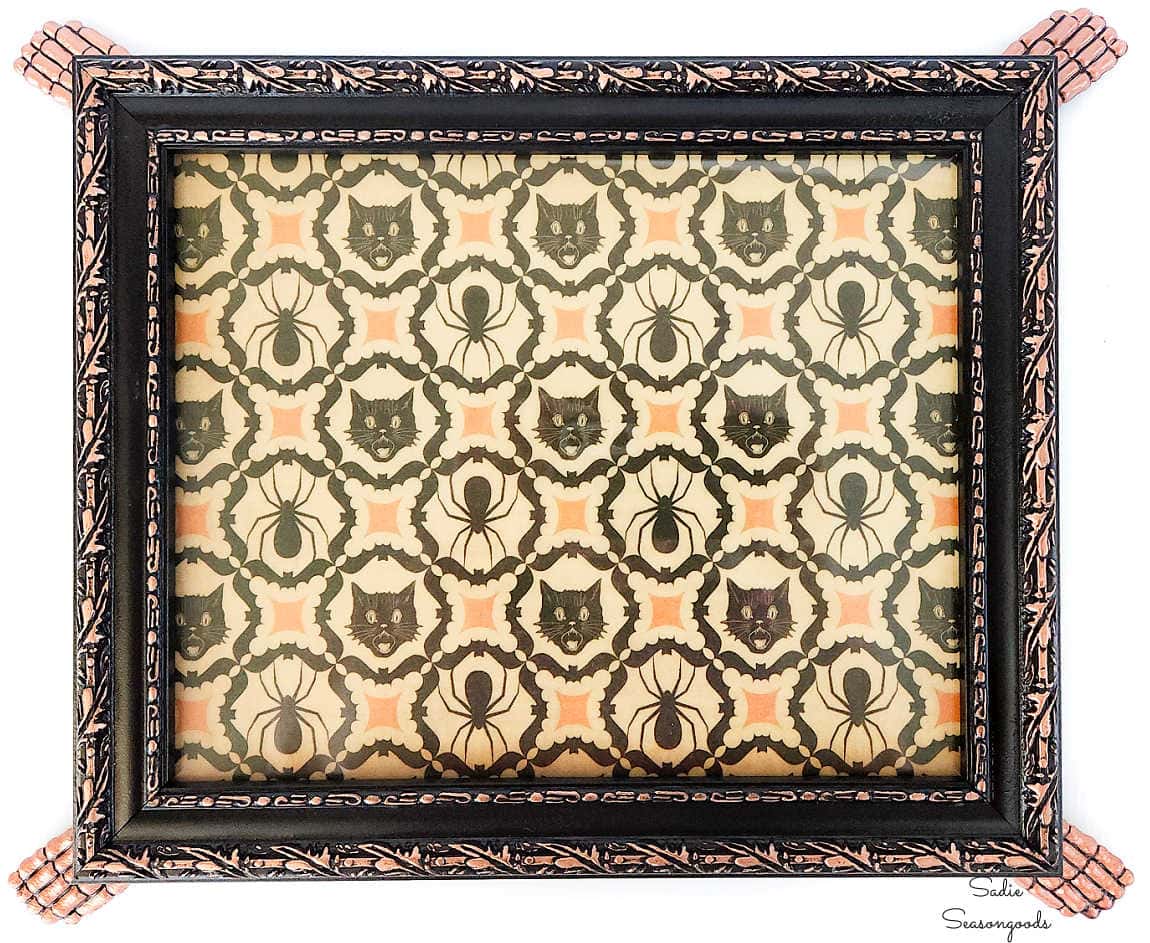
Halloween Tray will Vellum Paper
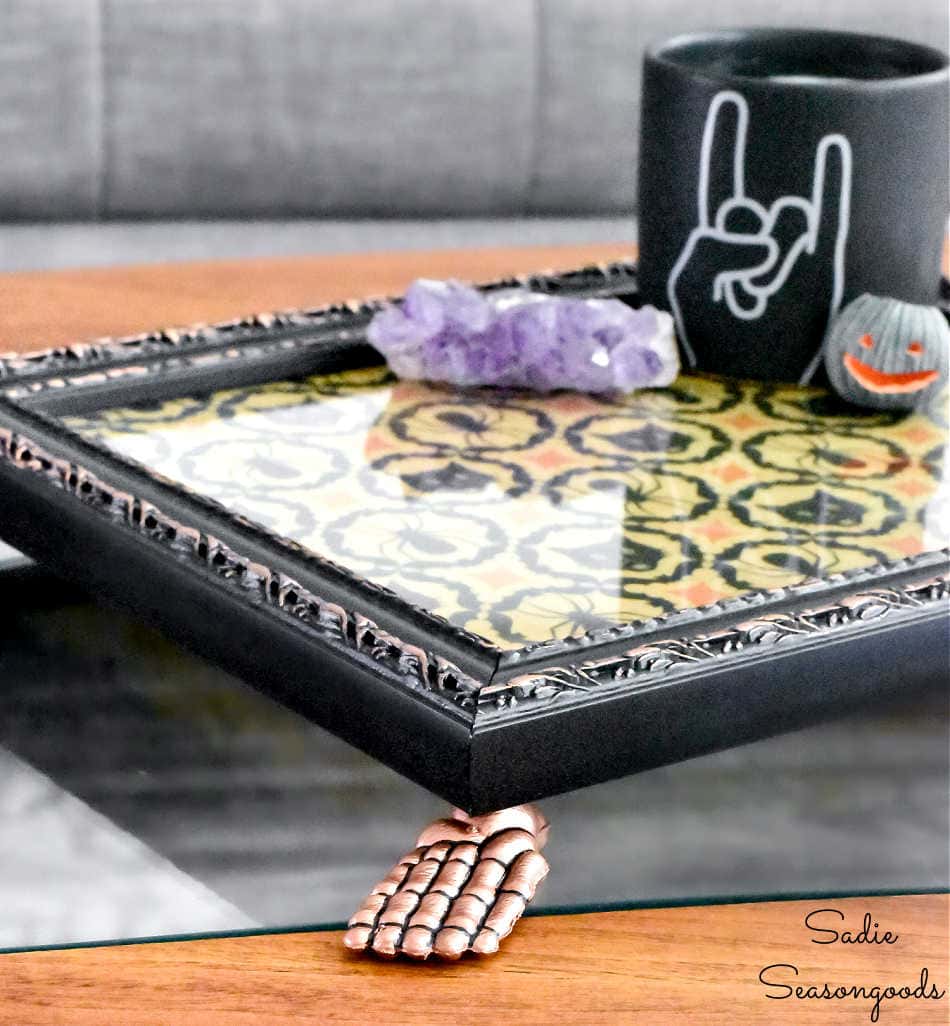
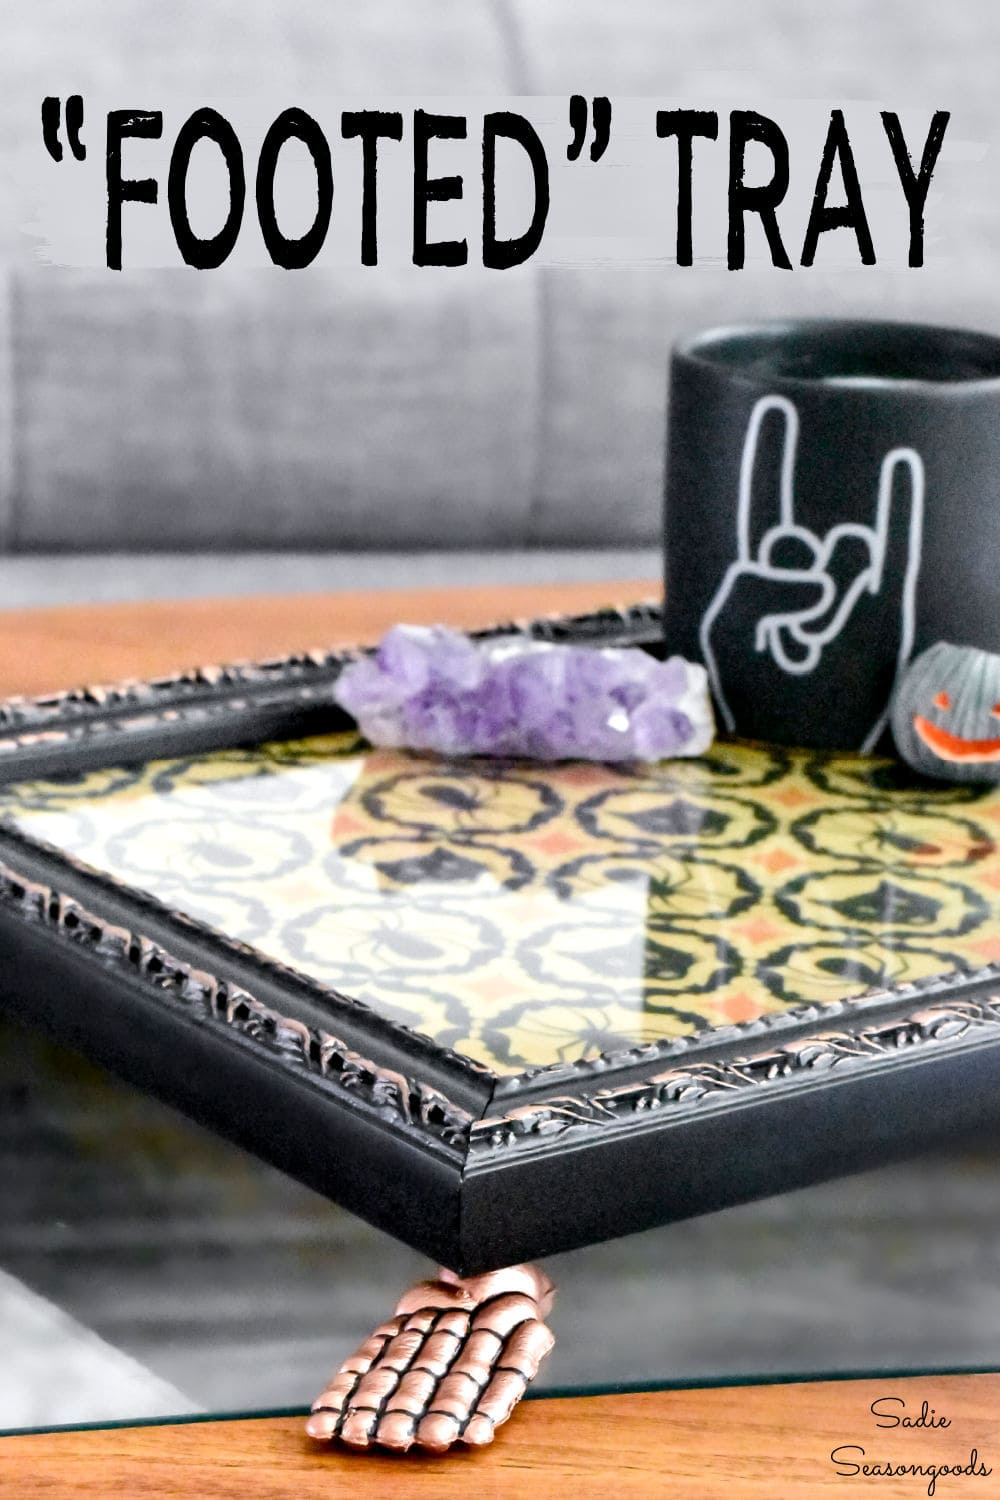
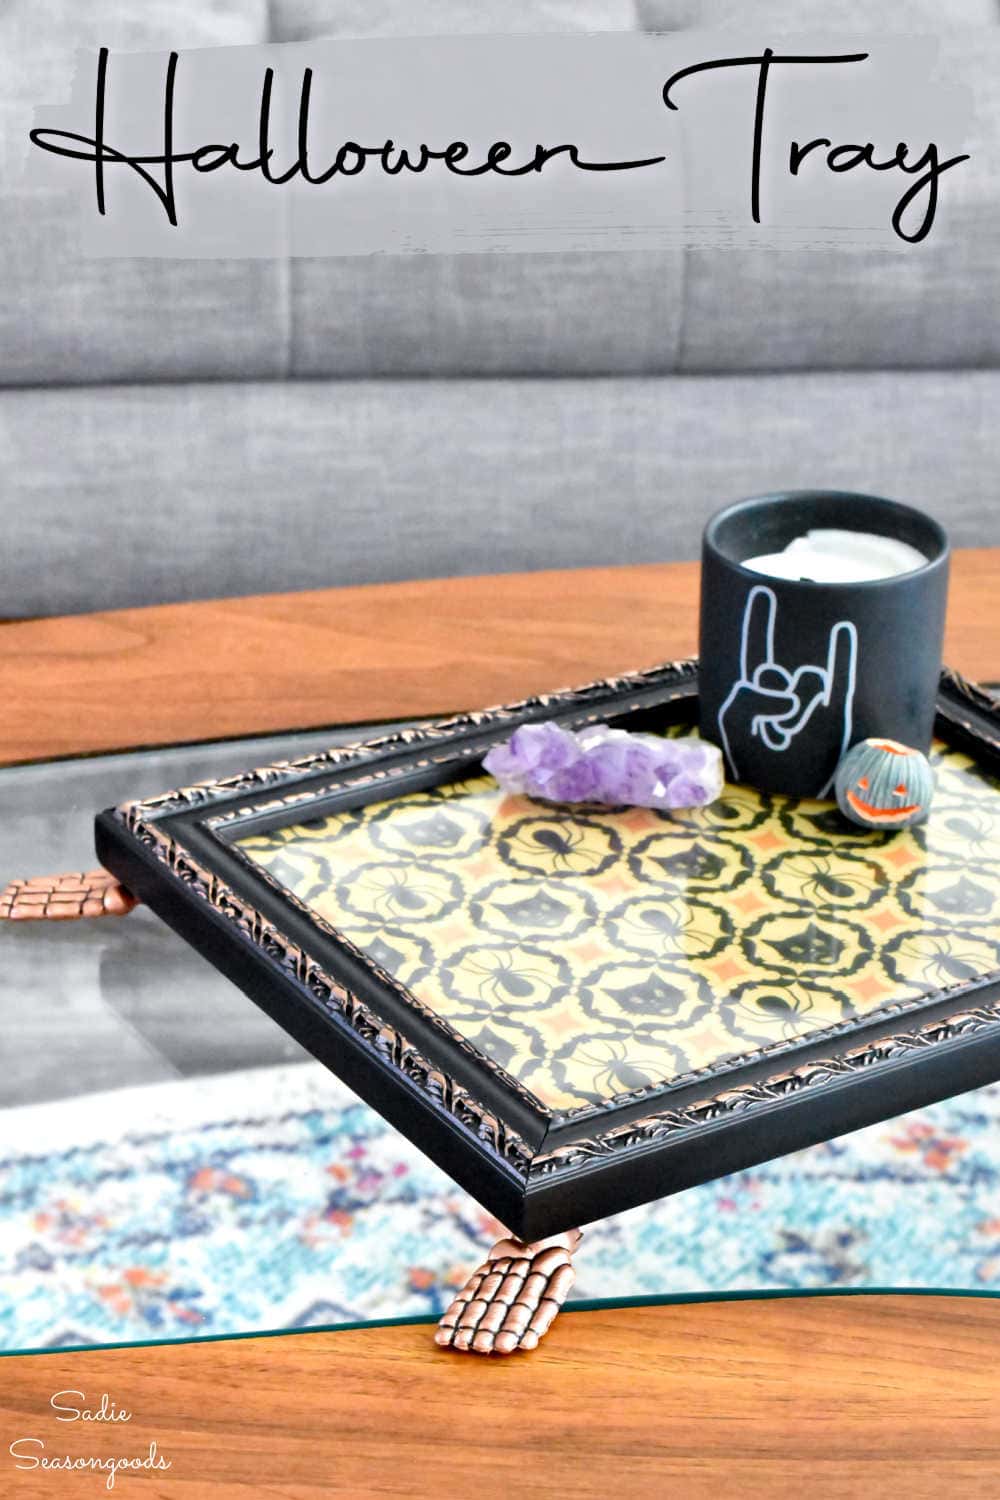
And that, my friends, is how I created this footed Halloween tray! I can’t believe how well my idea worked out- it’s SO cute with just the right amount of spooky.
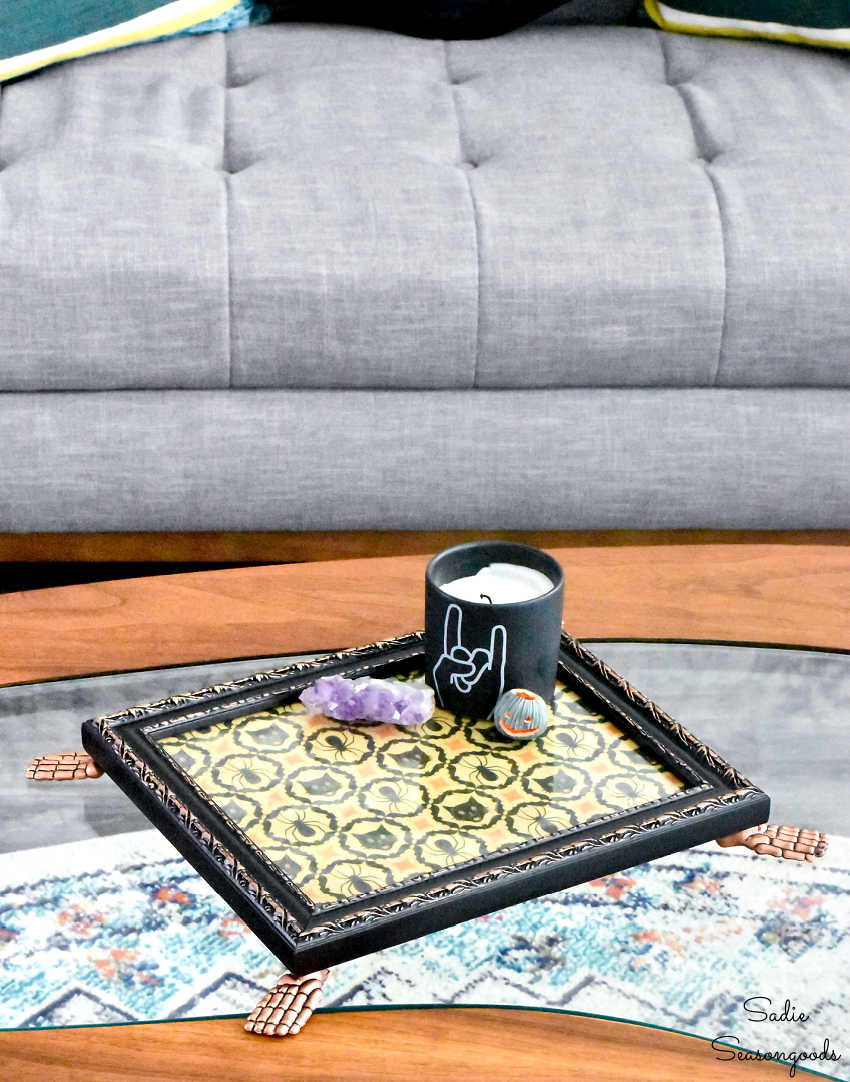
I just LOVE it. From the vellum paper to the black to the black and copper color scheme…and, of course, to the feet!
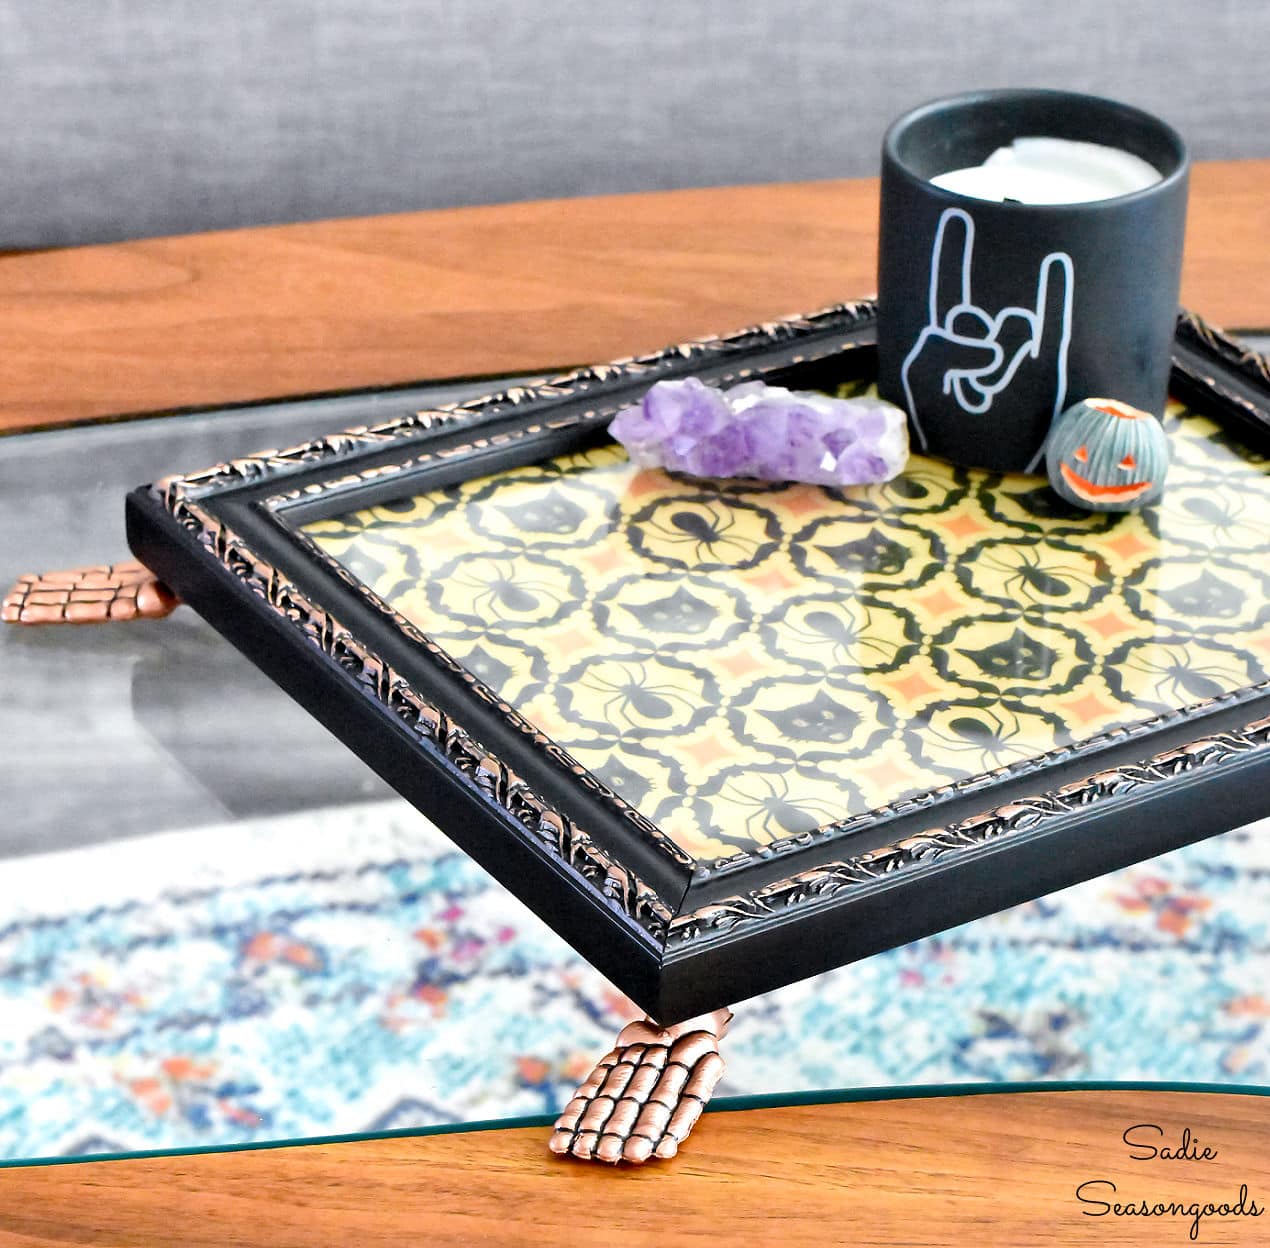
Plus, I still have plenty of Halloween vellum left! A sheet and a half in this pattern, and the entire sheet of jack-o-lanterns. So, I suspect you’ll see a different project with it next year.
But let us always remember that a footed tray for Halloween was the first project I made with it!
Happy Halloween and Craft On!
S
Want to be notified when I publish my next upcycling project tutorial?
Join me on Social Media:
PIN ME!
Sarah Ramberg is the owner of Sadie Seasongoods, a website that celebrates all things secondhand. From upcycling ideas and thrifted decor to vintage-centric travel itineraries, Sadie Seasongoods is a one-stop shop for anyone who loves thrifting and approachable repurposing ideas. Sarah is also the author of “Crafting with Flannel” and has been featured in numerous media outlets and magazines.







I love this! Came out so cute. What a great thrifted find!
Thanks, Meagan!!
Fabulous idea Sadie and so creative. love it
Thanks so much, Cathy!
I think this is my favorite project you’ve done!
Aww, thanks, Jennifer!!! That’s saying a lot, given how long I’ve been blogging- thank you!
So clever! And lots of tips I can use for other projects. Thanks!
You are very welcome, Ann- happy crafting!
Co creative! You have an eye for being creative and a vision to make something cool out of cheap items.
Thank you so very much, Susan!
Very clever, and useful. I love the old designs in papers and fabrics. Can I ask, is there a reason I should avoid the Dollar Tree?
It’s truly just a personal preference. The whole premise of my blog is to use secondhand things. So I always try to avoid anything “new” other than craft supplies from Michaels or other craft stores. Plus, stores like Dollar Tree are my worst consumer nightmare- overly mass-produced, terrible-quality junk that is shipped great distances from overseas. For anyone who considers themselves mindful consumers (from a low waste or good quality perspective), they are the worst of the worst (in my biased opinion).
Oh, this tray is fun, and how lucky to run across some vellum with such style! As an aside, I’m totally with you on Dollar Tree (Hobby Lobby falls into the same aggravating category, as well). I just can’t with either of them. I have cleared out craft supplies for thrift store donation in the past and sometimes I can find random seasonally-themed parts at the thrift store. I would always rather try to give old pieces new life instead of buying new–it’s more fun that way.
YES to HL, too! I feel the same way!