After sharing this secondhand story on my Facebook page and Instagram Stories, I decided I should share it here on my blog, as well. Not everyone is on social media (or follows my accounts), after all! Last year, I shared a blog post that detailed many of the furnishings I had thrifted or collected for our new home. And one of those items was a vintage painting of Paris that we’d purchased at a nice consignment shop here in Charlotte.

Image credit: Sadie Seasongoods.
Well, as WONDERFUL as that painting was, it was (as you can see) just the canvas, still in need of a frame. It ended up living in a closet for nearly an entire calendar year, waiting to be framed.
Bringing us to today’s blog post- which may be a bit simple and silly. But I love a good secondhand love story, and this is definitely one of them. Because I found the PERFECT frame and can’t wait to show it to you.
This post contains affiliate links for your crafting convenience. As an Amazon Affiliate, I earn from qualifying purchases. All blue, bold, and underlined text is a clickable link, either to a product or to a related post.
Finding a Wooden Frame for a Vintage Painting
As soon as we’d purchased the vintage Paris painting, I made a mental note of the canvas size: 20” x 24”. Of course, I didn’t save this in my phone as a text note which I should have done, but that’s neither here nor there.
Anyway, on a recent trip to a local Habitat ReStore, I spotted an AMAZING wooden frame in the art section.

Image credit: Sadie Seasongoods.
The wood had a golden glaze which give it a lovely understated luster, and the linen liner was remarkably clean. AND the opening measured 20” x 24” which I was 99% certain was the size of the painting.
For $15, it was worth the risk, so I brought it home and was ELATED when the two fit perfectly.

Image credit: Sadie Seasongoods.
Next, I needed to clean the frame. It seemed pretty clean already, but I knew it was worth the minimal effort required. So, I ran a soft toothbrush (a cleaning-dedicated one!) over all the swirls, nooks, and crannies.

Image credit: Sadie Seasongoods.
Just to loosen dirt and dust in those hard-to-reach spots.
Then, I rubbed a barely-damp paper towel through any linear grooves or places where my fingers could fit. Unsurprisingly, one end was far grungier than the others; it must have been the top of the frame in its previous life.
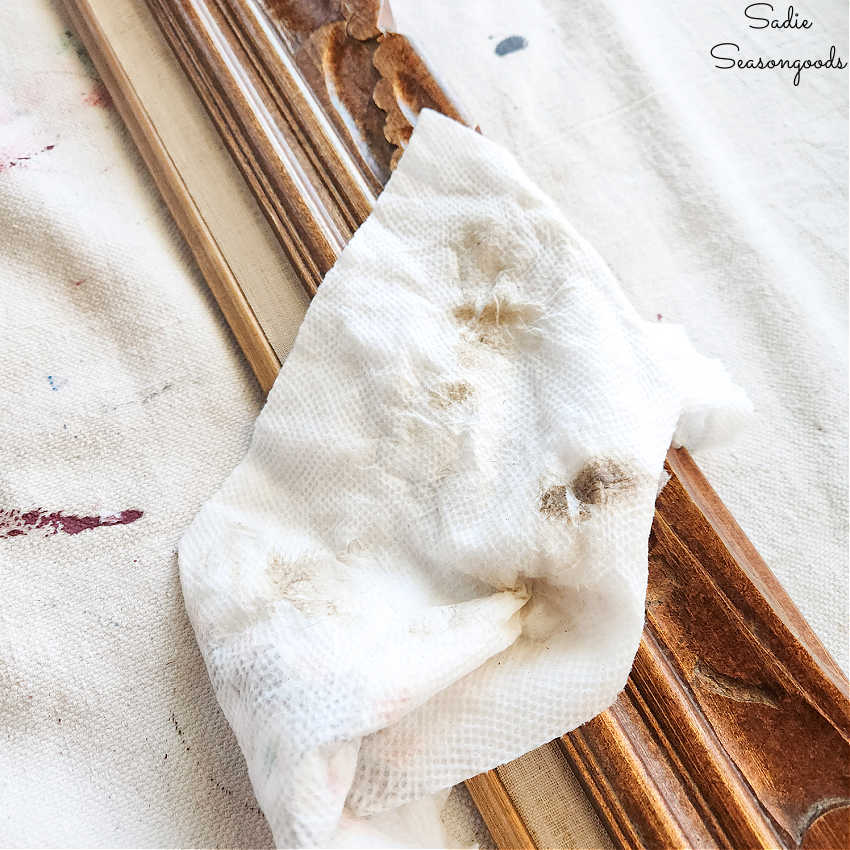
Image credit: Sadie Seasongoods.
When Two Vintage Items Become One
Next, it was time to mount the painting in the frame. Upon turning it over, I realized there was a second price tag on the back side.

Image credit: Sadie Seasongoods.
Which I decided to leave in place! As a fun reminder of finding such a wonderful frame for a favorite piece of art.
To mount the painting in the frame, I used these offset canvas clips to hold the canvas in place.
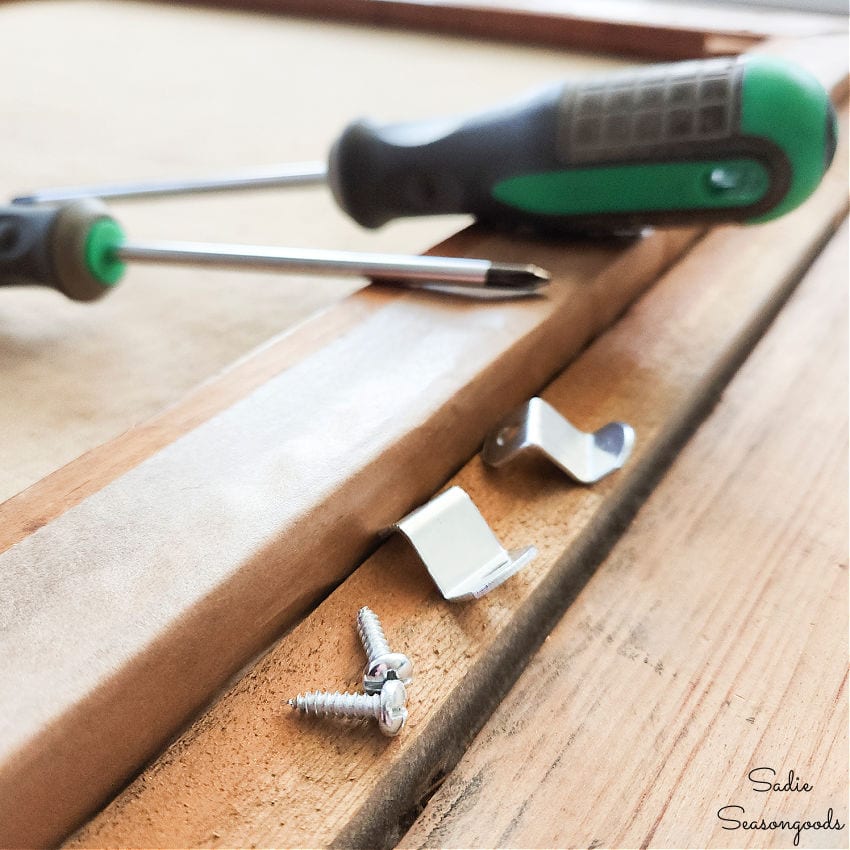
Image credit: Sadie Seasongoods.
There are lots of different options for mounting a canvas, but these seemed the least intrusive to the actual wooden frame inside the painting. Which can be critical for an old painting and you want to avoid squeezing the canvas frame at all costs.
After carefully screwing in the clips to the picture frame, I then added a pair of D-ring hangers and mid-weight braided picture hanging wire to the back.

Image credit: Sadie Seasongoods.
That was it- our vintage painting was gorgeously framed, ready to be hung. And I was reminded that this had been some of the best $15 that I’d ever spent!
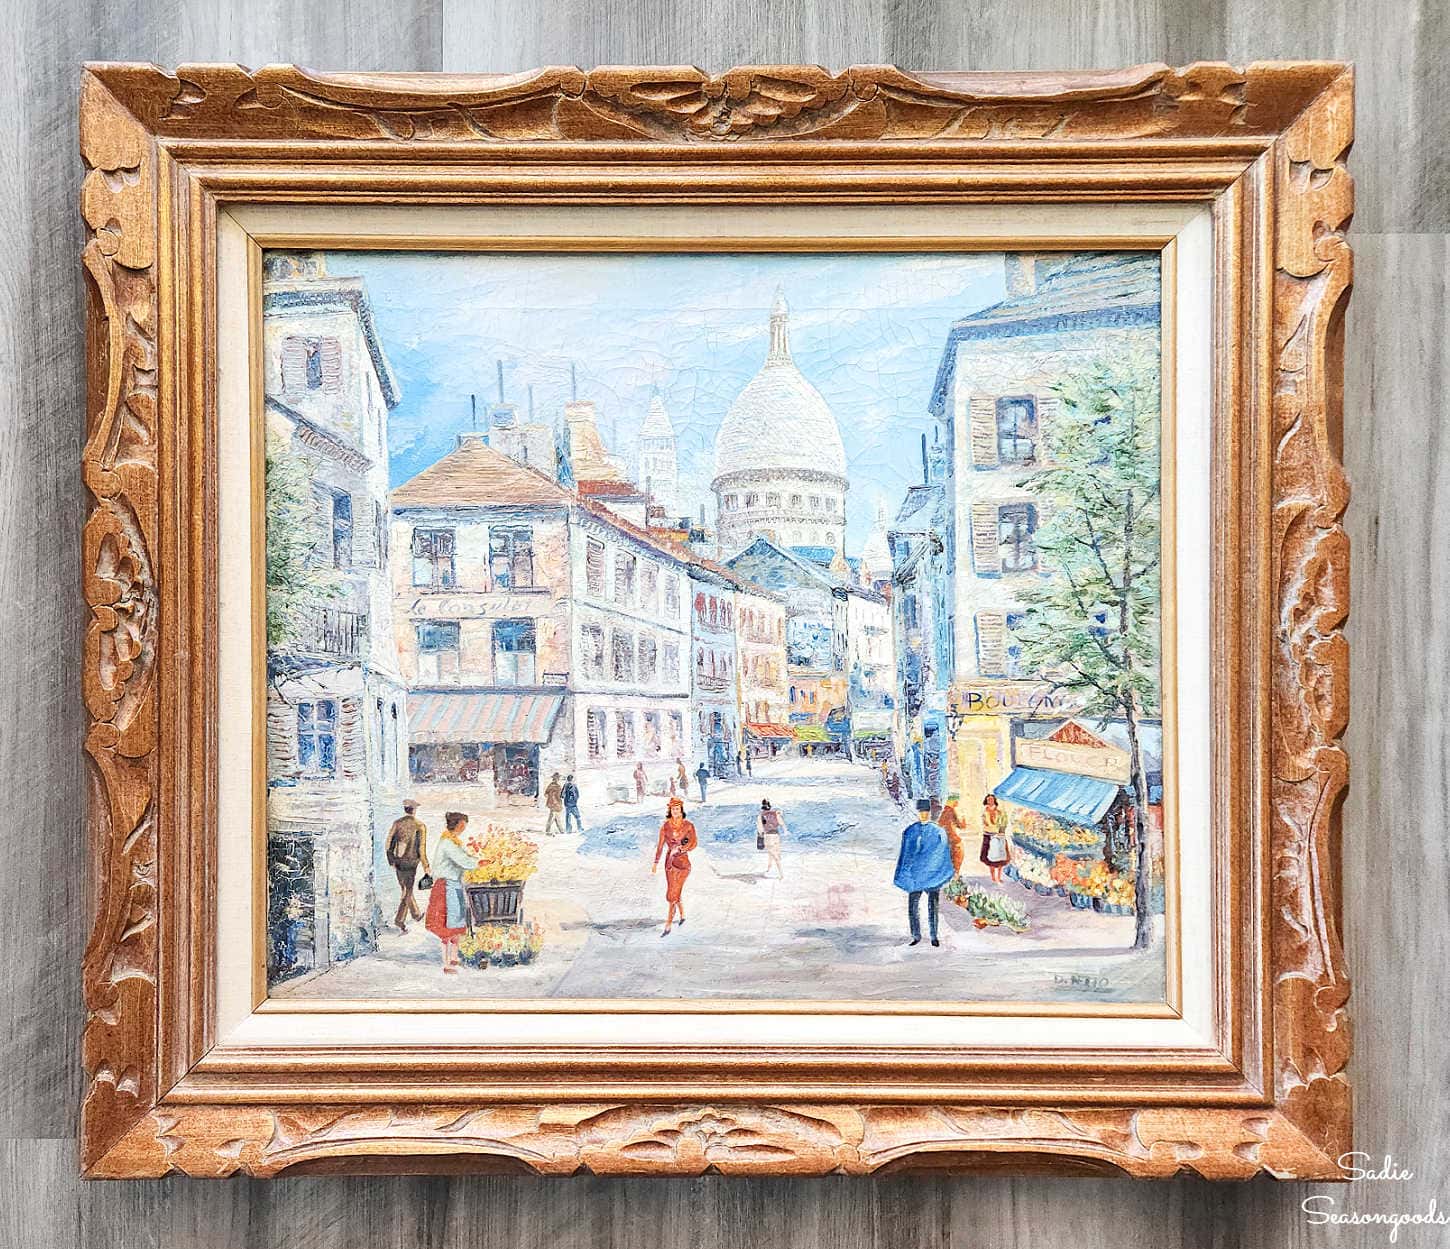
Image credit: Sadie Seasongoods.
“Zhuzhing” Some Thrift Store Art
On the SAME thrifting trip at the same store as the frame, I’d also spotted a vintage art print that caught my eye.

Image credit: Sadie Seasongoods.
It reminded me of some Pang Tseng-Ying prints we’d bought at a favorite midcentury modern store in Hickory, NC. And a little Google Lens detective work right there in the ReStore told me I was right!
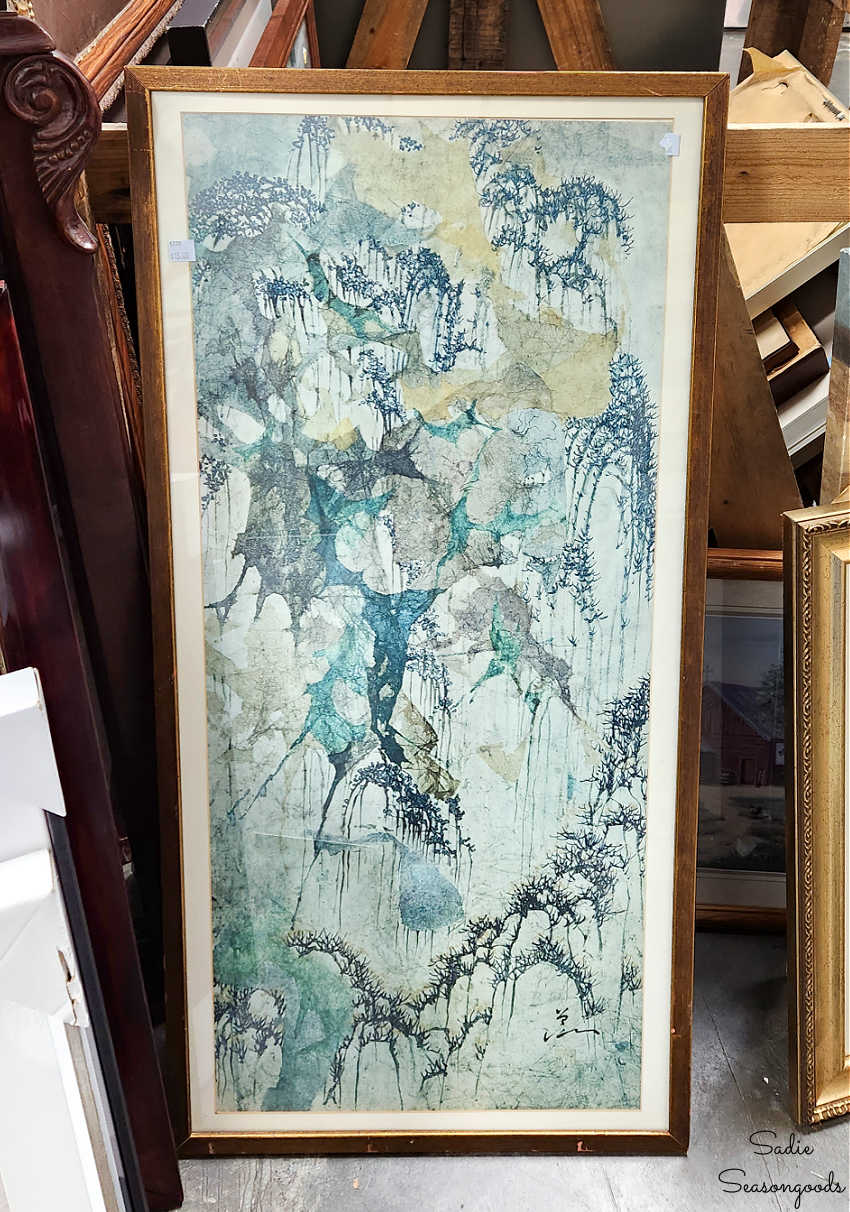
Image credit: Sadie Seasongoods.
Ironically, just like the large wooden frame I found that day, this vintage art print was also $15! Clearly, that was my lucky number on this particular thrifting day.
I liked the frame it was in well-enough, but knew I could zhuzh it up quite easily. The frame was already gold-ish, but a little muted and scratched up to just be left as-is. All I needed was a certain color of Rub n Buff and a narrow sponge brush with a flat edge.
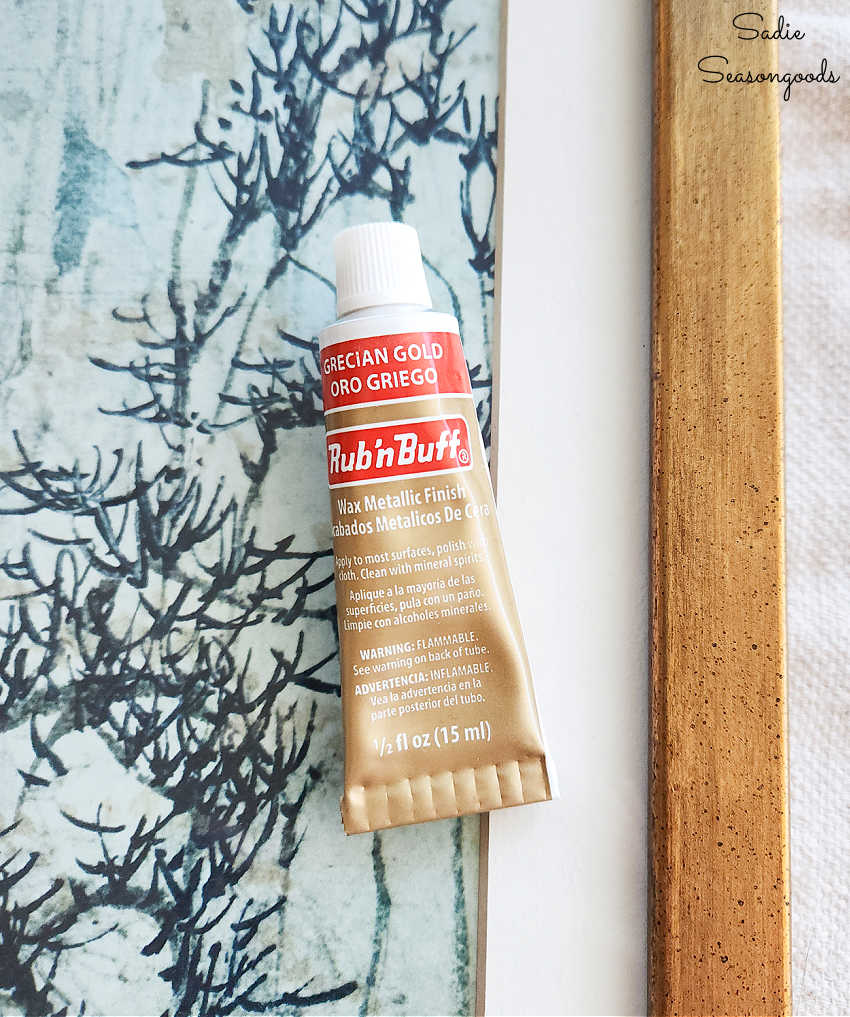
Image credit: Sadie Seasongoods.
Why a sponge brush specifically? Because I only planned to zhuzh the fronts and sides of the frame and a flat sponge would sit evenly on those surfaces. I didn’t care about the tiny lip of frame that met up with the glass and I REALLY didn’t want any Rub n Buff to get on the glass.
I brushed on a little Rub n Buff across the entire frame, working in small sections at a time. Then I buffed it dry with a clean, lint-free cloth. And it worked like a charm!

Image credit: Sadie Seasongoods.
The frame color was now a richer, brighter antique gold and the scratches, while not gone completely, blended in far better than before. With both pieces of thrift store art ready to go, we got out our measuring tape, hammer, and nails!
Framing a Vintage Painting
For the vintage painting in the new-to-us frame from the ReStore, we placed it in the small alcove in front of our bedroom.

Image credit: Sadie Seasongoods.
This alcove is actually a fairly prominent spot in our home that’s nicely protected from direct sunlight. It’s visible from the main part of the house (large open kitchen-dining room-living room area right outside of it) so I see it all the time! And it “hangs out” with another piece of thrift store art- a $10 cityscape that I mentioned in the previous blog post about what we’d thrifted.
There was just enough room in the alcove for a plant stand (to be talked about in a follow-up post!), some faux plants (hello, kitties), and two vintage paintings.

Image credit: Sadie Seasongoods.
As for the vintage Pang Tseng-Ying print, we hung it in the foyer on a small half-wall that had been empty until now.

Image credit: Sadie Seasongoods.
Full disclosure- the foyer and entryway get ZERO natural light unless the front door is wide open! So, I locked up the kitties and snapped this photo from our doorstep.
We have a lot of blue, antique gold, and green in our home, so it worked out perfectly.

Image credit: Sadie Seasongoods.
As mentioned before, I am definitely overdue for a follow-up post with all of the secondhand pieces that we’ve acquired since last June.
I’ve been gathering pictures and saving them in a safe spot for when I’m ready to put it all together in a new post. But until then, you can always see the other pieces (AND PRICES!) of quite a few pieces of furniture and other furnishings we’ve hunted for in this post here.

Image credit: Sadie Seasongoods.
Also, a fun, quick note- I was recently interviewed on the Sew & So Podcast (the official podcast of Bernina USA). Despite the interview being sponsored by Bernina, there’s very little sewing discussed! If you want to hear me talk about thrifting, upcycling, and traveling for secondhand shopping, you can check it out here!

Craft On!
S
Want to be notified when I publish my next upcycling project tutorial?
Join me on Social Media:


PIN ME!

Image credit: Sadie Seasongoods.

Image credit: Sadie Seasongoods.
Sarah Ramberg is the owner of Sadie Seasongoods, a website that celebrates all things secondhand. From upcycling ideas and thrifted decor to vintage-centric travel itineraries, Sadie Seasongoods is a one-stop shop for anyone who loves thrifting and approachable repurposing ideas. Sarah is also the author of “Crafting with Flannel” and has been featured in numerous media outlets and magazines.


I can tell you had fun shopping! And so many wonderful finds! I always enjoy your transformations. And getting to see how you pulled them all together for your home was like frosting on the cake! Awesome!
Thank you so very much, Carol!
Sadie, that is a great idea about the framing. I produce a lot of artwork myself and am often looking to frame something and I keep my eye on the frames available in the craft shops. I have found it interresting to find that different frames can really enhance a piece or make it look blah, so it is best to bring the piece to be framed with me to try it out. Often, I find a frame that I would not have even considered is the one that works the best. So when I now go into a store or thrift shop with my artwork, I first go to the manager or cashier and explain that I am trying to find a frame for my piece so I am not charged for my own piece on the way out. That really has helped me to find just the perfect frame and fit. Thank you for all your posts as they are most interesting ideas to read and try.
Ohhhh, that makes a lot of sense, Cathy- to bring your pieces with you when frame shopping. Kind of like bringing a lamp when buying a shade (at least, if you go to a lampshade store).
That Paris painting is divine – the frame is perfect too!
Thanks, Beverly!!
You sure did score on that thrift store visit! The frame for the Paris painting is perfect! And the Asian print is wonderful.
It really, truly was a most lucky day for me- thanks, Jo!
Really enjoyed this post–and your frame and pictures. I am a Monet fan so I enjoy the Parisian scene. I have a hoard of picture frames waiting to be matched up with the right picture–but not as fancified as yours, though. I had to smile at the mention of a project-only toothbrush. When I used to tell people to use a toothbrush for a project, I’d tell them to use their roommate’s, their husband’s, whomever! As I am hard on my toothbrushes, I always have a stash available for spatter painting and cleaning!
Sadie, I love the way you cover all the steps of the refurbishing! Our Habitat store in Vancouver, WA has only construction materials. The ReStore is totally different and it looks like a really exciting place to shop!! Keep sharing, please?
It’s so interesting how different Habitat ReStores can be- ours have TONS of furniture and furnishings. I hope you at least have other decent thrifts out your way!!