Each year as Christmas rolls around, I get all excited about coming up with a new DIY ornament project. And this year, I decided to play around with paper coasters. You know the kind I’m talking about, right? Well, I wondered if they could be paired with wood ornaments into something fun for the tree.
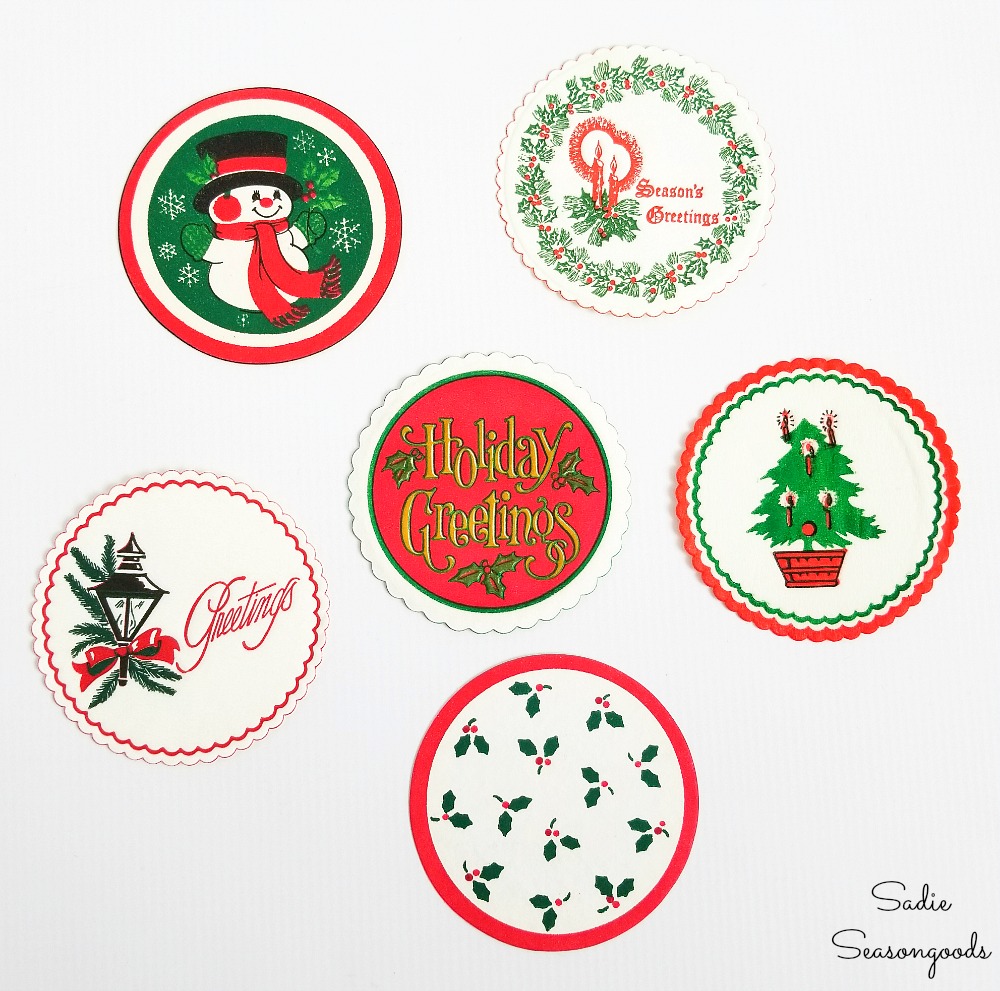
Image credit: Sadie Seasongoods.
There are just SO many designs of paper coasters, especially Christmas versions. They just seem destined for an upcycling project.
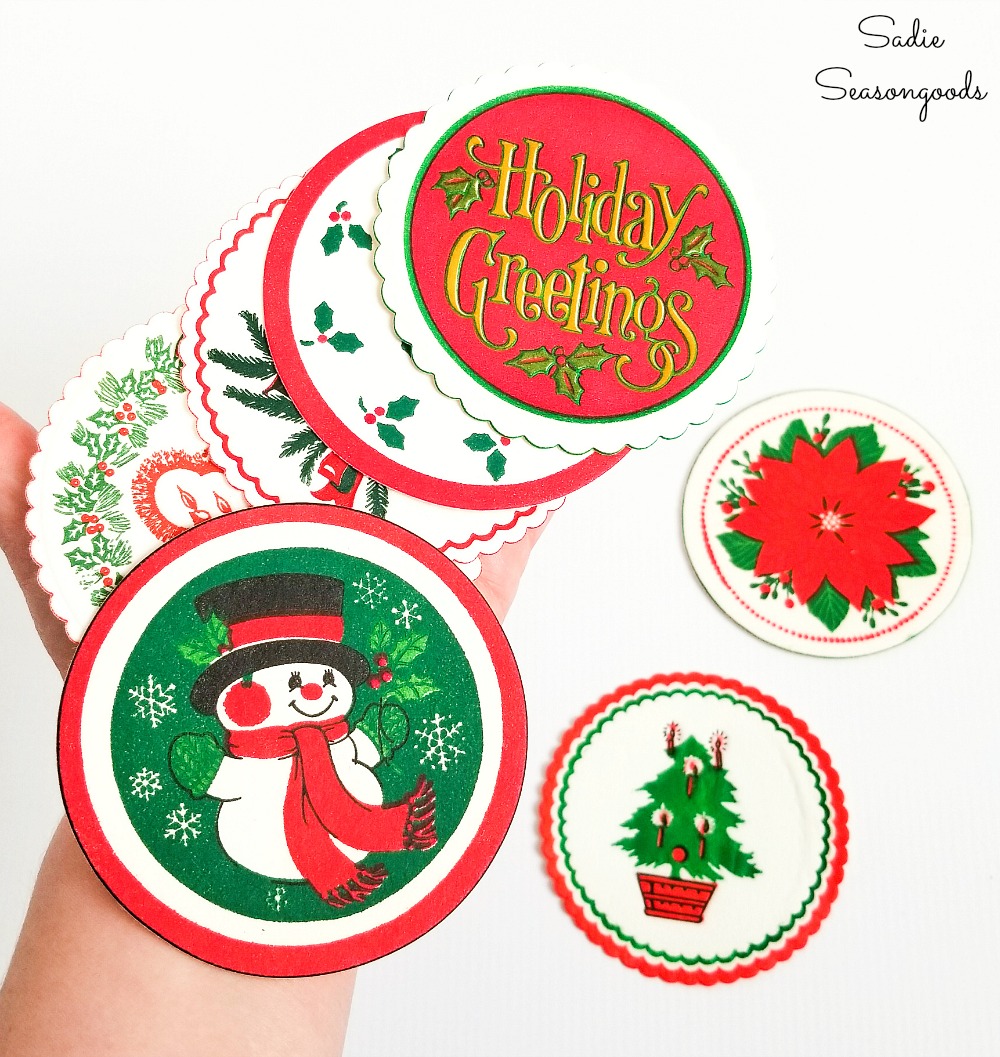
Image credit: Sadie Seasongoods.
At first, I thought I would pair them up with plain wooden rounds. But, then I found these wood cutouts in the Christmas craft section at a craft store.
And, well, these would be PERFECT as wood ornaments with my paper coasters!
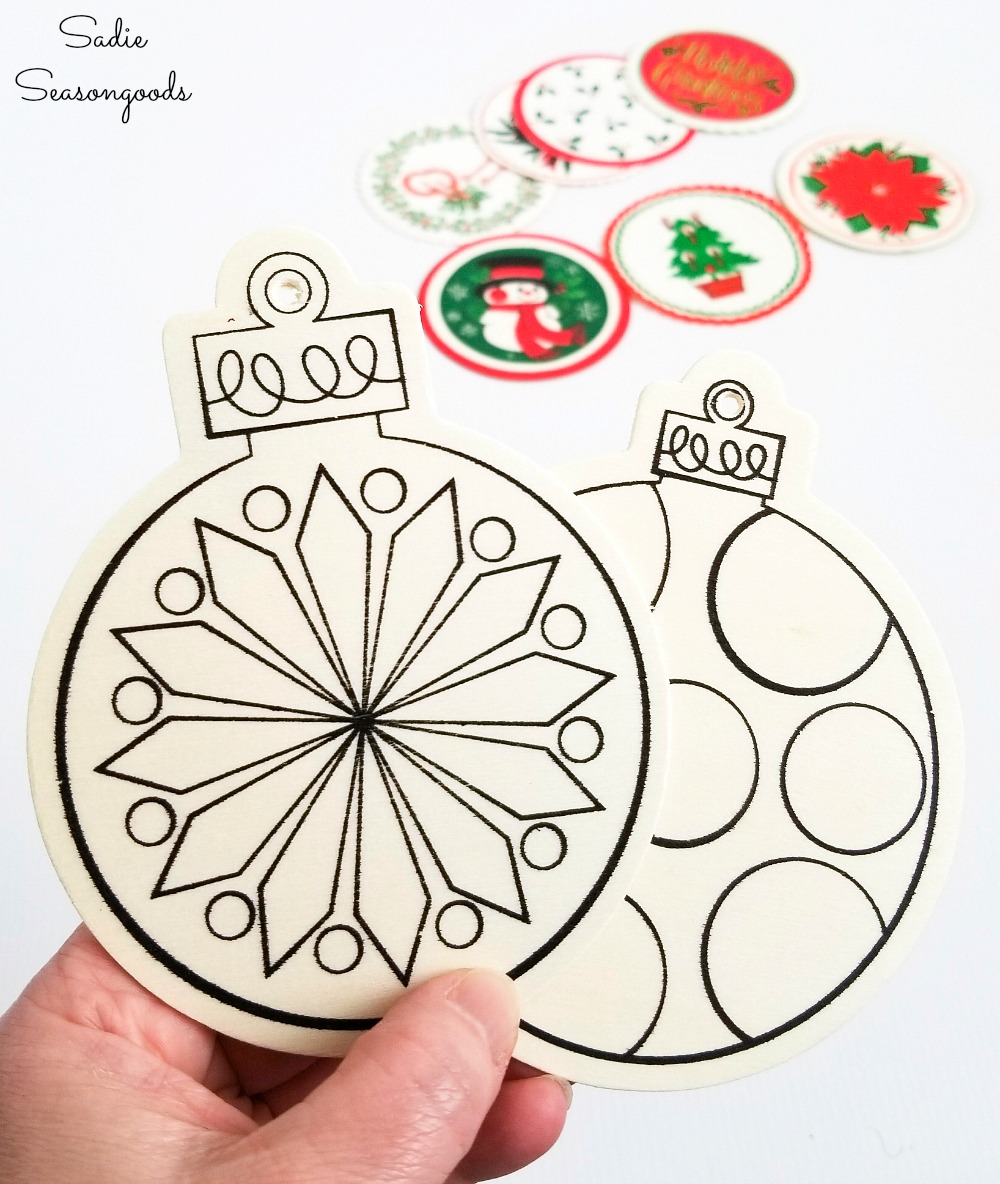
Image credit: Sadie Seasongoods.
This post contains affiliate links for your crafting convenience. As an Amazon Affiliate, I earn from qualifying purchases. All blue, bold, and underlined text is a clickable link, either to a product or to a related post.
Wood Cutouts or Wood Ornaments with Paper Coasters
First and foremost, the vintage paper coasters. I found just about all of mine on Etsy; even though I’ve seen them on occasion at thrift stores, Etsy was the most reliable source.
I then needed to paint the wood cutouts. So, I selected a festive red and green from my stash of spray paint.
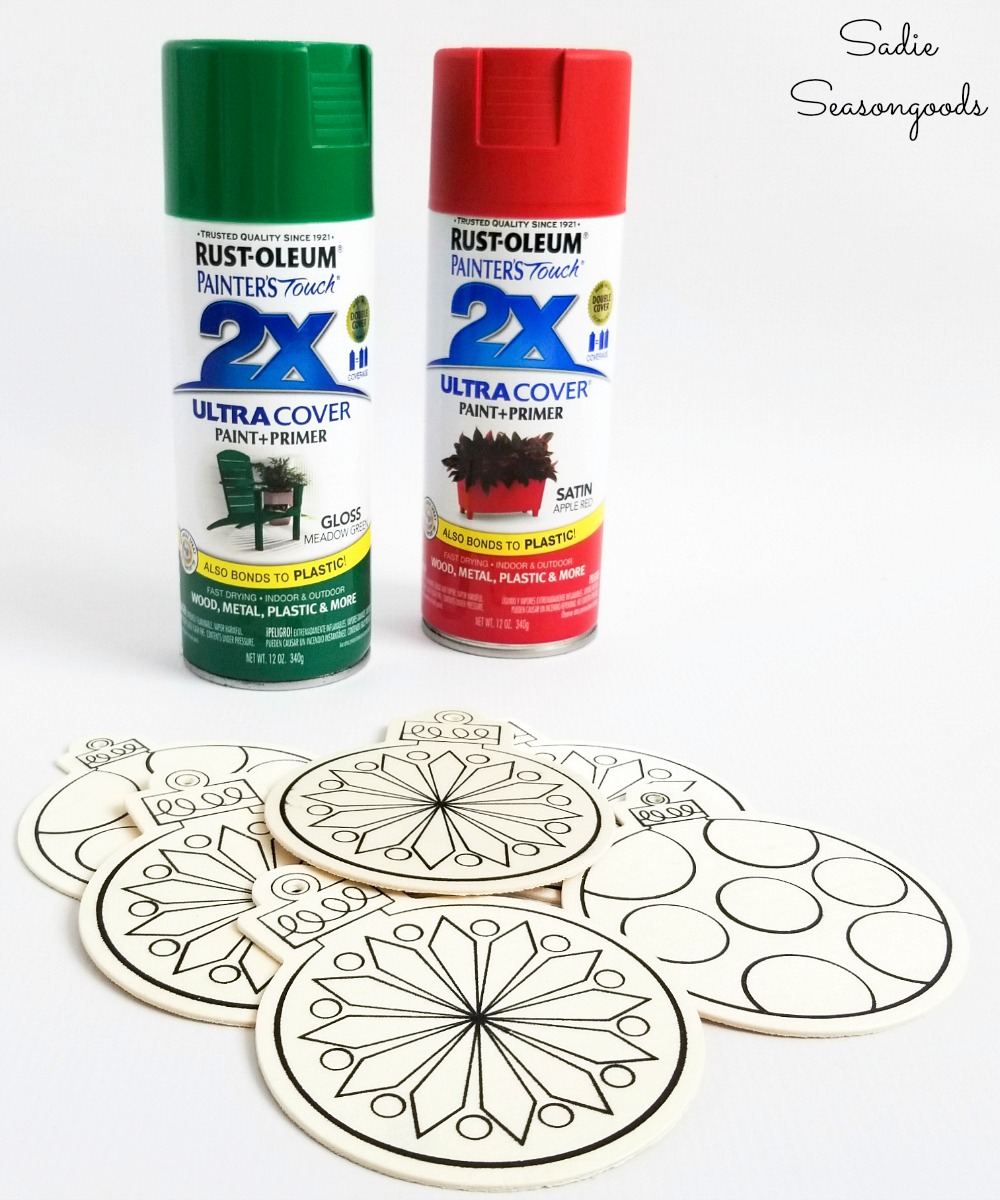
Image credit: Sadie Seasongoods.
I did not sand first, nor did I use a separate primer before the color.
After the paint dried (two coats on each side), I paired up the paper coasters with a wood ornament and grabbed my decoupage glue.
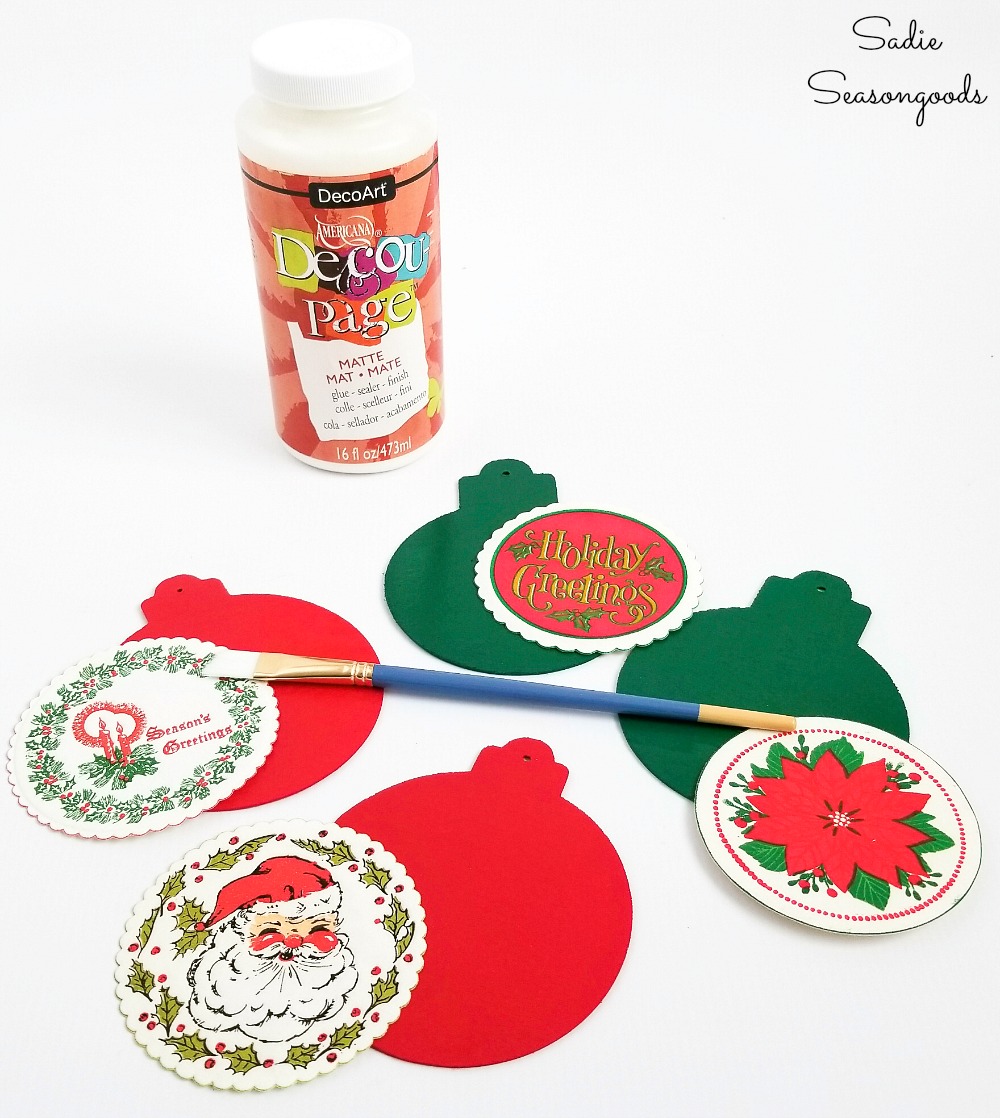
Image credit: Sadie Seasongoods.
I used a small craft paint brush to spread a thin layer of decoupage glue on the back of the paper coasters. Then, I simply centered the paper on the wood ornaments and pressed down firmly.
I also flipped them over and placed a heavy object (soup can or similar) on the backside to ensure a flat seal.
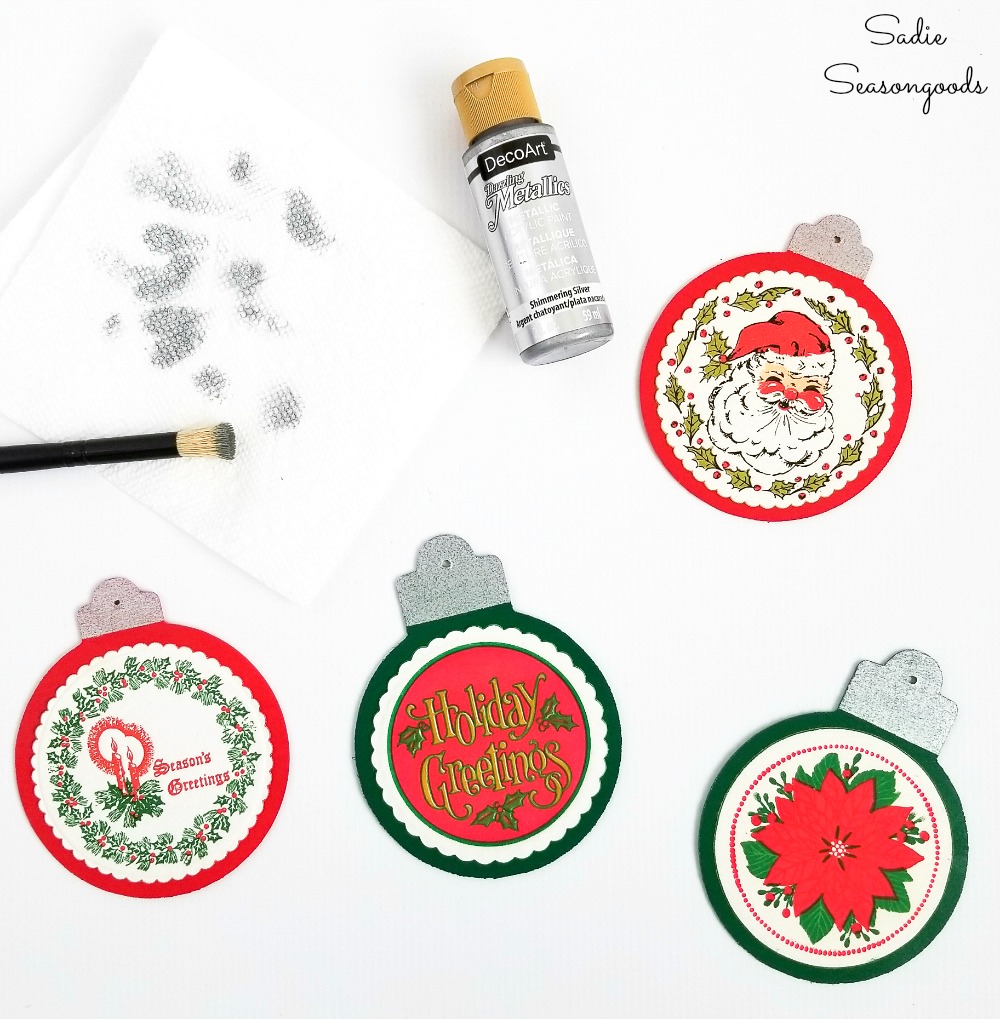
Image credit: Sadie Seasongoods.
Honestly, I thought I’d stop there! But then I decided that the ornament cap portion of the wood ornaments needed something. So, I stippled on some silver craft paint on the top.
Because I thought of this after I had decoupaged the paper coasters on, I couldn’t use painter’s tape to give me a straight edge. So, I nabbed a junk mail envelope from our recycling bin and laid it flat on the ornament to give me a straight edge! Use what you’ve got, right?
Just to be on the safe side, I finished by giving each of the wood ornaments a light coat of a matte sealant spray.
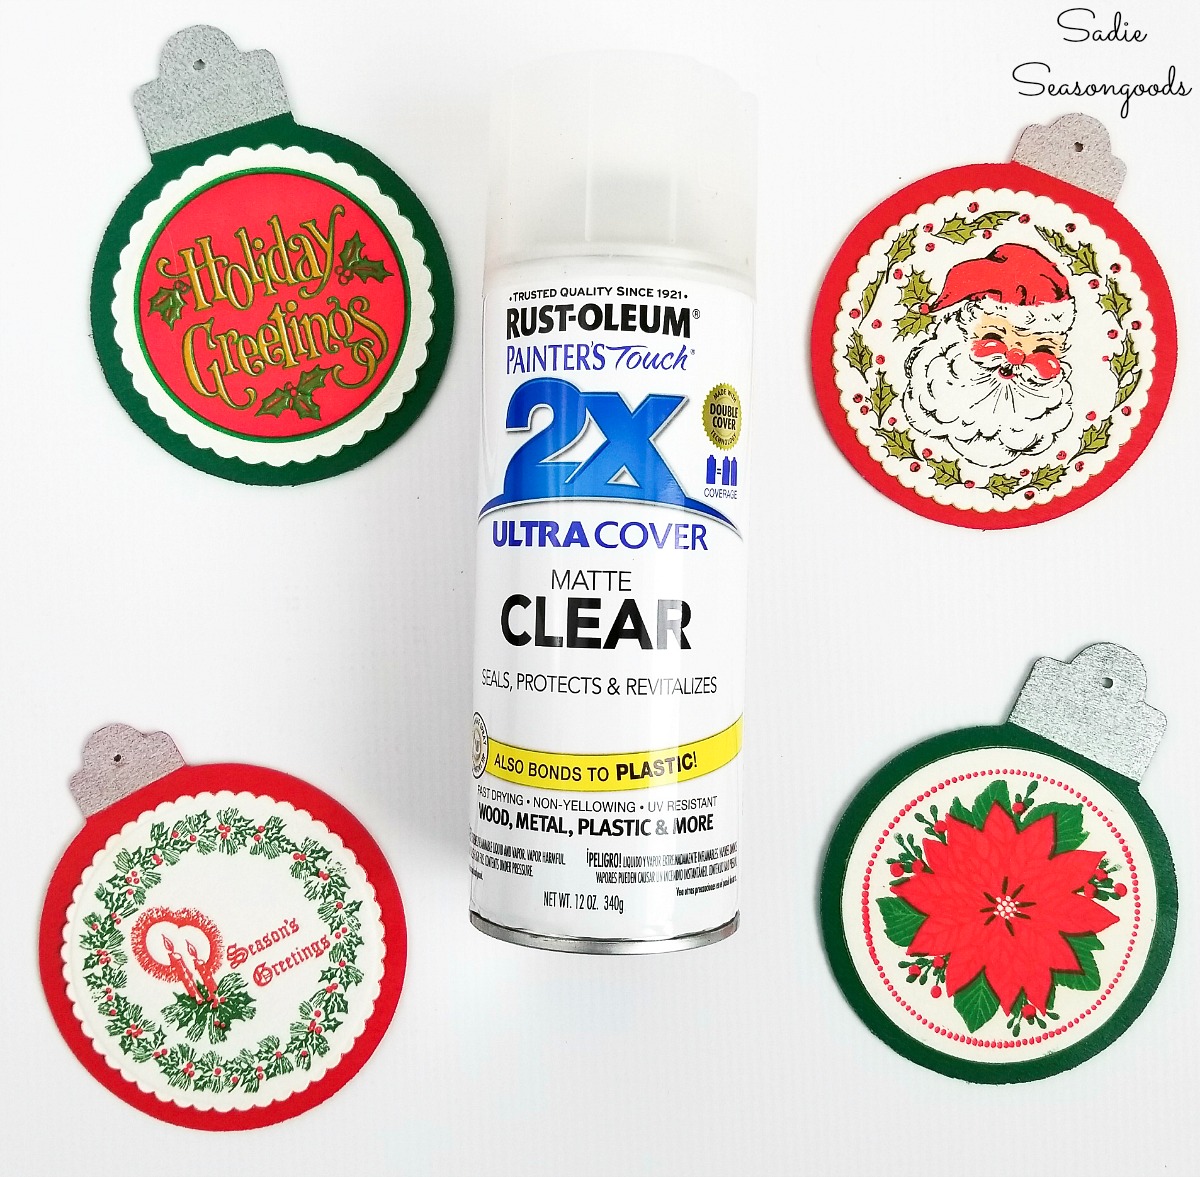
Image credit: Sadie Seasongoods.
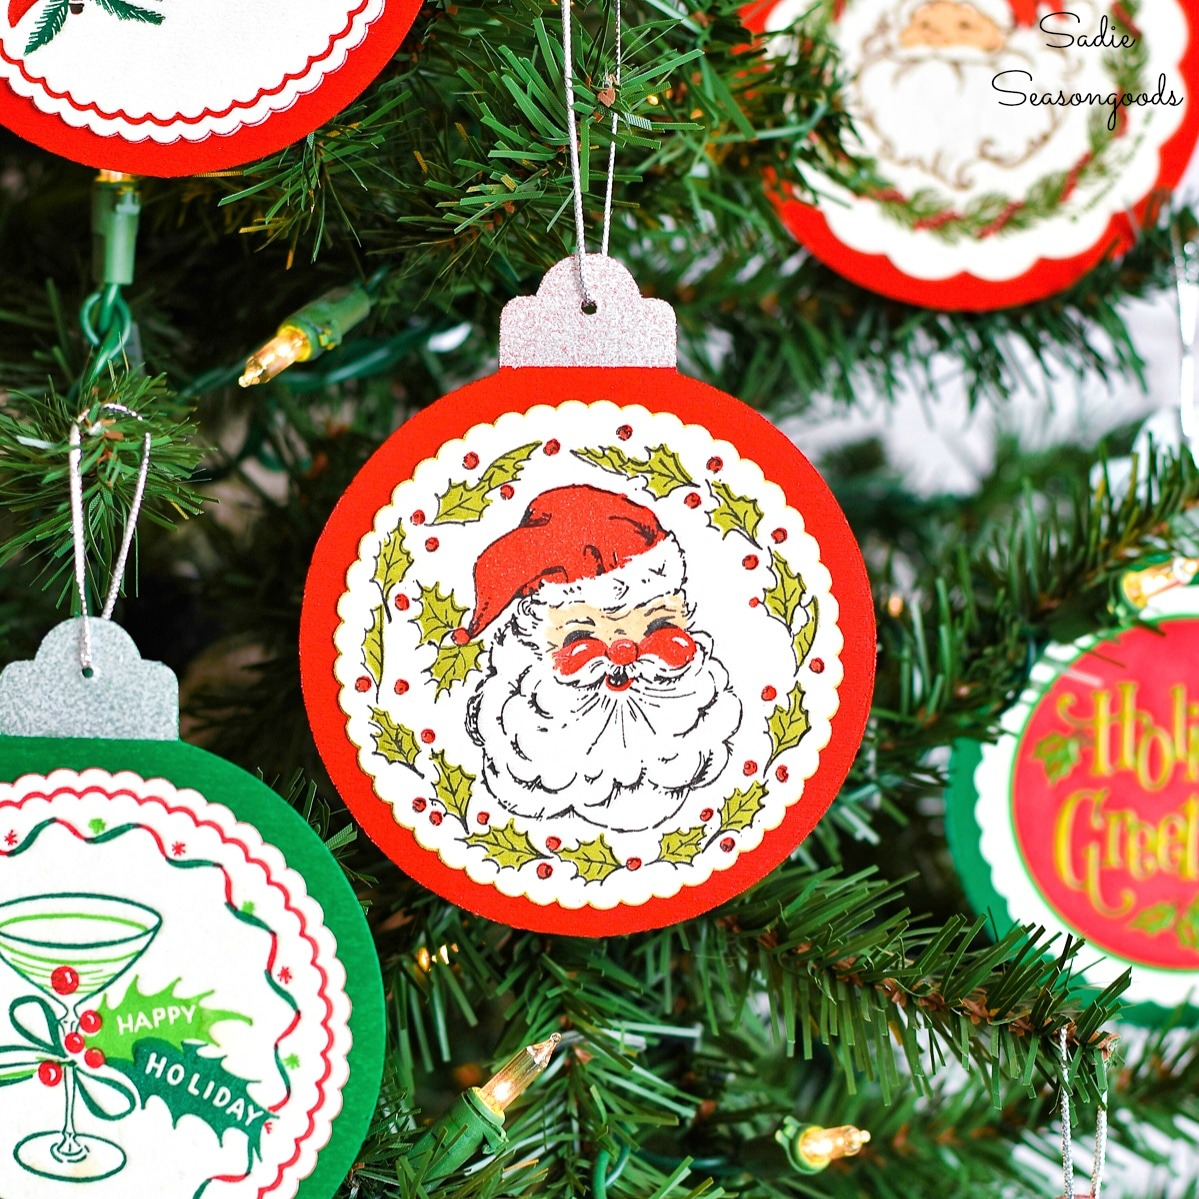
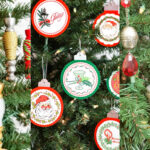
And just like that, I had a whole set of retro Christmas ornaments that showcased all the paper coasters I had collected!
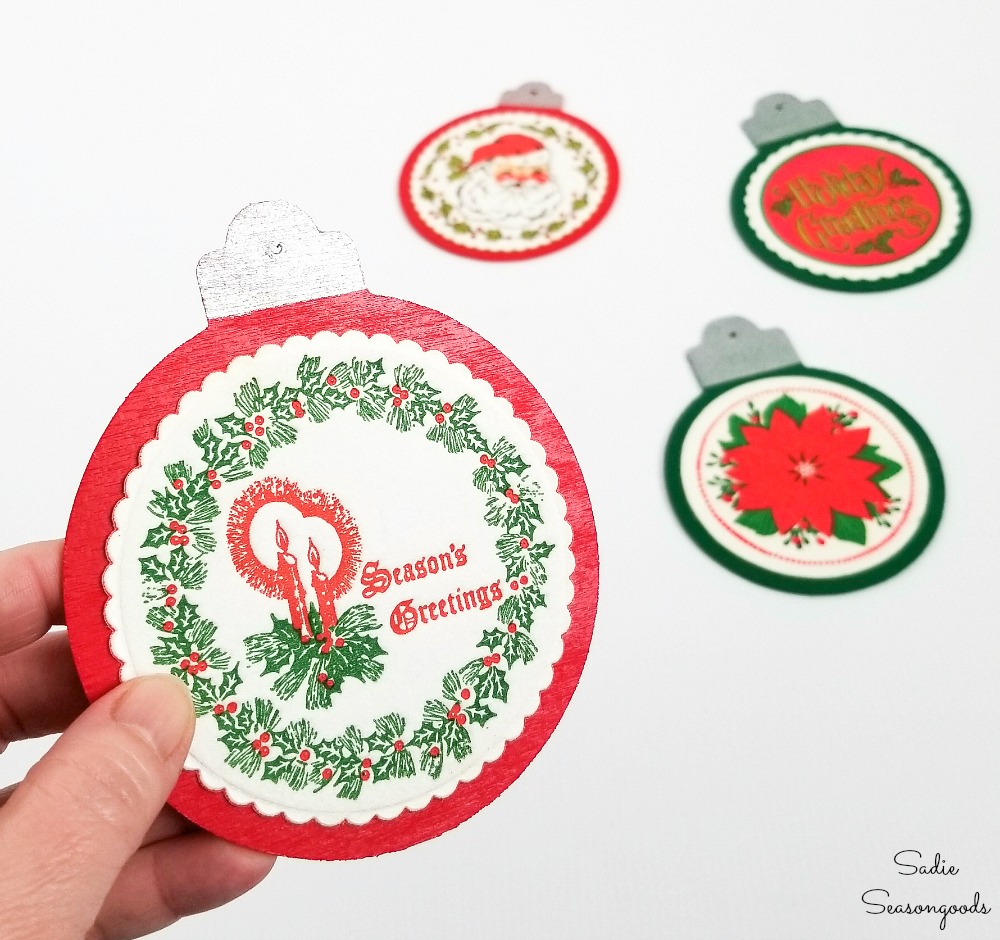
Image credit: Sadie Seasongoods.
Retro Christmas Ornaments with Paper Coasters and Wood Ornaments
To finish up, I tied a small loop of silver cord (to match the silver ornament caps) through the wood ornaments. And that was it!
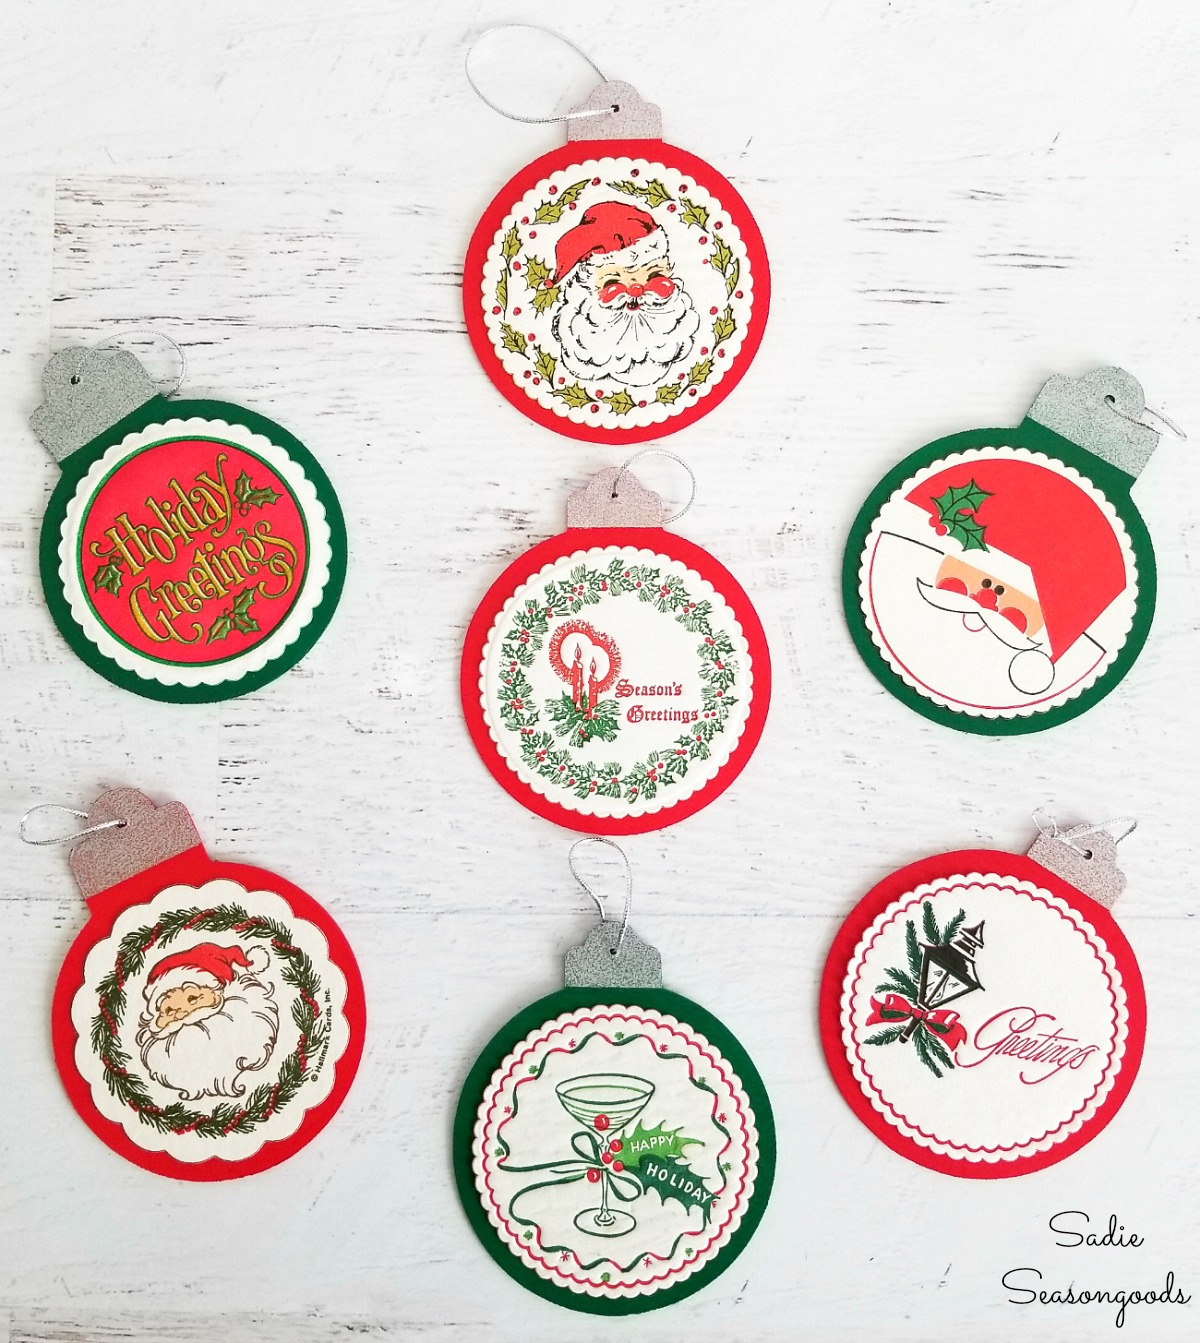
Image credit: Sadie Seasongoods.
These were SO SIMPLE to make, let me tell you. And they are just as cute as can be.
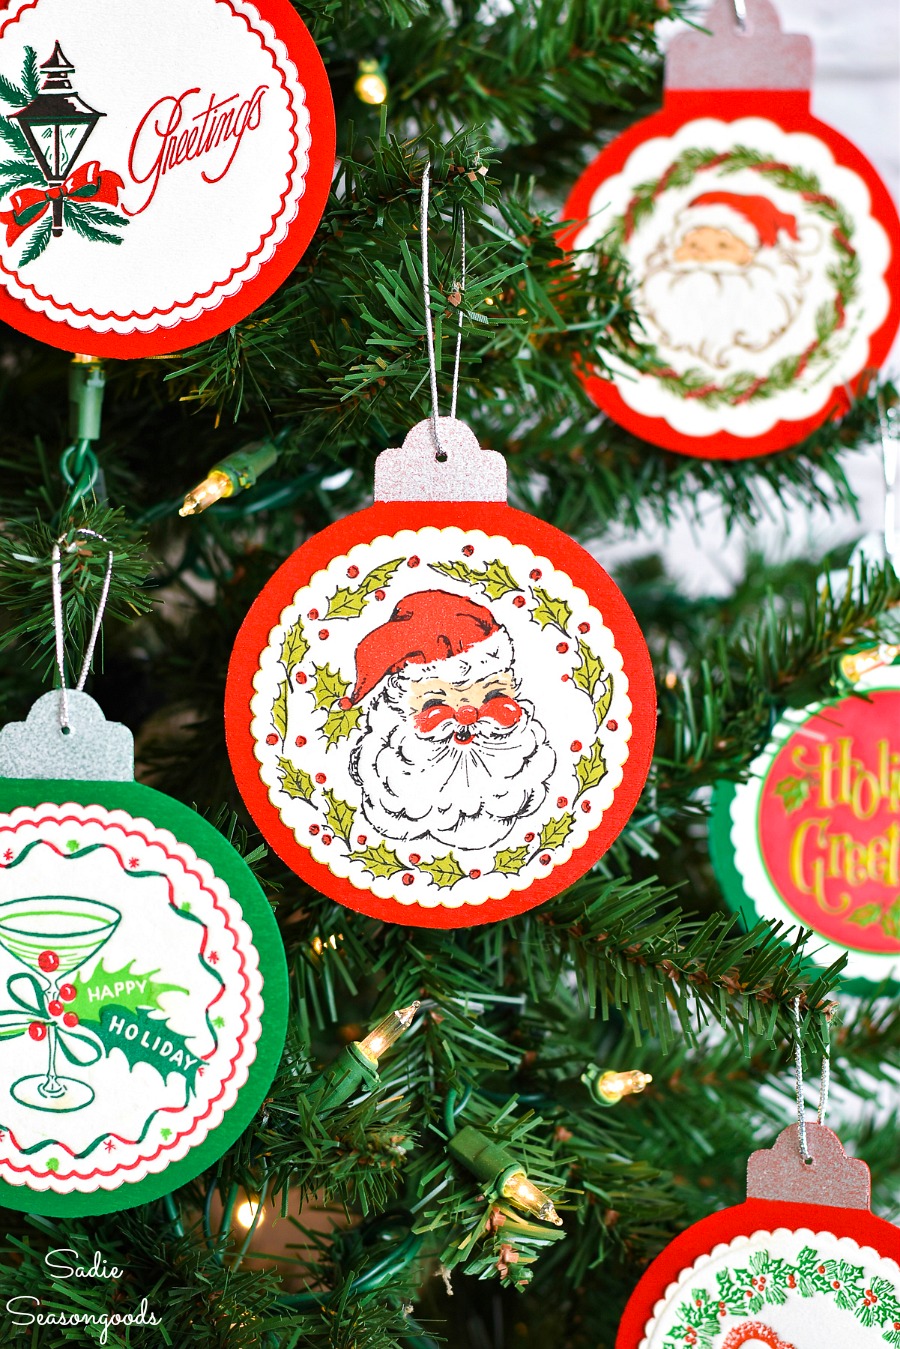
Image credit: Sadie Seasongoods.
I swear, I know they’re supposed to be coasters but it’s like this is what they were meant to become. Between the charming graphics and the scalloped edges, they’re just ideal as wood ornaments.
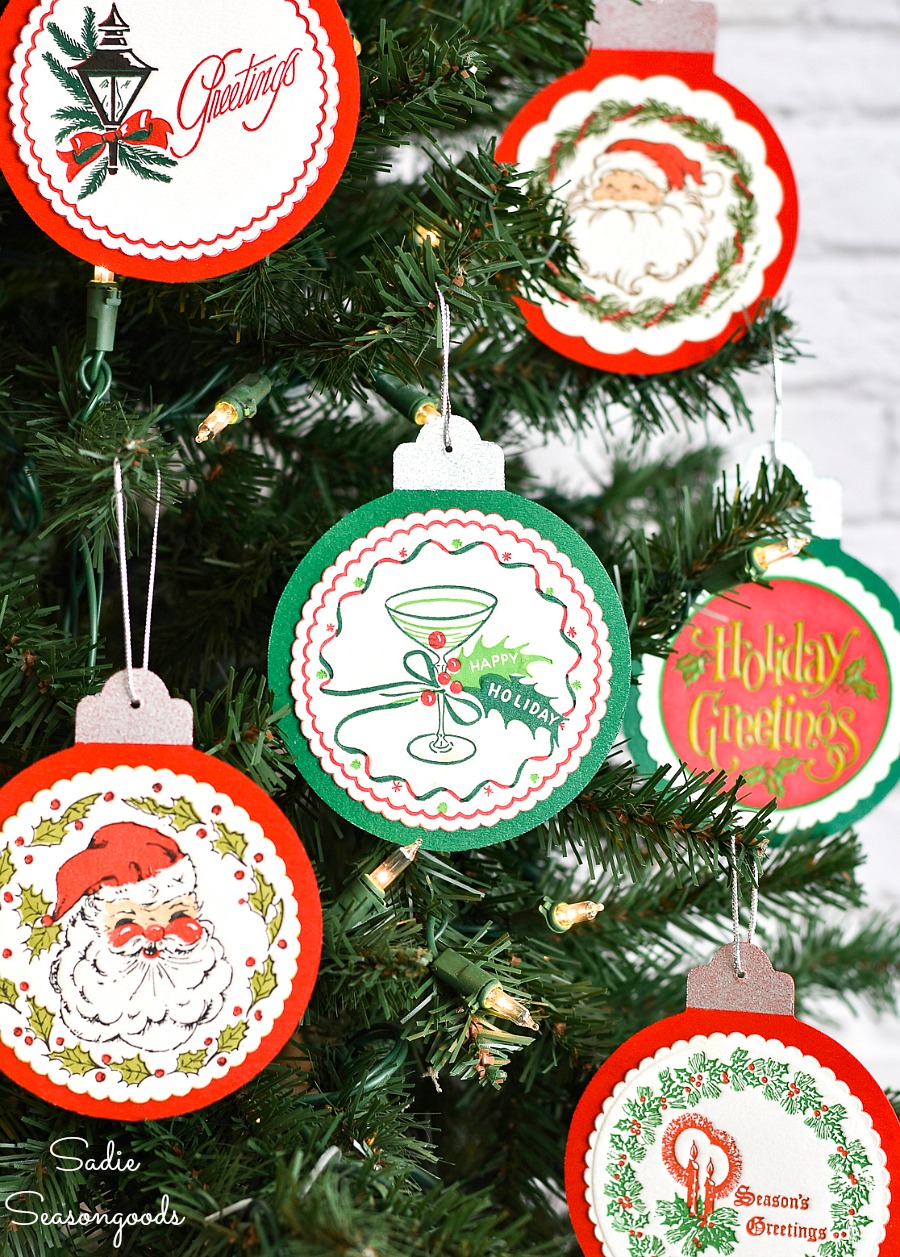
Image credit: Sadie Seasongoods.
BONUS- If you paint the back of the ornament with chalkboard paint, you could use these as decorative AND reusable gift tags, as well!
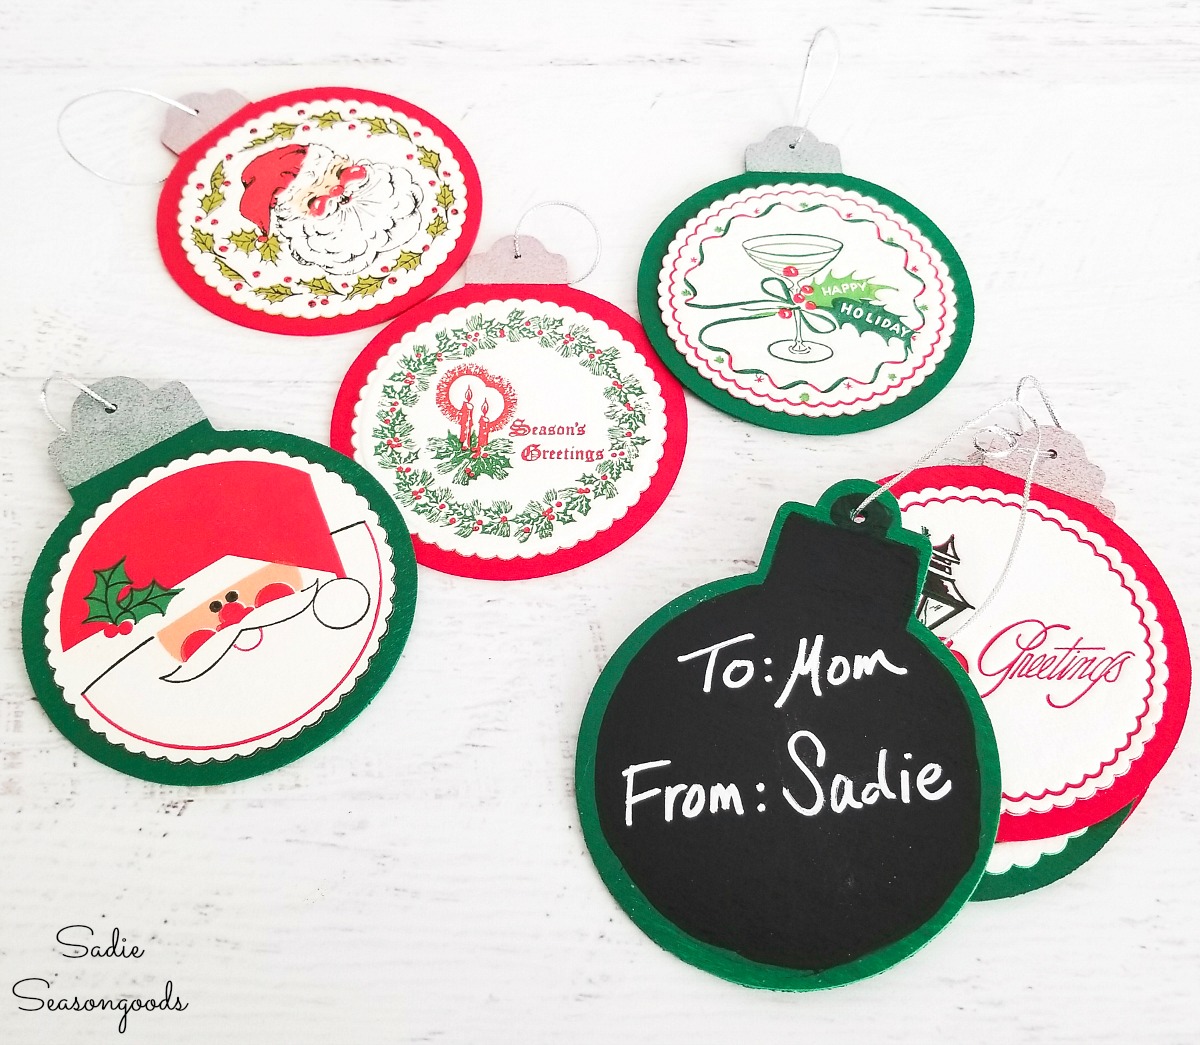
Image credit: Sadie Seasongoods.
Tell me you won’t pass those paper ornaments by in the thrift store again, eh? And if you end up with a pack of the same design, you can always swap with your friends at a craft party!
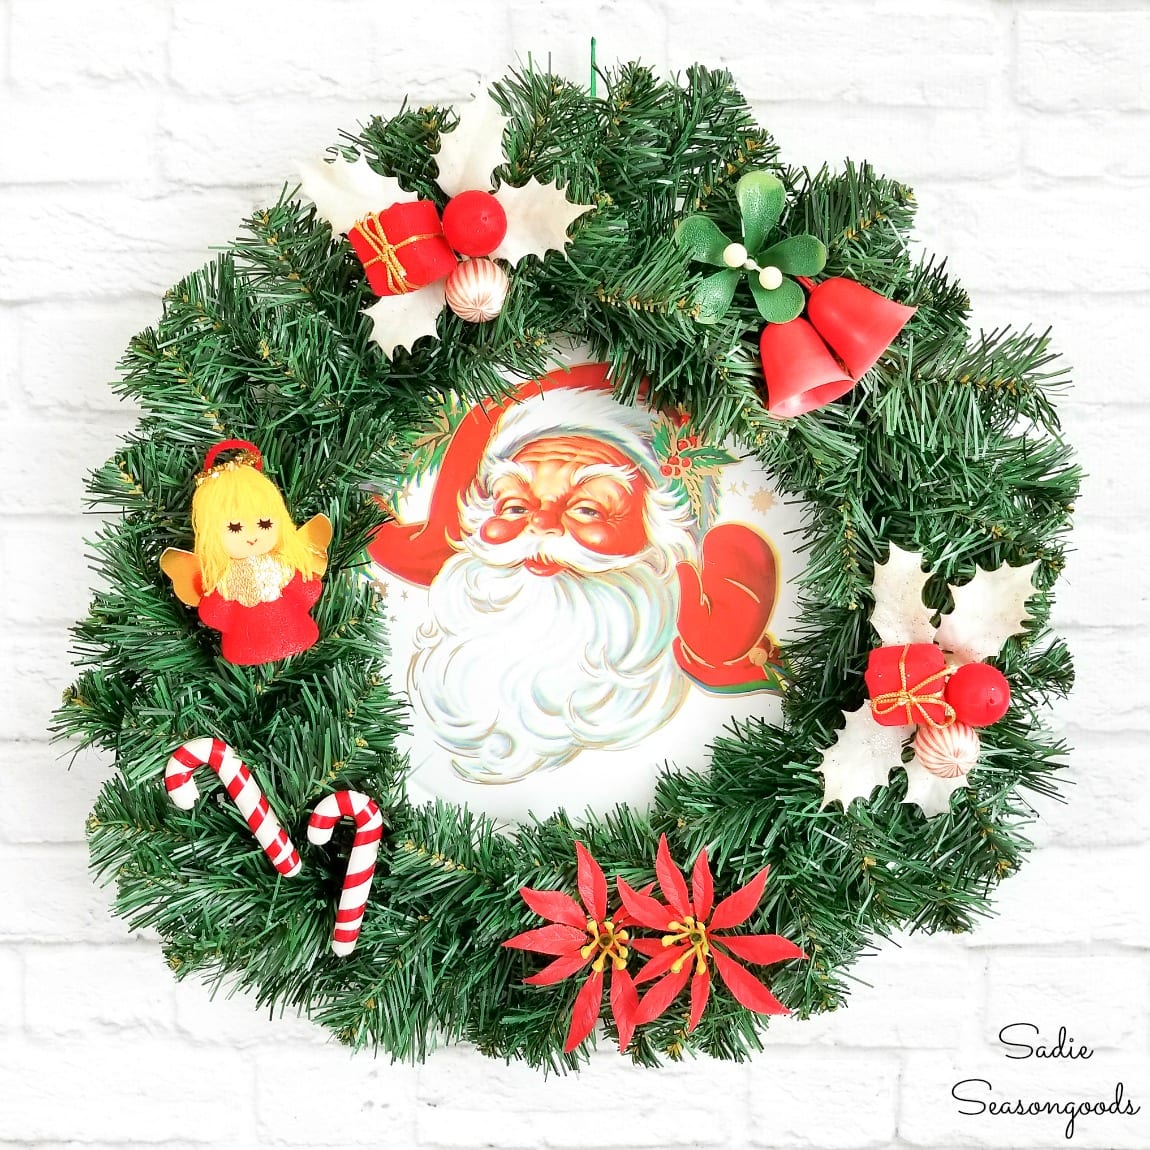
And if you enjoyed this upcycling idea for retro Christmas ornaments, then you’ll also love this retro Christmas wreath that was made from a plastic cookie tray!
Plus, don’t forget that my book, “Crafting with Flannel” has an entire chapter dedicated to Christmas projects! You can purchase it online from Amazon, Target, Barnes & Noble, and Walmart!
Craft on!
S
Want to be notified when I publish my next upcycling project tutorial?
Join me on Social Media:
PIN ME!
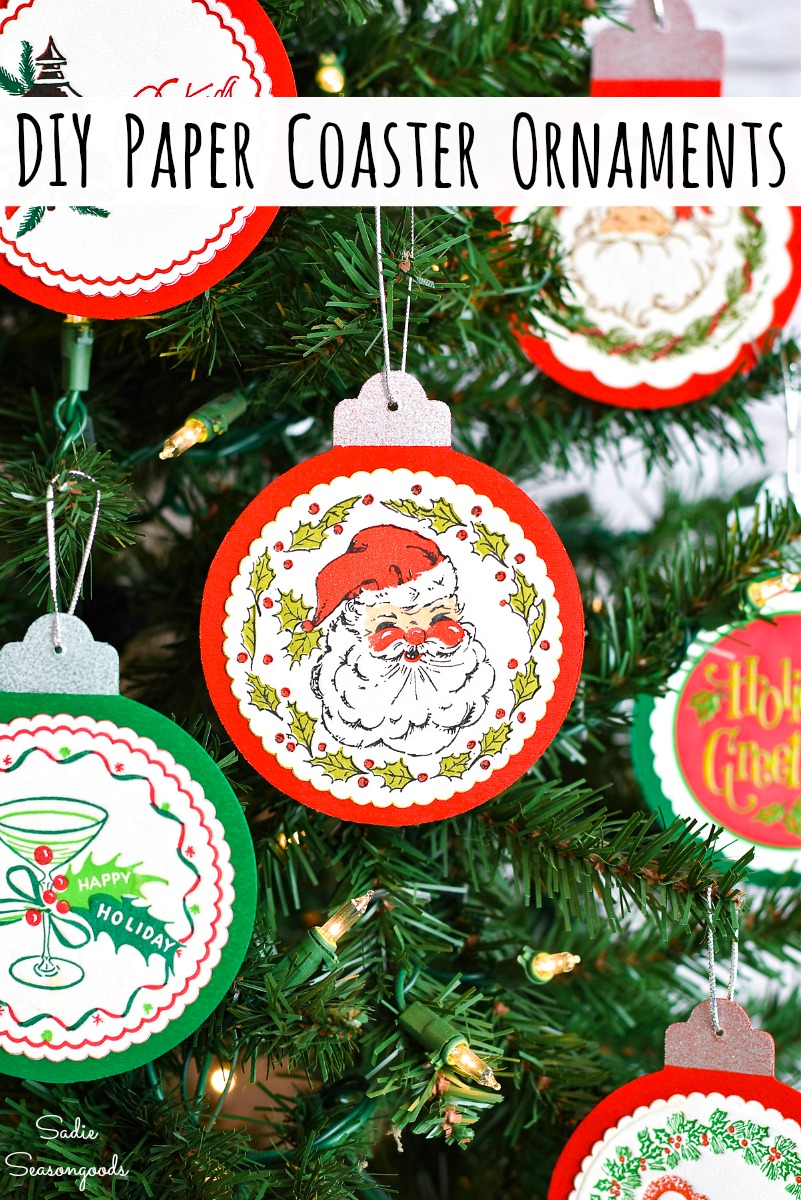
Image credit: Sadie Seasongoods.
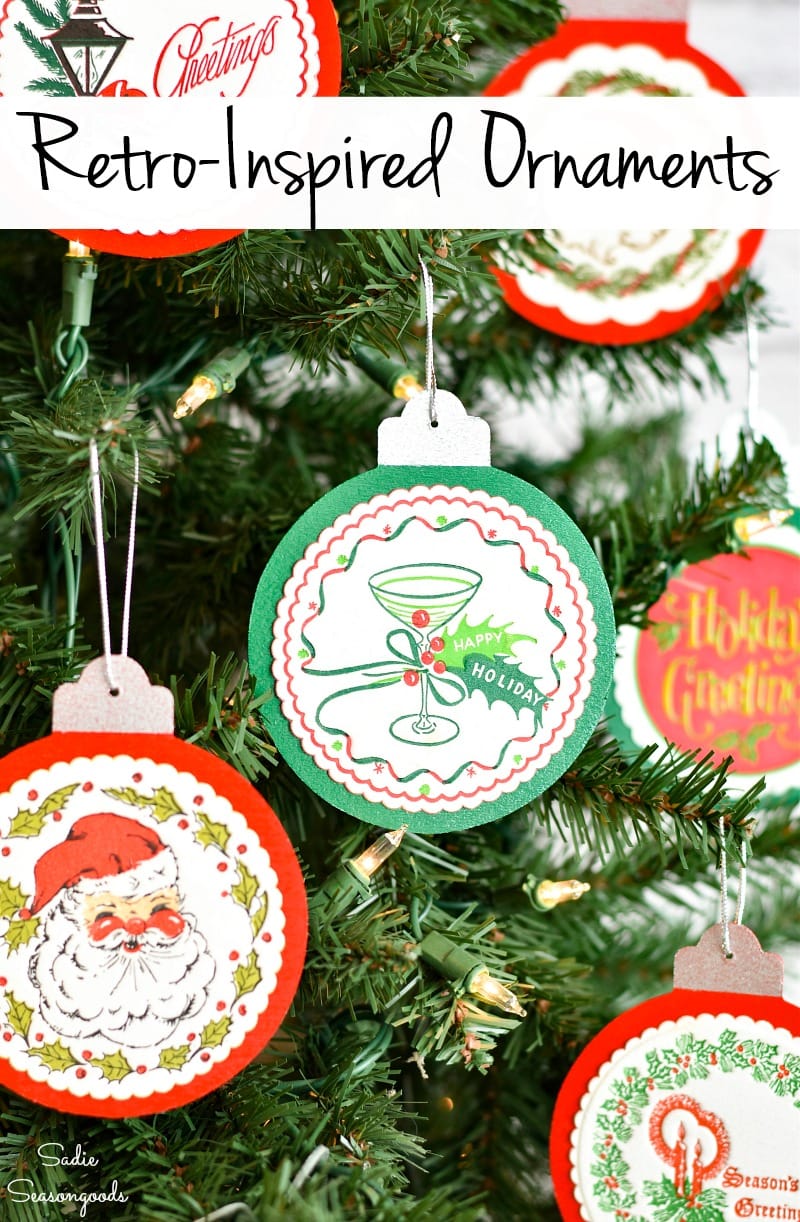
Image credit: Sadie Seasongoods.
Sarah Ramberg is the owner of Sadie Seasongoods, a website that celebrates all things secondhand. From upcycling ideas and thrifted decor to vintage-centric travel itineraries, Sadie Seasongoods is a one-stop shop for anyone who loves thrifting and approachable repurposing ideas. Sarah is also the author of “Crafting with Flannel” and has been featured in numerous media outlets and magazines.






I really love the coaster idea but I haven’t seen these coasters in years. Where would i find them?
There are loads on Etsy and probably Ebay, too (but I haven’t checked the latter).
These are adorable and so easy. Love the idea of using them as gift tags.
Thank you so much!
Just too cute! I love the retro vibe! Never would have thought of coasters. Used Christmas cards, napkins, wrapping paper, but not coasters. Won’t pass them up when I see them now! Always looking for ideas for ornaments for our church bazaar. I, too, often grab a piece of paper from my paper recycle bucket (next to my chair at the kitchen table, my crafting space) to put glue on, dry brush paint onto, etc.!
Thanks, Kathy!
love them! wish i had some paper coasters to do it!!
There are loads on Etsy – maybe Ebay, too!
These are absolutely adorable! What a fantastic idea for kids to make too.
Thank you! And yes – super simple to make with kids. Though they might not enjoy the throwback graphics on the paper coasters like we do. 😉
Yay! What a great idea! 🙂
Thank you – and thanks again for helping make it happen!
Ok, you’re officially brilliant! I have some vintage coasters that I’ve been saving…ok, hoarding for something special. This is a perfect way to enjoy them longterm, thank you! By the way, I’ve been following your wonderful downsizing journey and it has been so personally encouraging! I’m excited for you and challenged to keep up my own slow and steady trek to being more fit. Keep it up!
Thank you so very much, Amanda – for all your kind words! I keep hoping to hit the 25-lb loss mark to see if I can squeeze out one more weight loss post this year, but so far, no luck, LOL. I have a couple of weeks left to try and make it happen, though.
I am so impressed with your creativity. I LOVE your stuff. This is such a cute idea. I’m not into the vintage designs for my tree (my tree is woodsy)….but for gift tags? AWESOME idea, AWESOME use of these very cute graphics. Thank you for the idea.
Thanks, Kathy!! I love a “twofer” project for so many reasons!
Where did you find the paper coasters? I have looked all over the internet, and the ones I find are all one design which makes them fairly expensive if you want an assortment. This is a most clever idea. I had hoped to make some for our Christmas auction, but won’t be able to this year because I can’t find affordable coasters.
Have you tried Etsy? For instance, this listing is for 10 individual/different coasters: https://rstyle.me/+-PmICqkTA600hrJrii4tjw
Oh my goodness!! How CUTE!! Great idea… I’m on the lookout for those coasters now!
Tania
Thank you so much, Tania!!