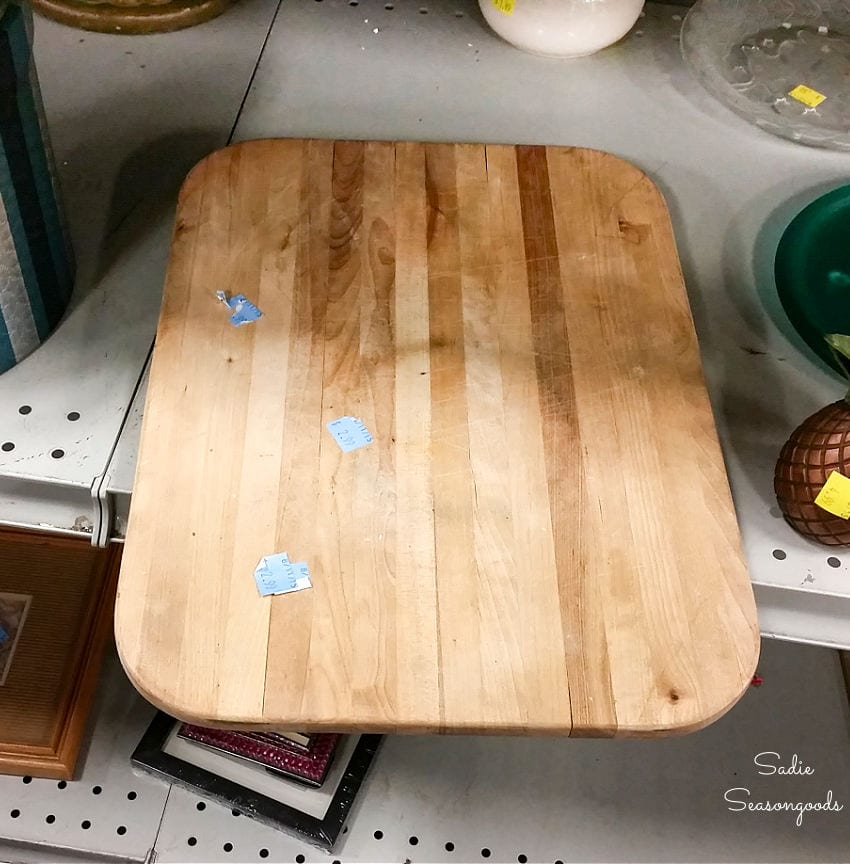
With the holidays on my mind, I wanted to create something decorative but also functional for entertaining guests. But I’m not too keen on spending a lot of money right before Christmas. I spied this over-the-sink cutting board on the shelf during a recent thrifting adventure. And I knew it had a LOT of potential to become a farmhouse tray.
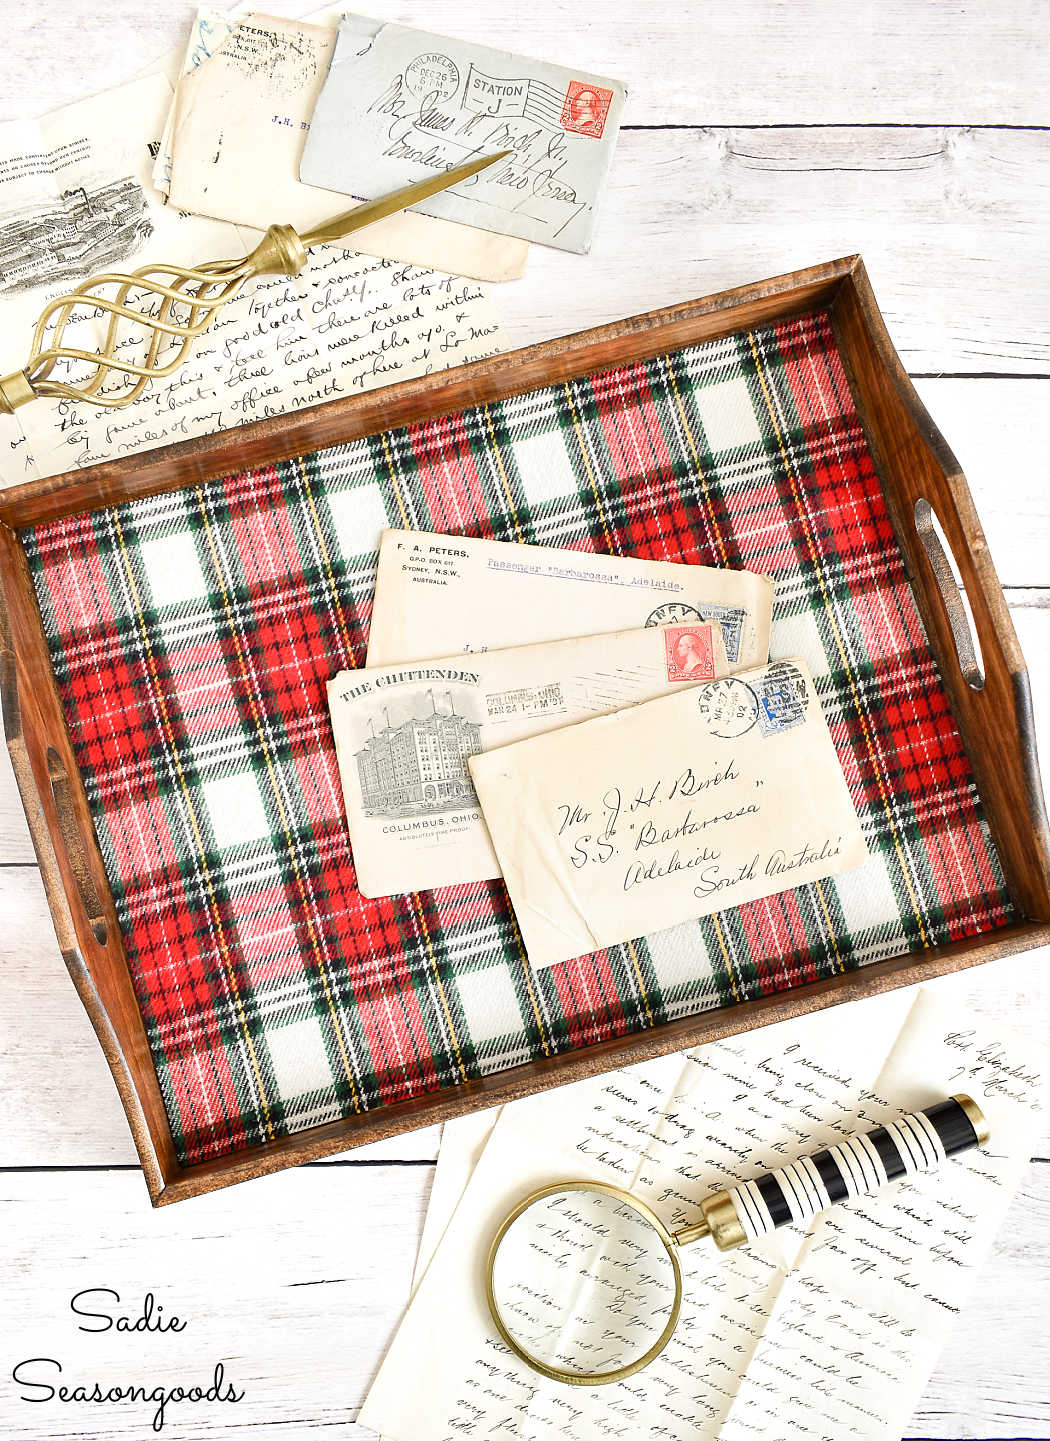
And, yes- you’re right. I have a penchant for wooden tray projects. Remember this one that appeared in my book, “Crafting with Flannel”?
Anyway, back to the cutting board. Was it in rough shape? Yes. But that made it even more attractive to me! And because it was an over-the-sink cutting board, it was extra thick and heavy, which made it unique.
So, into the cart it went!
This post contains affiliate links for your crafting convenience. As an Amazon Associate, I earn from qualifying purchases. All blue, bold, and underlined text is a clickable link, either to a product or to a related post.
Resurfacing a Cutting Board for a Farmhouse Serving Tray
I won’t lie to you- it didn’t look all that great in person. But, a little TLC could transform it into something to show off; I could just feel it in my DIY-loving heart.
Besides, it wasn’t a huge investment to at least try…
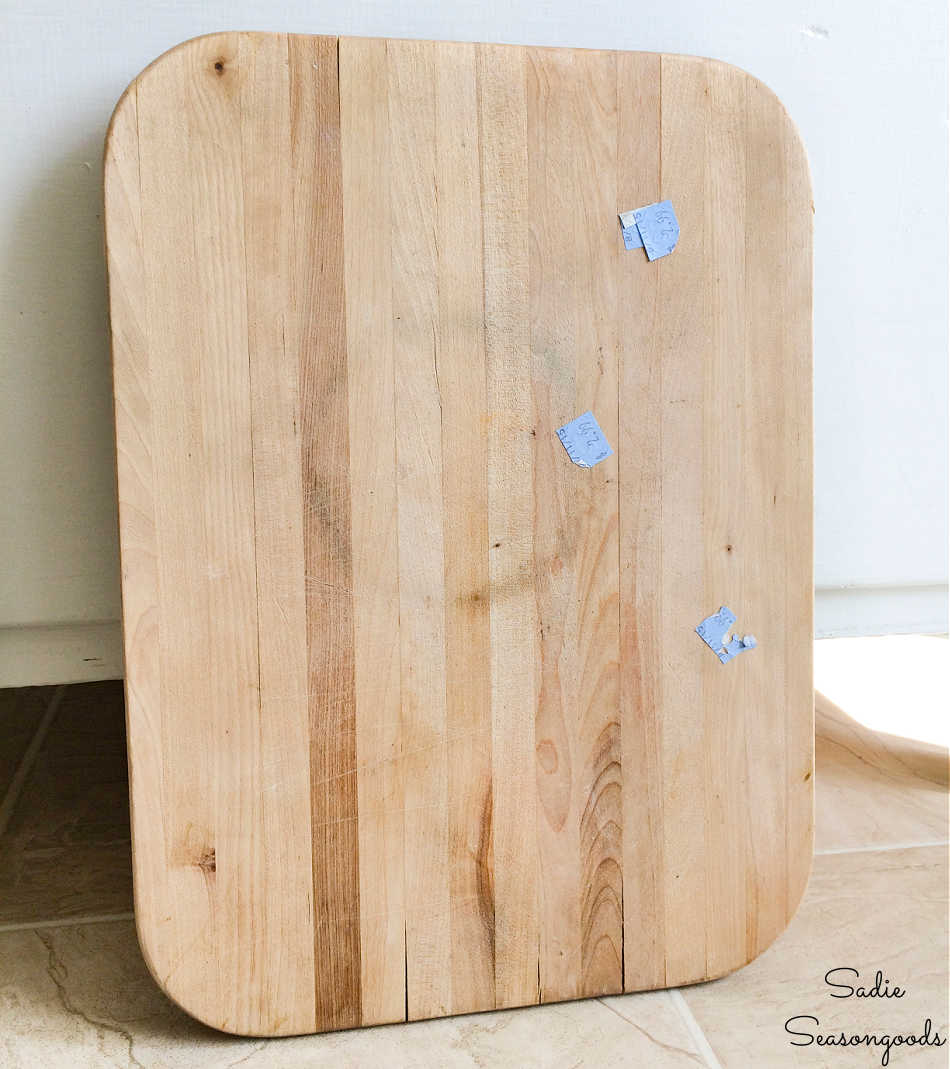
First, I gave it a good cleaning before sanding it down with our orbital sander. This removed the stains and scars that it had endured as a cutting board.
And just like that, it already looked ten times better!
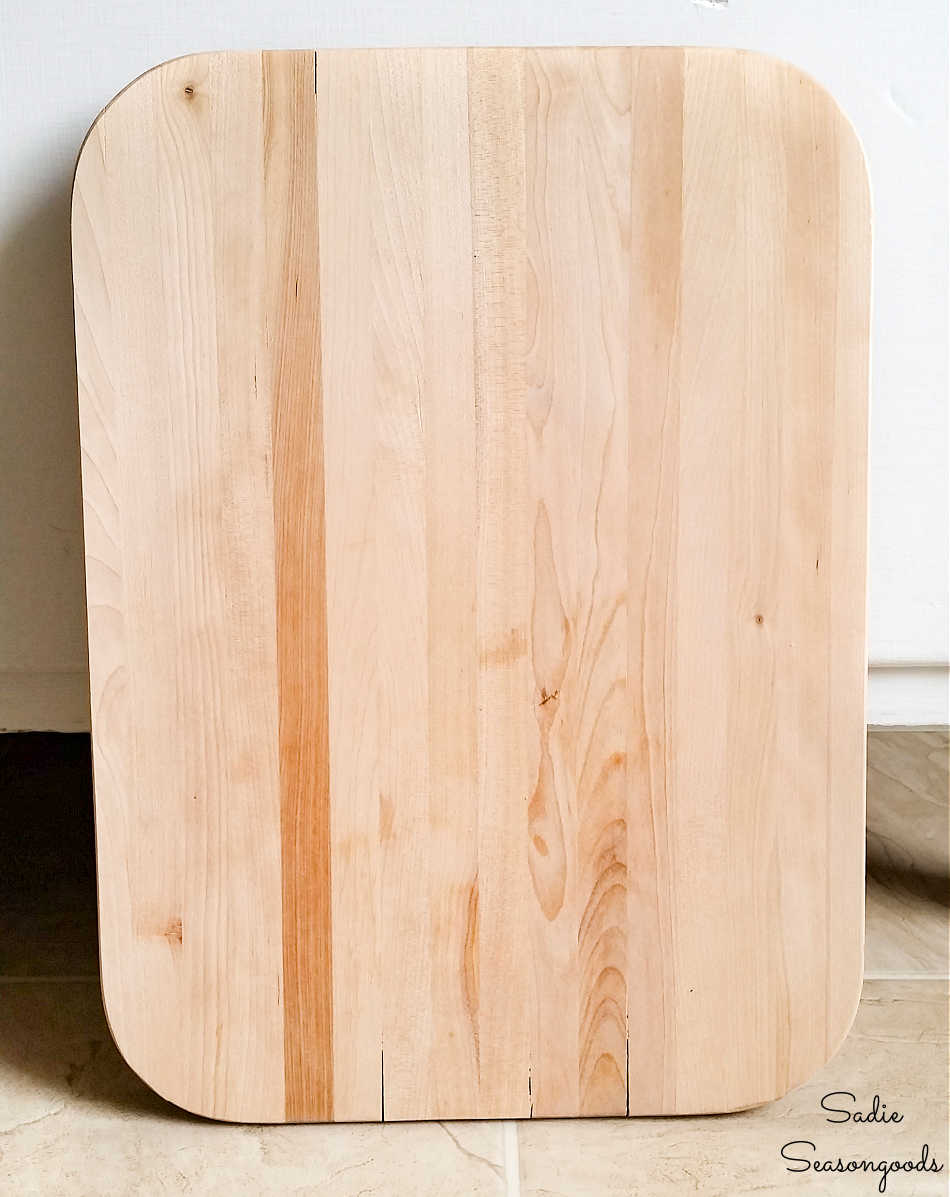
I made sure to use a middle-of-the-ground disk grit (120) to ensure that it was smooth, but not SO smooth for the following steps.
Once the sanding was done and the sawdust have been cleaned away, I grabbed a pint of one of my favorite rustic wood stains.
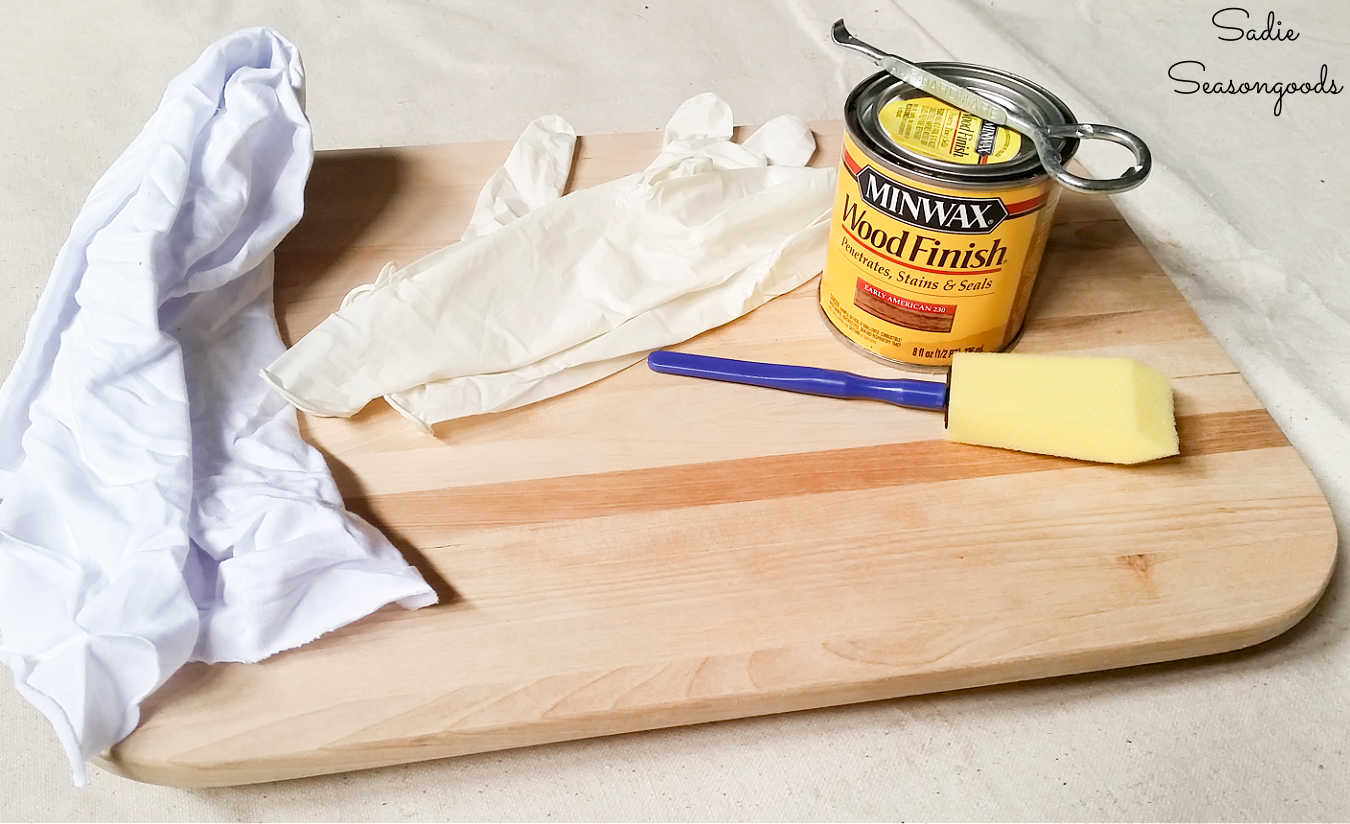
Right away, I could tell that I was going to have to layer on a couple or a few layers of stain to achieve the rich color I was looking for. Because one coat of stain was NOT going to cut it.
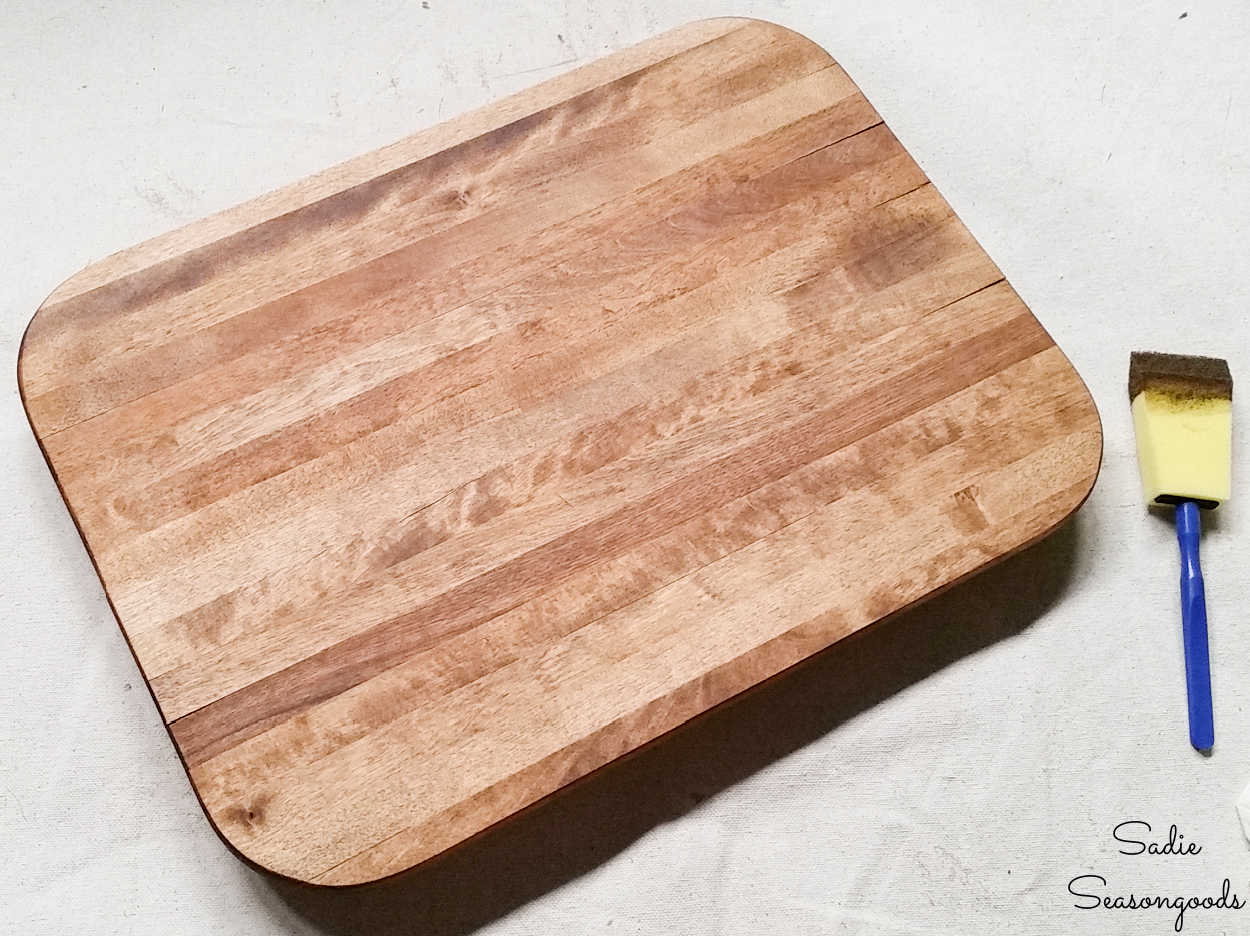
It was dry, thirsty wood and needed a lot more color! This was DEFINITELY too blah for me…
Finishing a Farmhouse Tray
But, after giving the cutting board three coats of stain, it looked pretty darn good.
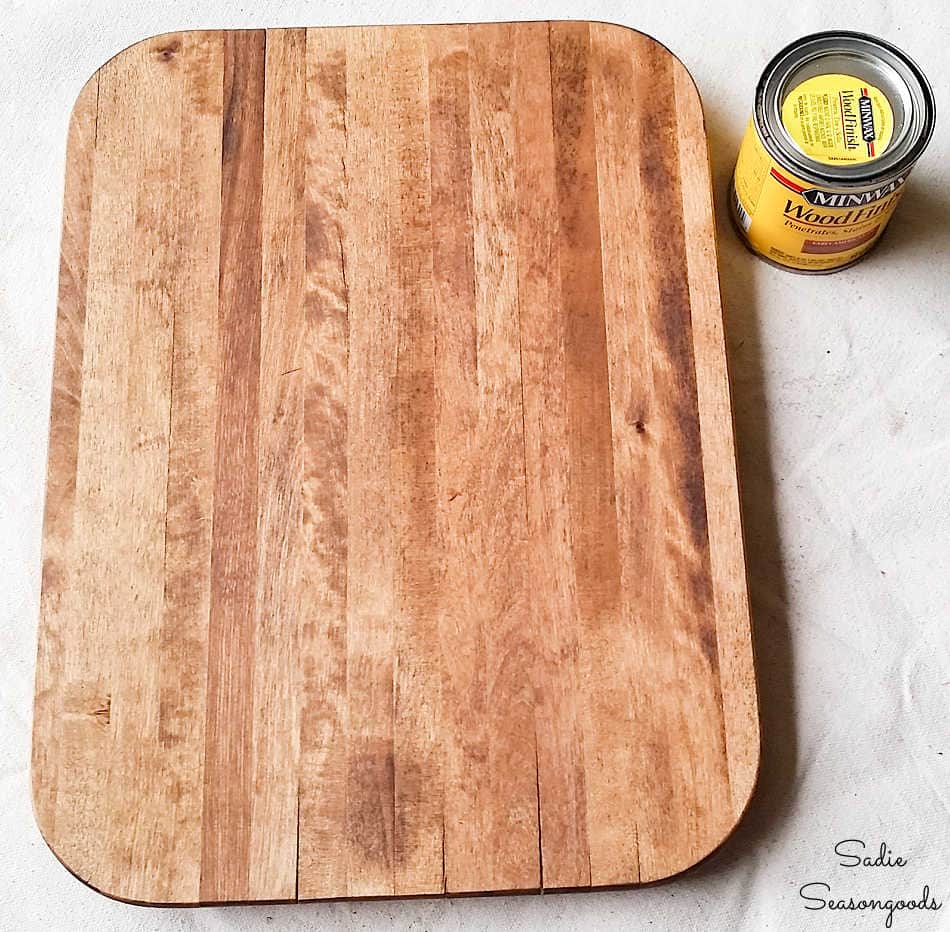
It had the richness and depth that I wanted, putting it well on its way to becoming a farmhouse tray.
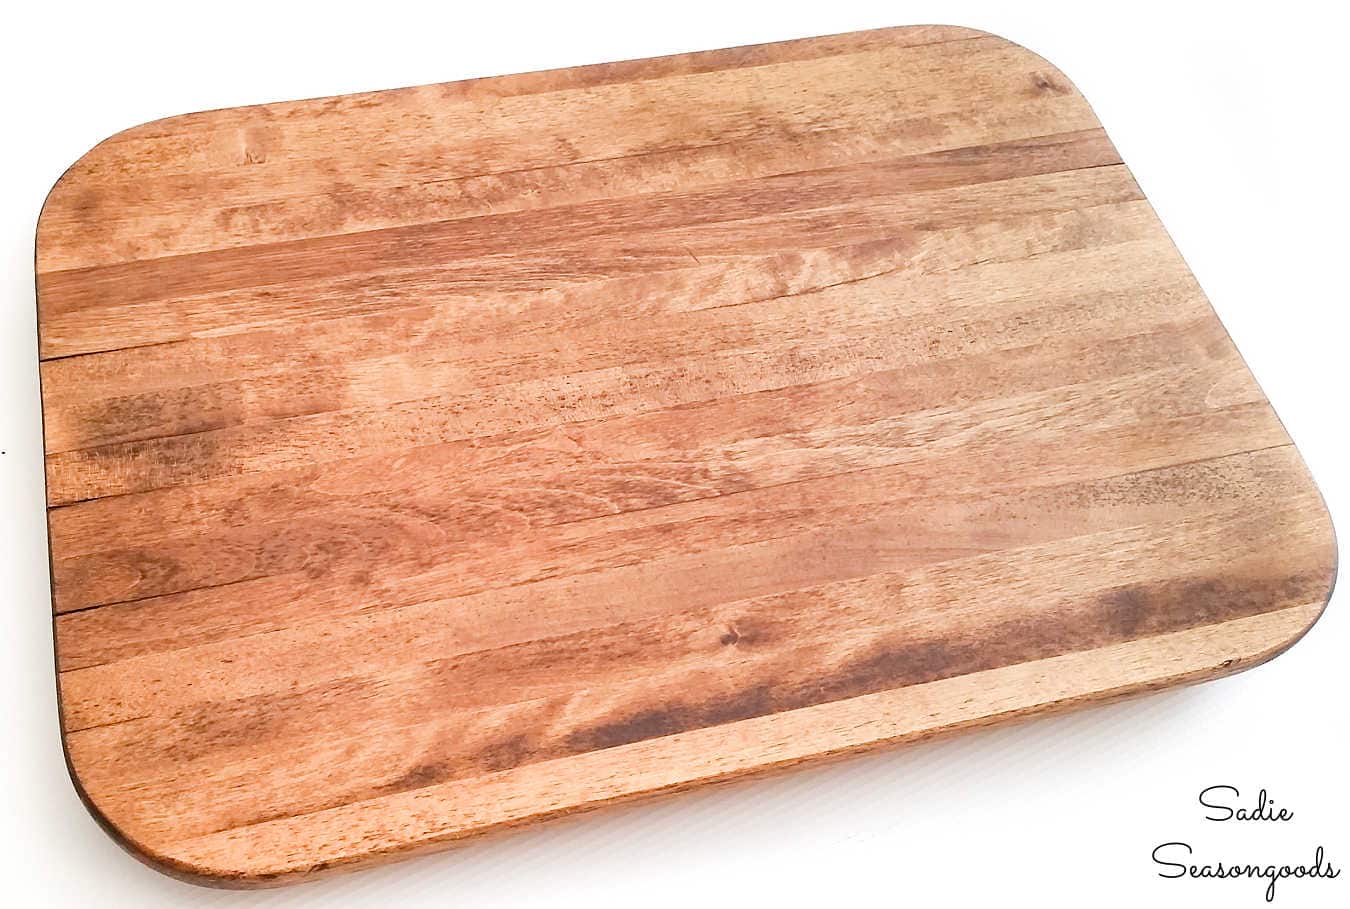
Once the stain had thoroughly cured, I gave the cutting board a coat of polyacrylic. I chose polyacrylic because this was going to be a decorative tray and no food would come in direct contact with it.
I also gathered a couple of inexpensive door handles (these are nicer than mine!) from a hardware store. They reminded me of screen door handles.
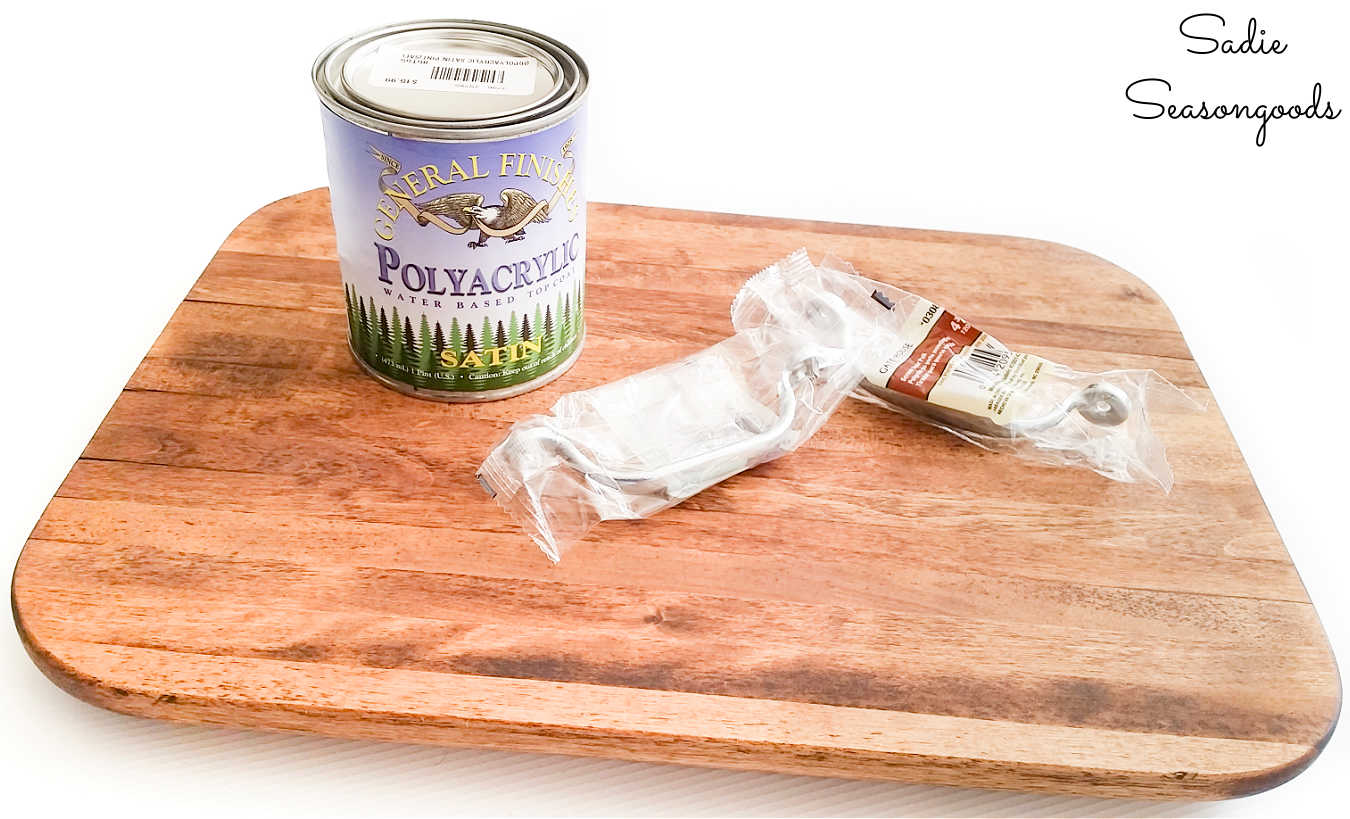
After attaching the screen door handles, I was done! Or so I thought…
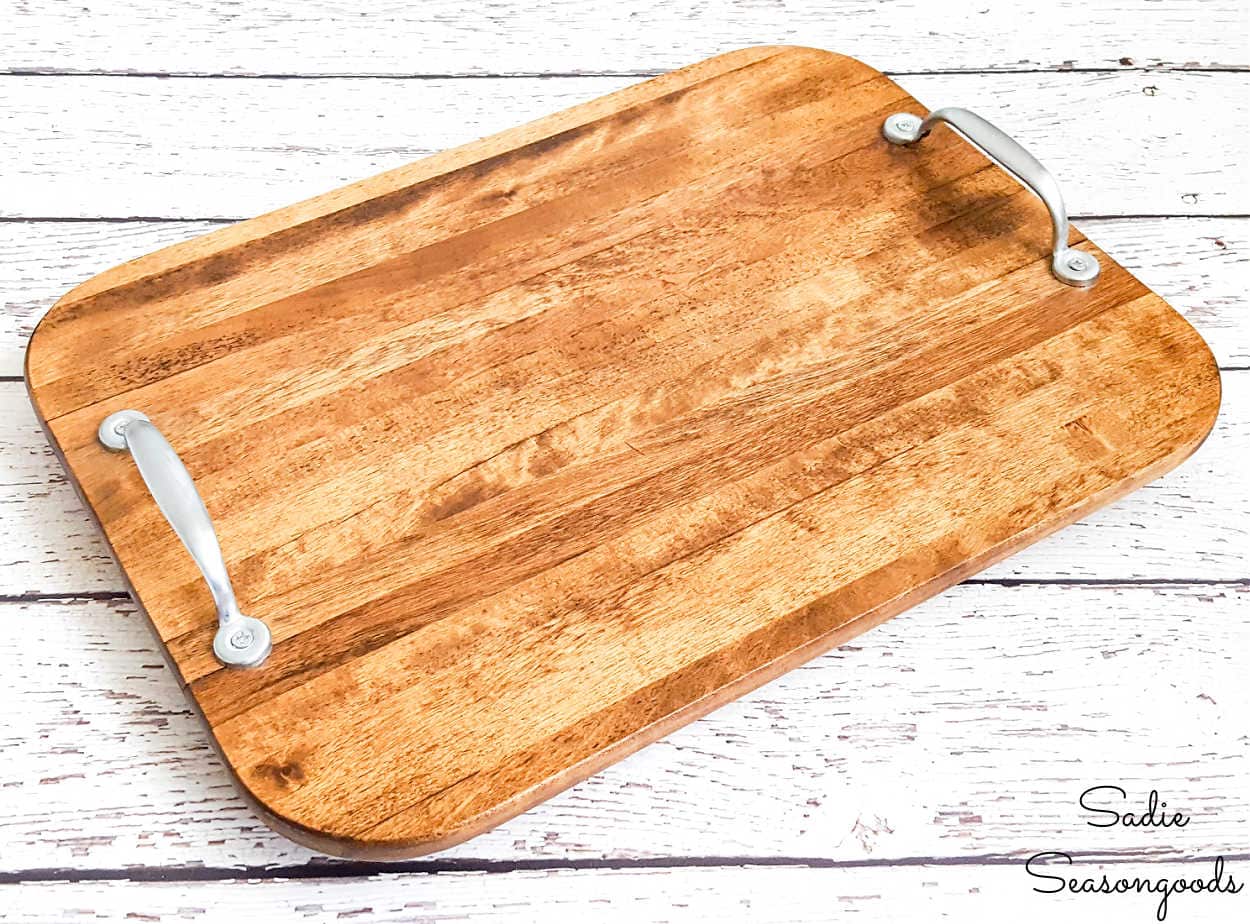
Farmhouse Tray from a Cutting Board
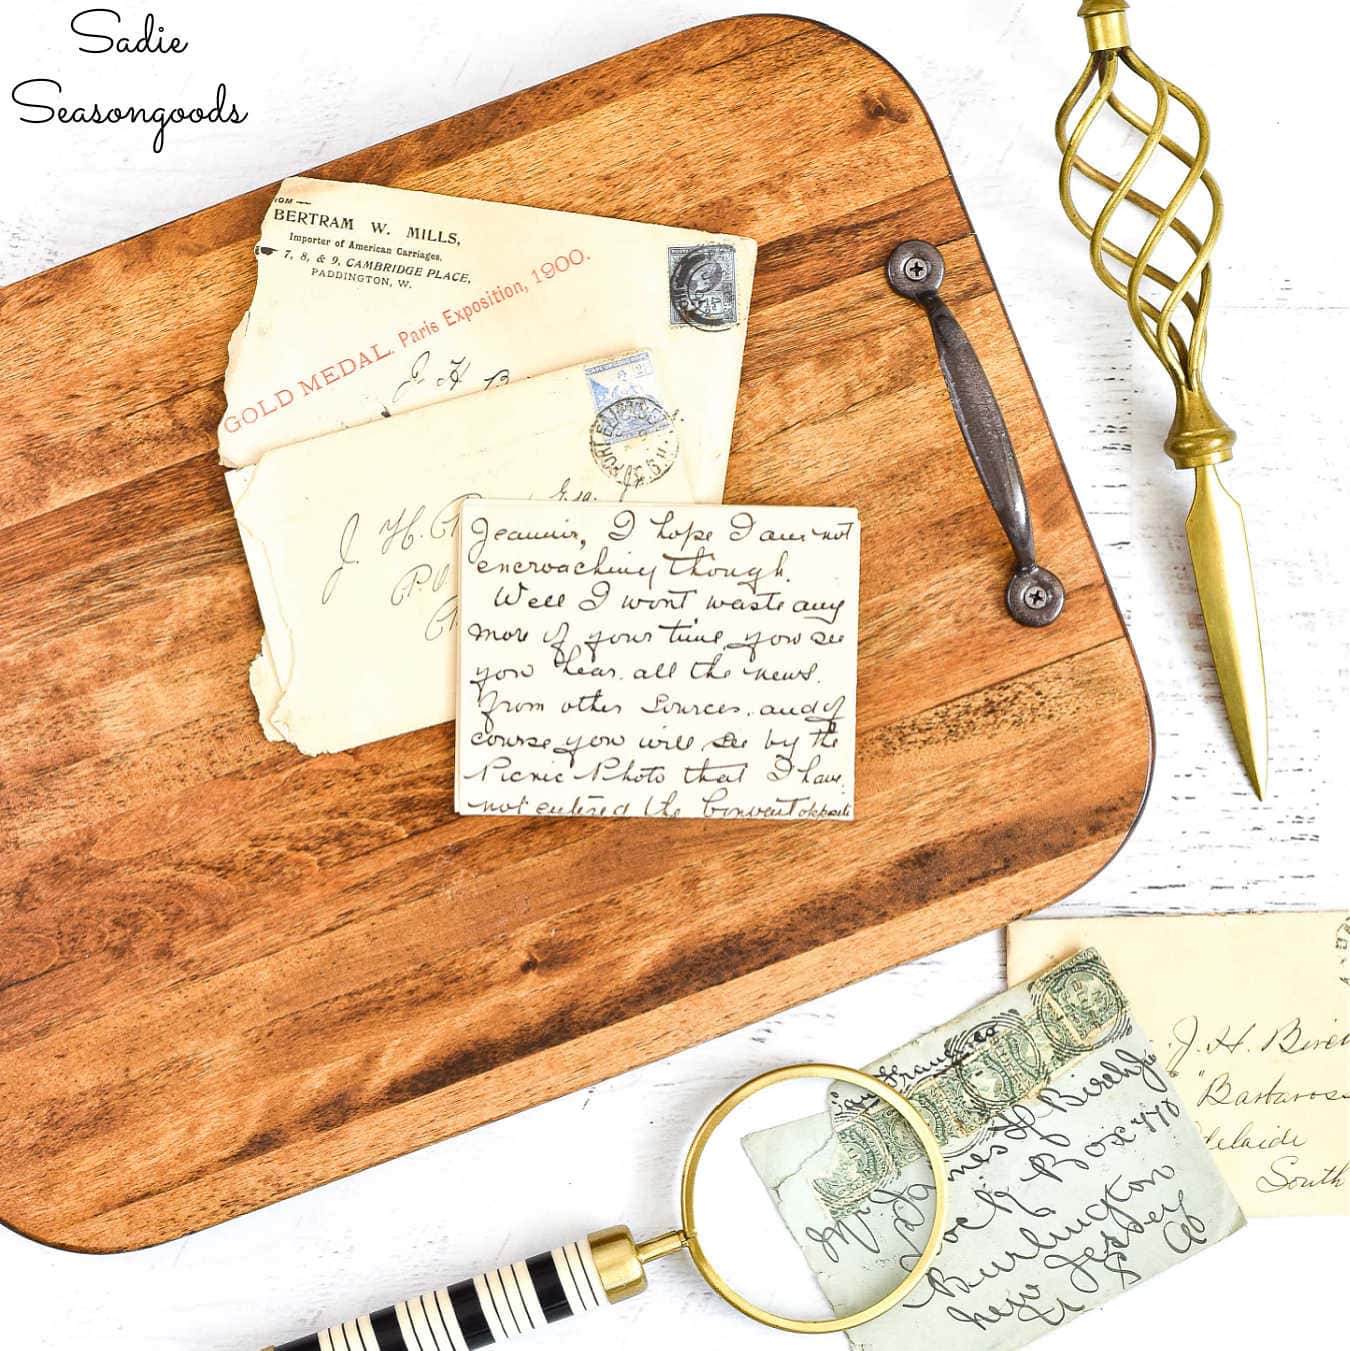
But you know what? I wasn’t crazy about the silver handles. Sure, they were inexpensive, but I wanted something darker, so I spray painted them.
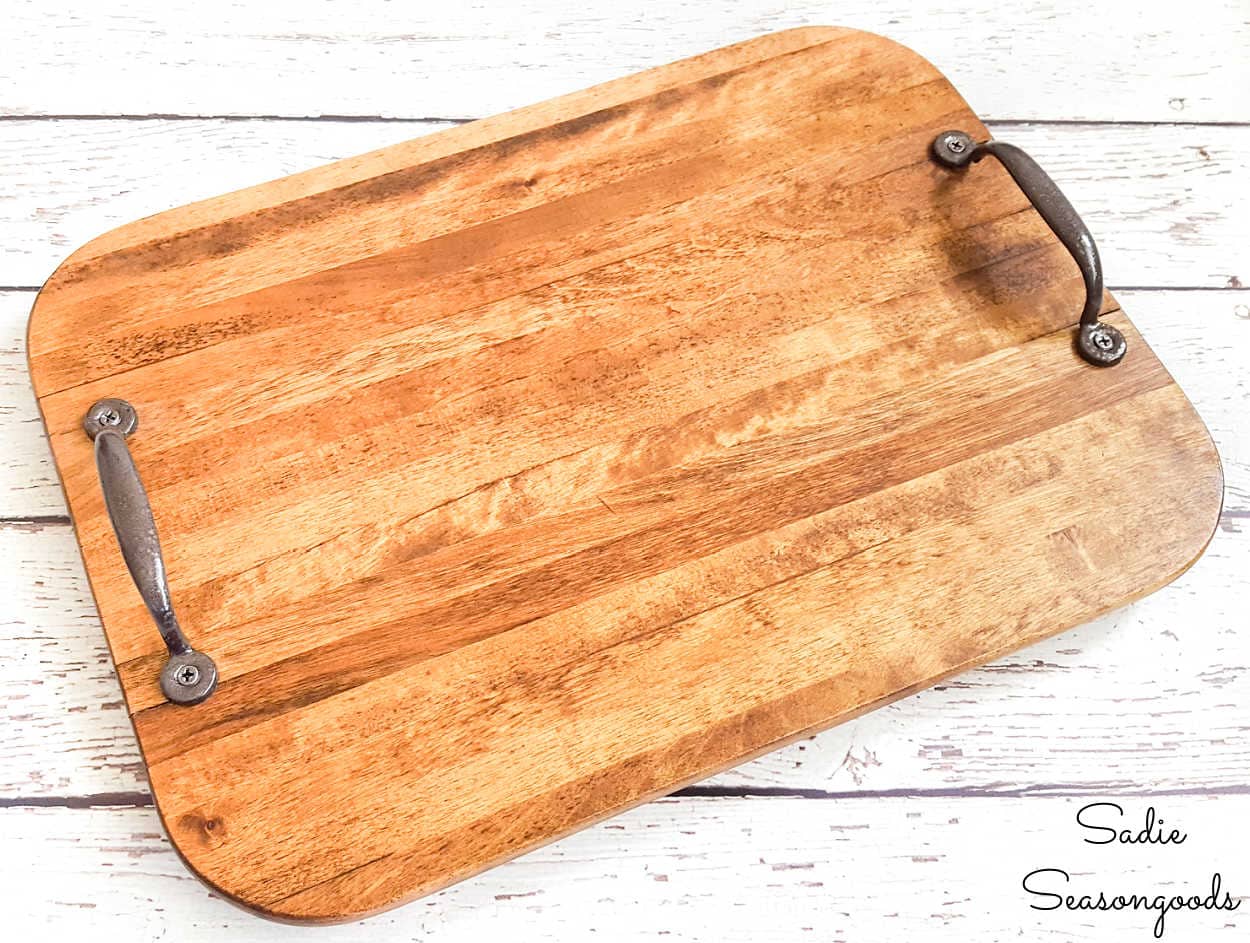
Much better, don’t you think? NOW it was the perfect farmhouse tray to set out on a coffee table for coasters, drinks, snack bowls, etc.
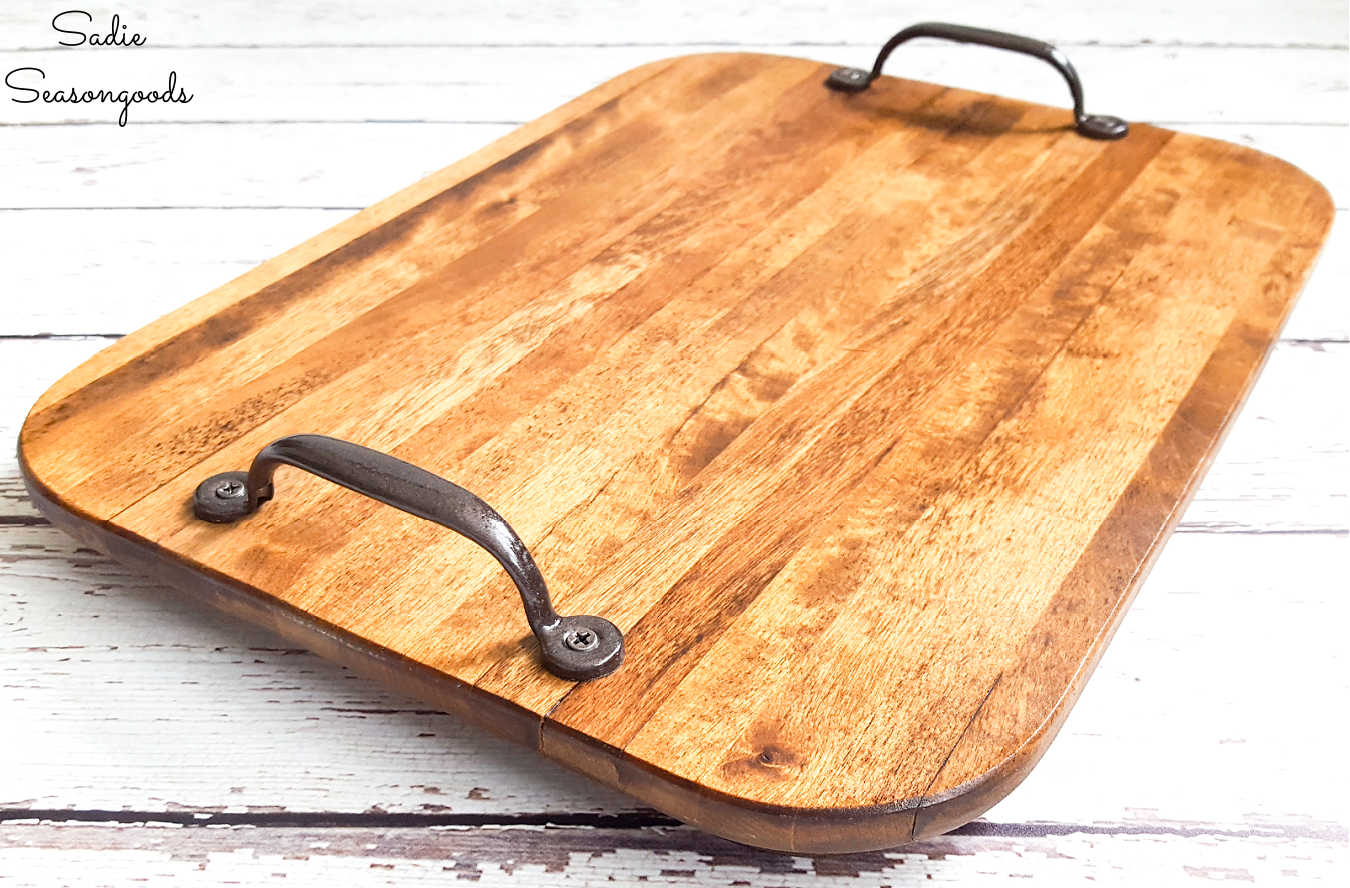
Or just set out on a table as part of centerpiece for decorative purposes.
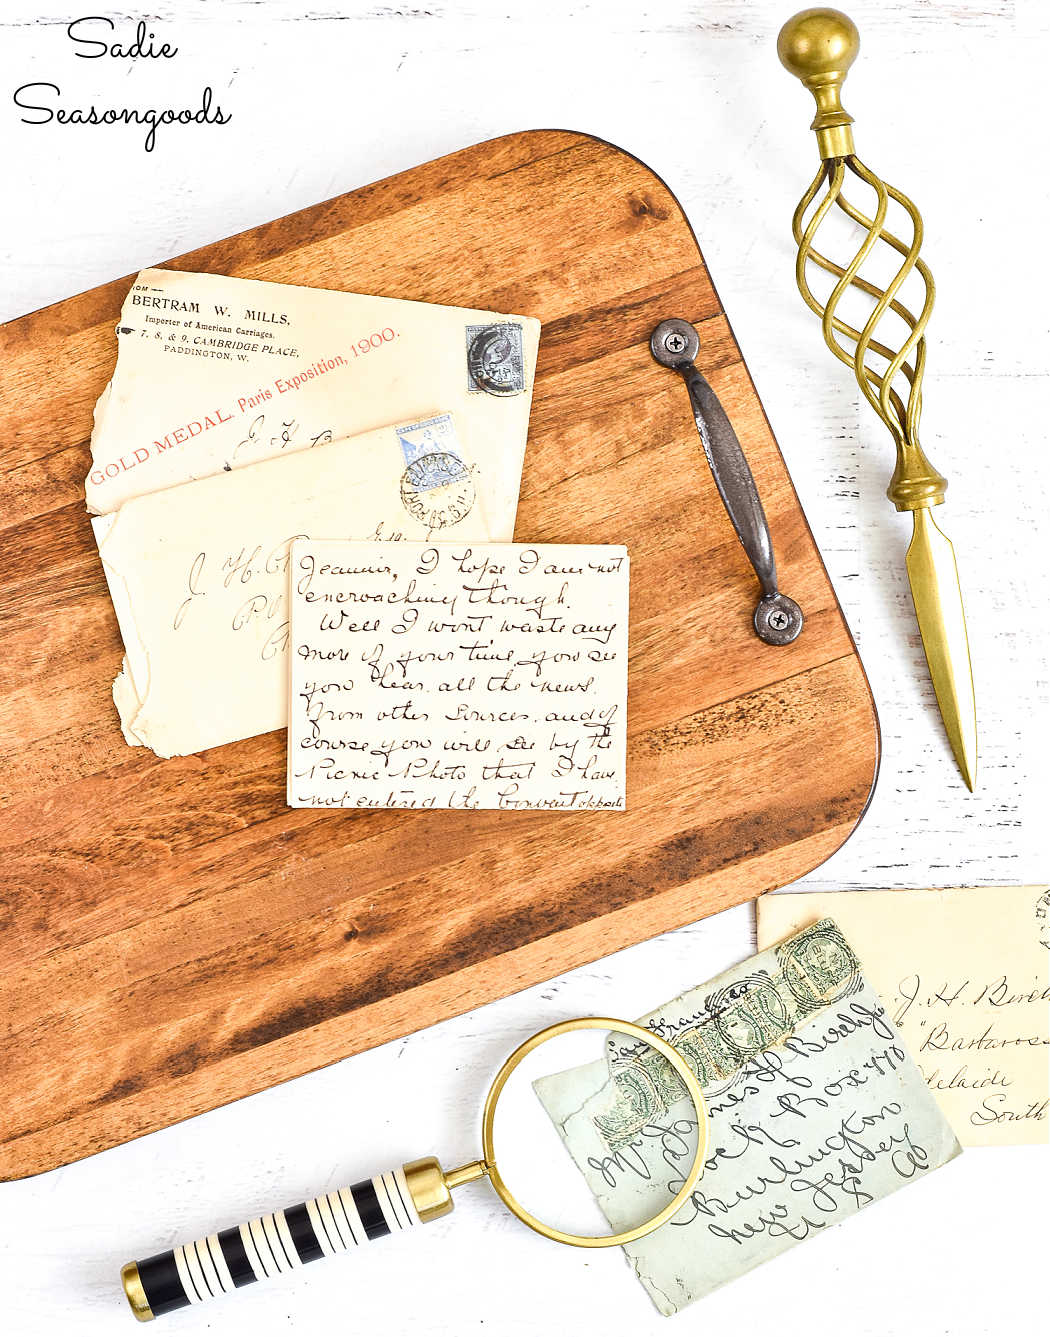
What a transformation, from that beat up, dried out, and badly stained cutting board from Goodwill!
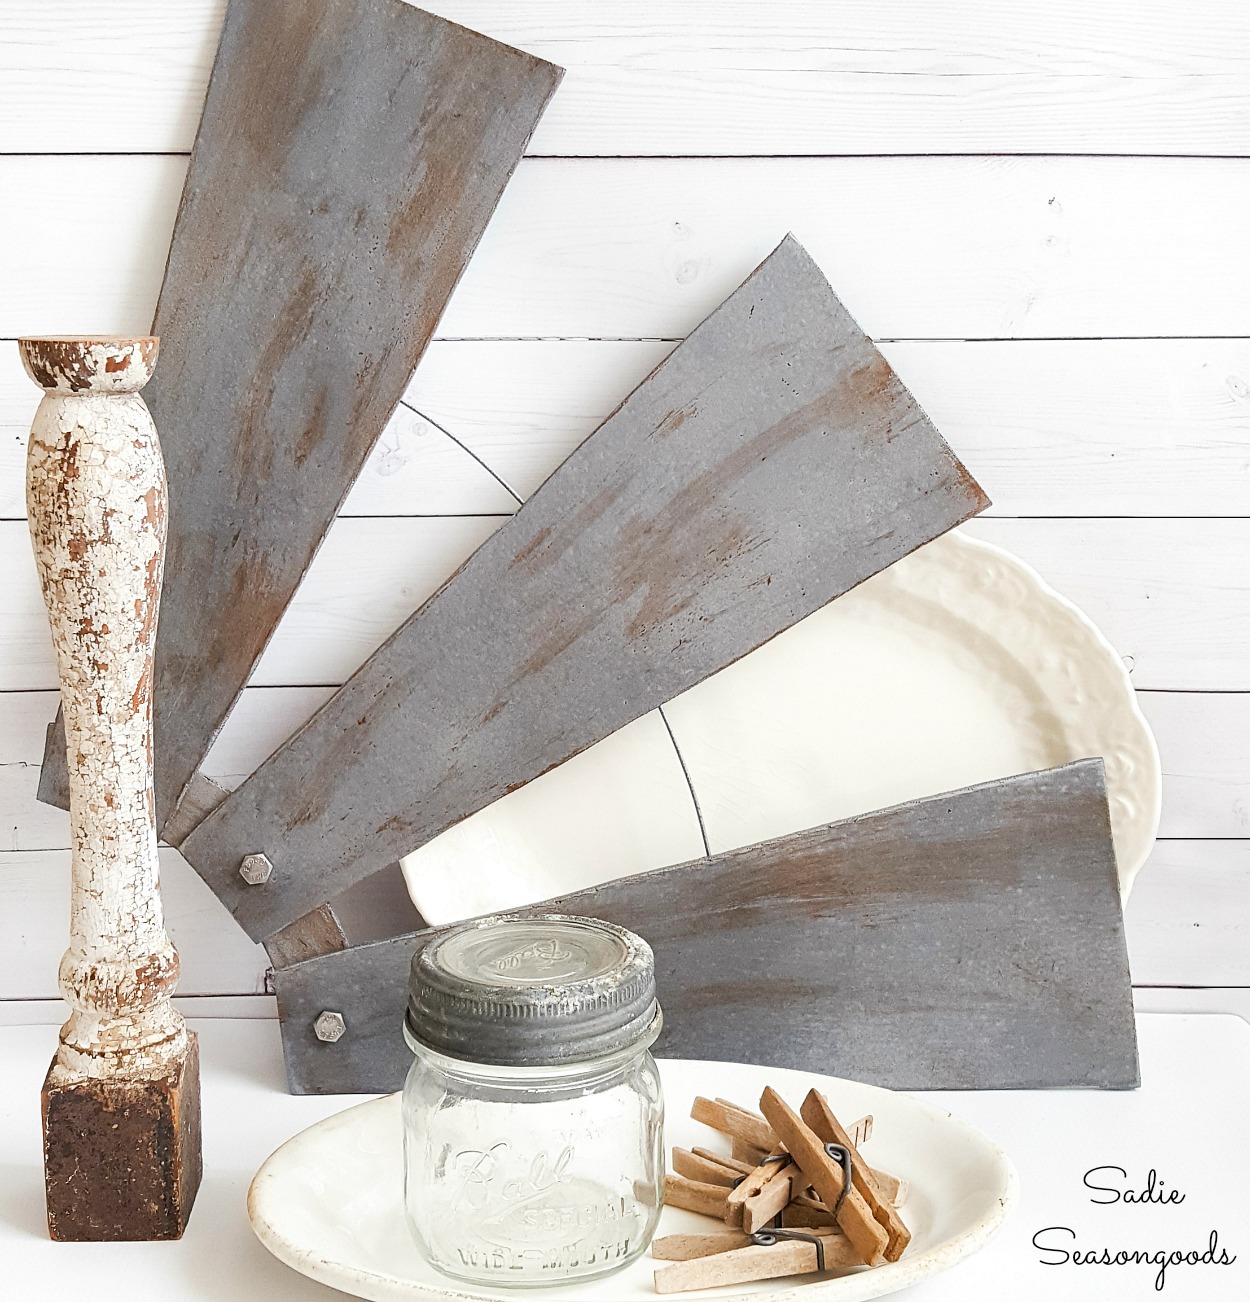
And if you enjoyed this upcycling idea for farmhouse decor, then you’ll love this idea for windmill decor with ceiling fan blades!
And for even more upcycling ideas for cutting boards, this collection is full of inspiration!
Craft on!
S
Want to be notified when I publish my next upcycling project tutorial?
Join me on Social Media:
PIN ME!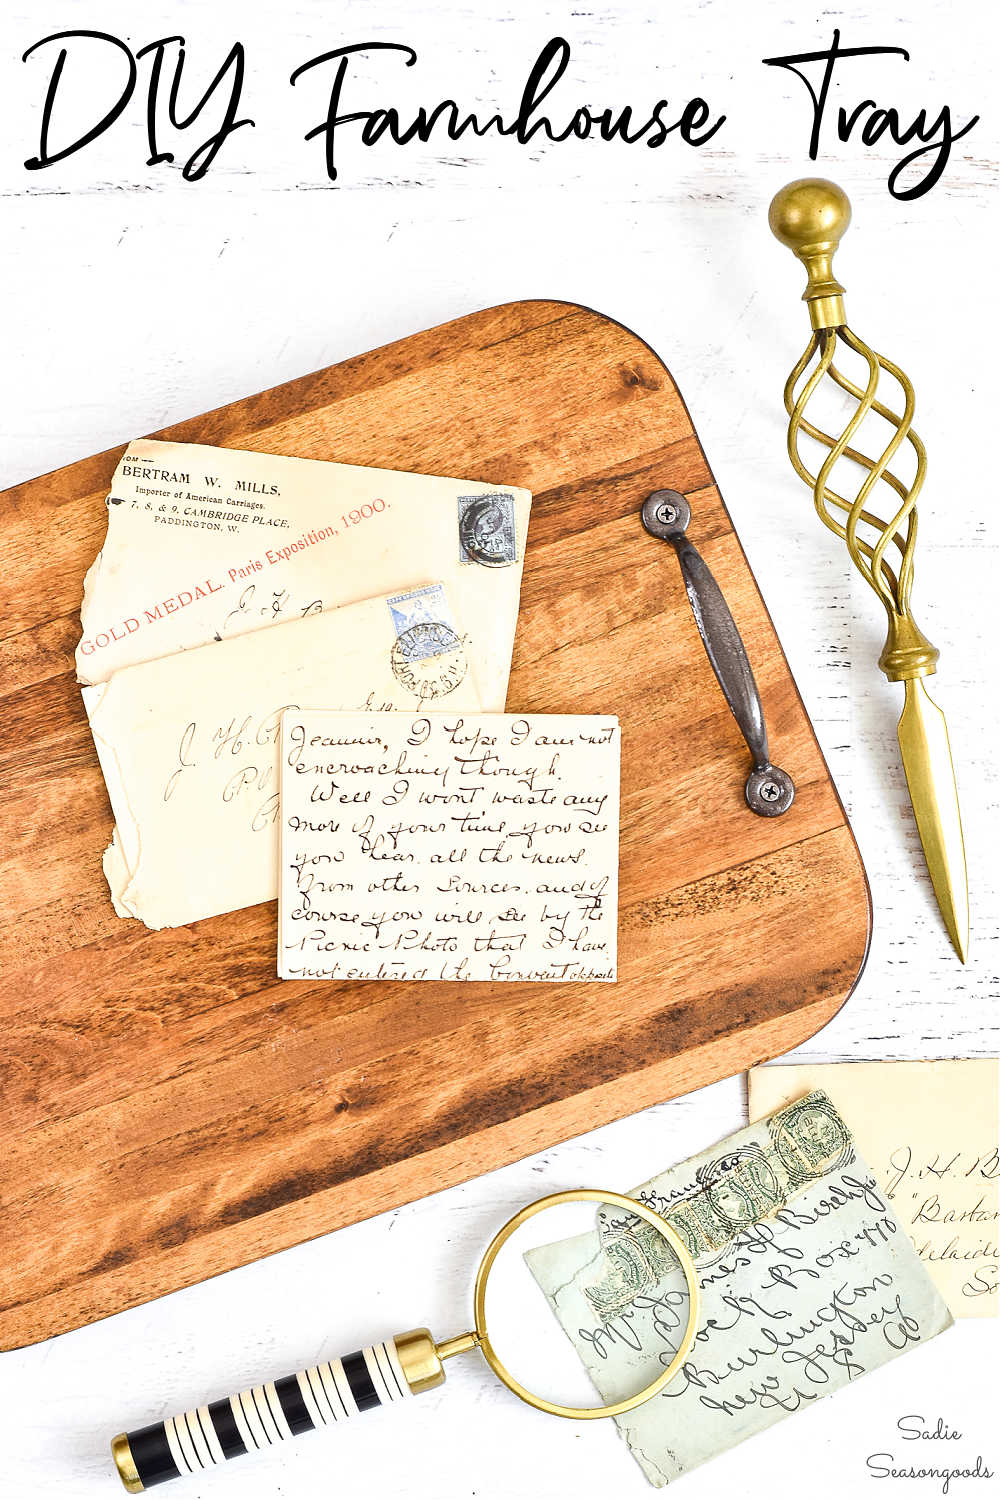
Sarah Ramberg is the owner of Sadie Seasongoods, a website that celebrates all things secondhand. From upcycling ideas and thrifted decor to vintage-centric travel itineraries, Sadie Seasongoods is a one-stop shop for anyone who loves thrifting and approachable repurposing ideas. Sarah is also the author of “Crafting with Flannel” and has been featured in numerous media outlets and magazines.








Genius. Genius I say! What’s even better? I have several candidates here at the house already..no need for a trip to Goodwill! (This is where being ancient and already having ancient, I mean vintage, things comes in handy~~
Trust me, Denise, I’ve been eyeballing my old cutting boards, too!! 😉
Yay! I girl who likes to repurpose too. This turned out just fabulous. It looks like it could be from William Sonoma 😉
Thank you! Upcycling is my middle name. 🙂
very nice! 😉
Thanks, Brenda!
looks great! I can’t believe the difference!
Right?? Thank you!! I plan on using it for photographing little bits, too- it’ll make a gorgeous backdrop. Would be perfect if I were a food blogger.
I really like this! What a creative idea. Makes me want to go out and restore something! Thank you for sharing!
Thank you, Teresa!
I like this idea! I may do that with a natural cut (slab of a tree) cutting board a friend gave me which has legs on the bottom! I have not used as cutting board as so nice looking! A tray is a great idea!!!
Thanks, Rose!!
I love it, such a great idea!!
Thank you very much!!
This looks so petty. I love the stain color you chose!
Thank you so much- it’s definitely my fave!
It looks great! I love the transformation of the wood block. And the handles are really cute.
Thank you so much, Mary!
Fantastic Idea! I need to spend more time at the goodwill store! Thanks for the inspiration.
Thanks so much, Lynn!
Outstanding project! I think these would make wonderful gifts too 🙂 Thanks for sharing!
~Laurie
Thanks, Laurie!! And welcome aboard Snickerdoodle! 😀
I envy people with such great vision as you have. I probably would have looked right past that poor abused cutting board. Thanks for sharing on the #HomeMattersParty . I hope you will join us again next week.
Thanks, Audrey- and definitely!
I love this!!! I love shopping at the Goodwill too. I just posted one of my projects using a sweater from the GW. Come check it out at http://www.lifeawayfromtheofficechair.blogspot.com
Lisa
Great re-purpose!!
Happy Thanksgiving!
Oooooh I have the perfect wooden cutting board that is a perfect candidate for this project. Thank you for sharing at Vintage Charm.
Thanks, Sharon!
I totally love how simple, yet cute this is! 🙂
Thanks for joining Cooking and Crafting with J & J. Happy Thanksgiving!
Thanks, Jess!
What a clever way to upcycle an old cutting board. Now, I’m gonna have an eye out for one for myself! Thanks for sharing this with us at our Throwback Thursday link party.
Thank you for hosting!
Seriously girl, is there anything that you can’t make look good? Love this!
Thanks for sharing at Something to Talk About each week!
Thank you so much, Karen- that’s so lovely to hear! 😀
Thanks for the great idea! Someone just dropped off an old turkey cutting board on my porch the other day and now I know what to do with them!
You are so welcome! 😀
What a great idea for a thrift store find! I’d love if you’d share this (or any of your favourite projects) at our link party, Create • Share • Inspire. Link up every Thursday at 8:00 pm EST.
Alicia xo
Done and done- thank you so much, Alicia, for the invite! I’ll be back again. 🙂
Great Repurpose thinking… Simple… yet.Creative with a New life of service to perform. I think many who repurpose will take this Idea and run with their own version of this piece, Thanks for sharing this with so many ..I’m sure you have and will inspire many others with this fun repurpose.
IT’S A WINNER !!! in my book.
Thank you so much, Greg!
I love this, Sarah. Your tray is featured as my favorite at our Pinterest party~ Thank you for sharing!
Hope to see you again this weekend!
http://redoityourselfinspirations.blogspot.com/2015/11/pinbellish-pinning-celebration-13.html
Thank you, Robin!!
I’m so glad you stopped by to link up at Create • Share • Inspire. I hope to see you back tomorrow!
Alicia xo
I love your tray!! I’m always looking for cutting boards to make one of them and never find one at the thrift store. Great score! Thanks for sharing with us at Your Home Decor and More!!
Thank you, Stephanie!!
What did you use for legs on this?
I actually didn’t use anything since I have a table runner that it rests upon. But the possibilities for legs are endless!
It’s beautiful…
Thank you! I think so, too. 🙂
I LOVE this idea! I have passed up so many of these cutting boards, and never thought to create a tray. Great job!
Thank you so much, Kimm!! I snap them up every time I see them now. 😀
This is GENIUS! I have a current fetish for trays so I’m going to have to try this! I came from a link up 🙂
Thank you so much!! It’s a fun way to try different stains, too!
I fell in love with this the first time I saw it, but I had to pop over again to thank you for sharing it with us at Brag About It! Pinned and tweeted 🙂 Have a great week Sarah!
What a simple idea that looks anything but simple! Great idea and beautiful tray! Certainly from trash to treasure! I bet there are lots of these to be found at thrift stores! Pinning this to my crafty board. Thank you so very much for sharing over at Celebrate Your Story!
Thanks, Chloe!!
Great idea, I always serve my tapas style snacks on a wooden boards to guests. Here in the Nederlands it is normal to keep bringing trays of nibbles around whilst the guests remain seated – I very often serve tapas style snacks on wooden chopping boards – this would be so much more handy.
Thank you, Sam!!! (And I love tapas) 😉
What a great way to give a cutting board some TLC, not to mention repurposing! Really great idea. Thanks for sharing!
Thanks, Crystal! I can’t stop buying cutting boards now. 😉
What color stain did you use? Love the board and have a table that needs that color!!
Hey, Elizabeth- if you read the post, I actually include an affiliate link to the stain!! It *IS* a great color. Thanks so much!
Love what your done with the cutting board! Hugs and blessings, Cindy
Thank you!
Thank you for joining us at Thoughts of Home.
You create the best things!
Laura
White Spray Paint
What a ice upcycle. I bet you get a lot of use out of the tray.
Thank you- I sure do!!! People are usually shocked to find out the backstory. 🙂
This is such a great idea! The resulted tray looks so nice, and vintage.
Thanks, Cristina!
did you add feet?
I did not, but it would be easy to do!
Thanks for posting your DIY farmhouse style tray. I have a cutting board that my husband and I purchased on our honeymoom 31 years ago lol! I just couldn’t let it go and came across your board. I am so excited to do this project. The board is sanded and ready to stain. I could not read to stain color you used. Can you please tell me? Also….the handles I am finding are screw on and was afraid the ends of the screws would come through the backside of the board. Any suggestions would be appreciated.
No problem, Chris! The stain I used is Early American by Minwax…and just bring the tray and handles in to your local Ace Hardware (or similar). They’ll be able to help you find shorter screws that will fit your handles and not poke through! (Of course, my Ace is used to me doing this, LOL- but I’m sure yours would be happy to help). 🙂
Had an extra cutting board and followed your instructions. Easy Peasy and the results were great!
Already used it for a summer appetizer with friends. Love your ideas, keep them coming!
Beautiful way to recycle butcher block