
When I spotted this sequined ornament at Habitat ReStore, it immediately reminded me of the beaded ornaments my mom had made decades before. They were so popular in the 70s and she had purchased and made several of the ornament kits by the time I was in the picture.
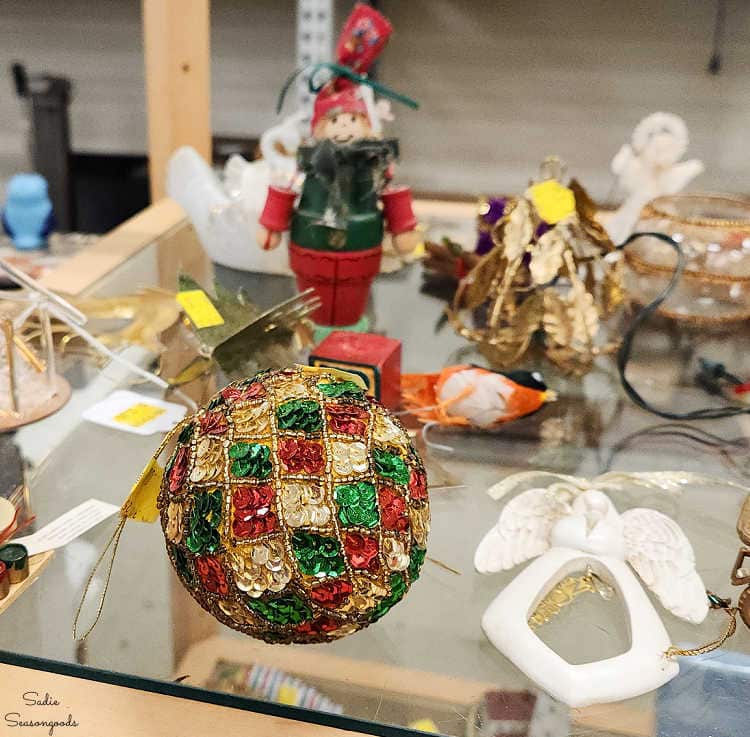
Image credit: Sadie Seasongoods.
I always loved them as a child- they were so over the top with their sequins and beads. She was self-critical, pointing out any imperfection or flaw. But to me, they were exquisite- but unfortunately, at some point, she gave them all away before I could save them.
So, I decided to hunt down a vintage beaded ornament kit to make this year. It’d be a fun and crafty way to connect with her memory and start building my own collection of them. And I found several kits on eBay and Etsy, selecting this one to try out.

Image credit: Sadie Seasongoods.
Interestingly enough, this particular kit appears to have been a promotional item from a gas station. Why, oh why, don’t gas stations do things like this anymore??
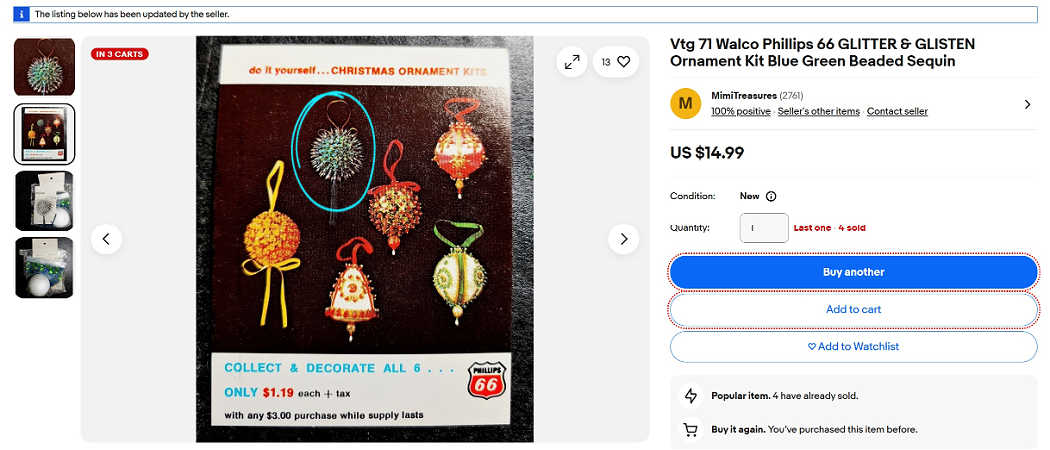
Image credit: Sadie Seasongoods.
I hope you’ll come along with me as I make my first beaded ornament. And keep reading, because I have a fun and inexpensive way to make one without a kit, too!
This post contains affiliate links for your crafting convenience. As an Amazon Associate, I earn from qualifying purchases. All blue, bold, and underlined text is a clickable link, either to a product or to a related post.
Vintage Beaded Ornament Kit
First things first, I opened the baggie and took stock of all the kit components.
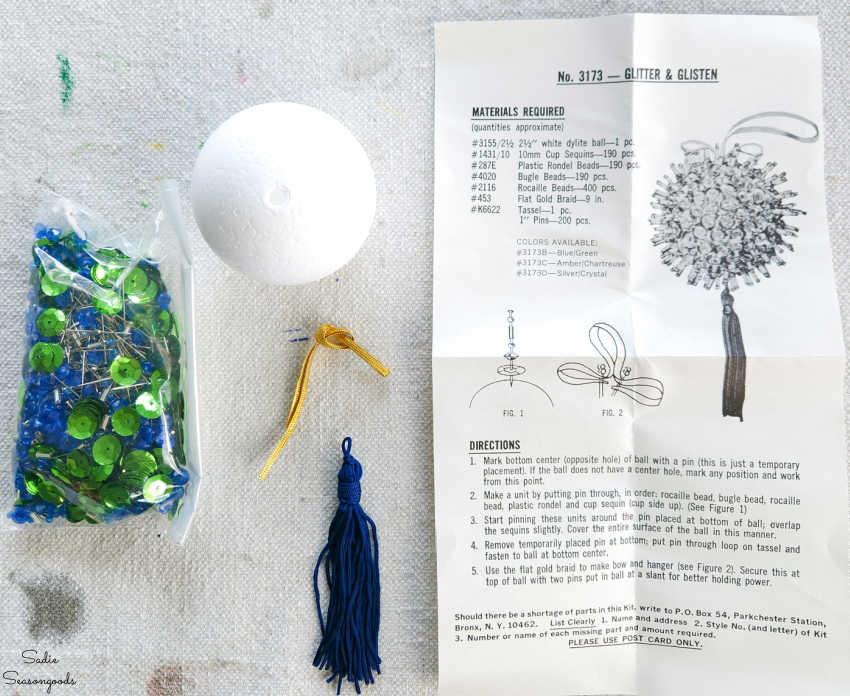
Image credit: Sadie Seasongoods.
Styrofoam ball, sequins/beads/pins, a hanging ribbon, tassel, and instructions. Seemed about right with everything I needed.
To make things easier on myself (especially with Pixie nearby), I emptied the beads, pins, and sequins into a plastic tub. I could have further separated each type out, but this seemed good enough for me.
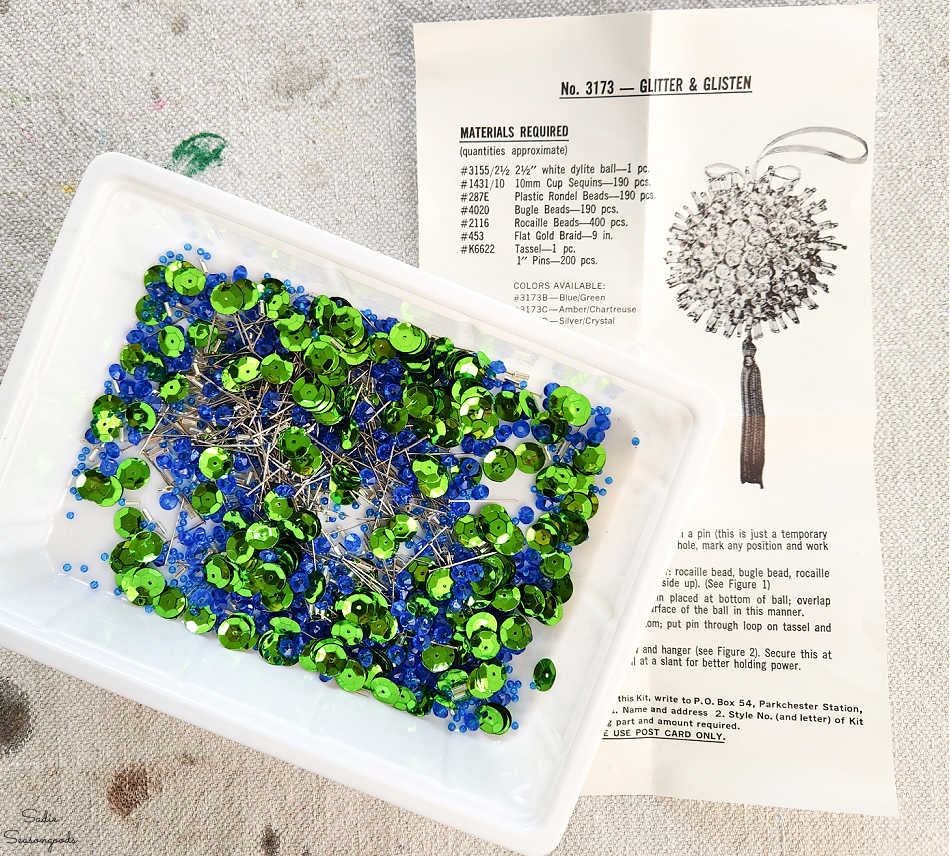
Image credit: Sadie Seasongoods.
Funny tidbit- we eat frozen Indian food from time to time and our favorite samosas come in these white plastic tubs. They’re a #5 plastic, so we can’t easily recycle them- but I’ve kept a LOT of them for various craft storage and such.
Next, I read through the instructions and determined the order of decorations that went on each straight pin. Basically, (1) seed bead, (2) bugle bead, (3) seed bead, (4) diamond bead, and (5) sequin.
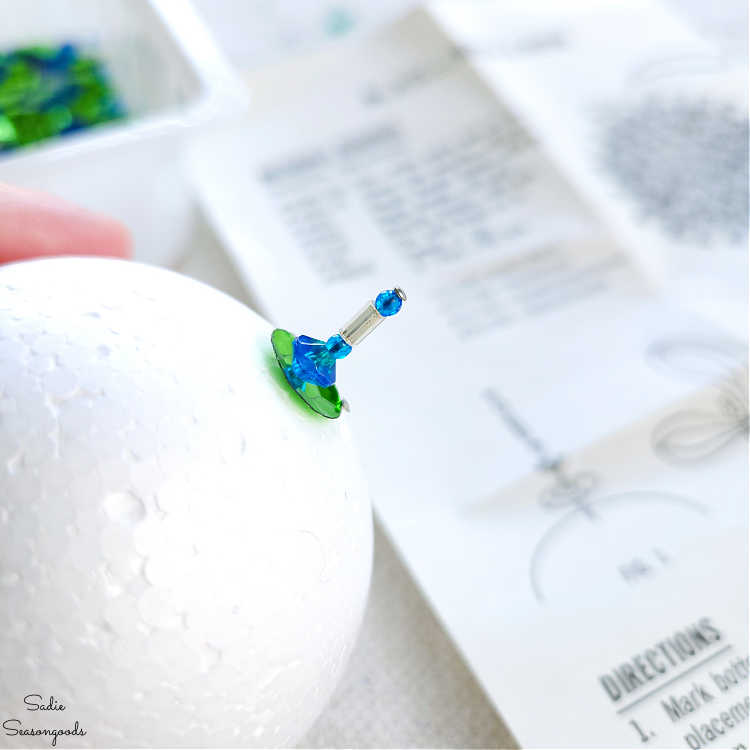
Image credit: Sadie Seasongoods.
After putting that together, I opted to leave off one seed bead from each pin. As a cat mom, I decided that I wanted a little more pin inside the Styrofoam ball, if that makes sense. And leaving one bead off wasn’t really going to make a difference in how it looked when I was finished.
So, I did the same thing, over and over again- slightly overlapping the sequins to ensure solid coverage.

Image credit: Sadie Seasongoods.
I didn’t dip the pin tips in white glue before inserting into the ball. But that would also help ensure that curious paws couldn’t undo anything later.
After a couple of hours, I had completely covered the Styrofoam ball.

Image credit: Sadie Seasongoods.
All that was left to do was to attach the hanging ribbon on top and the tassel on the bottom!
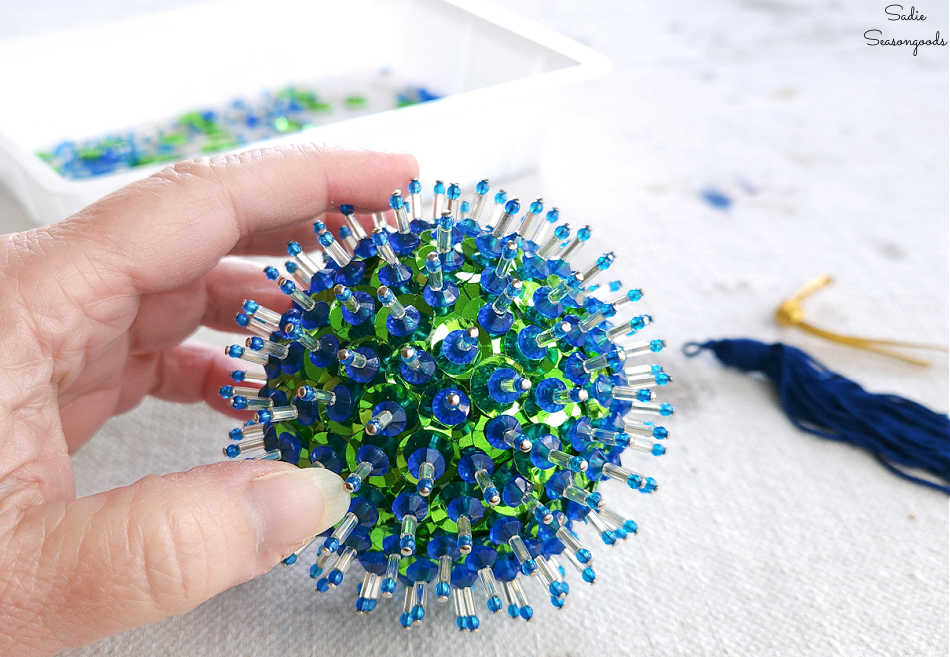
Image credit: Sadie Seasongoods.
Decorating Satin Christmas Ornaments
I thought it would also be fun to make some beaded ornaments that didn’t come from a kit, too. Using something that I see in thrift stores all the time: satin ball ornaments.
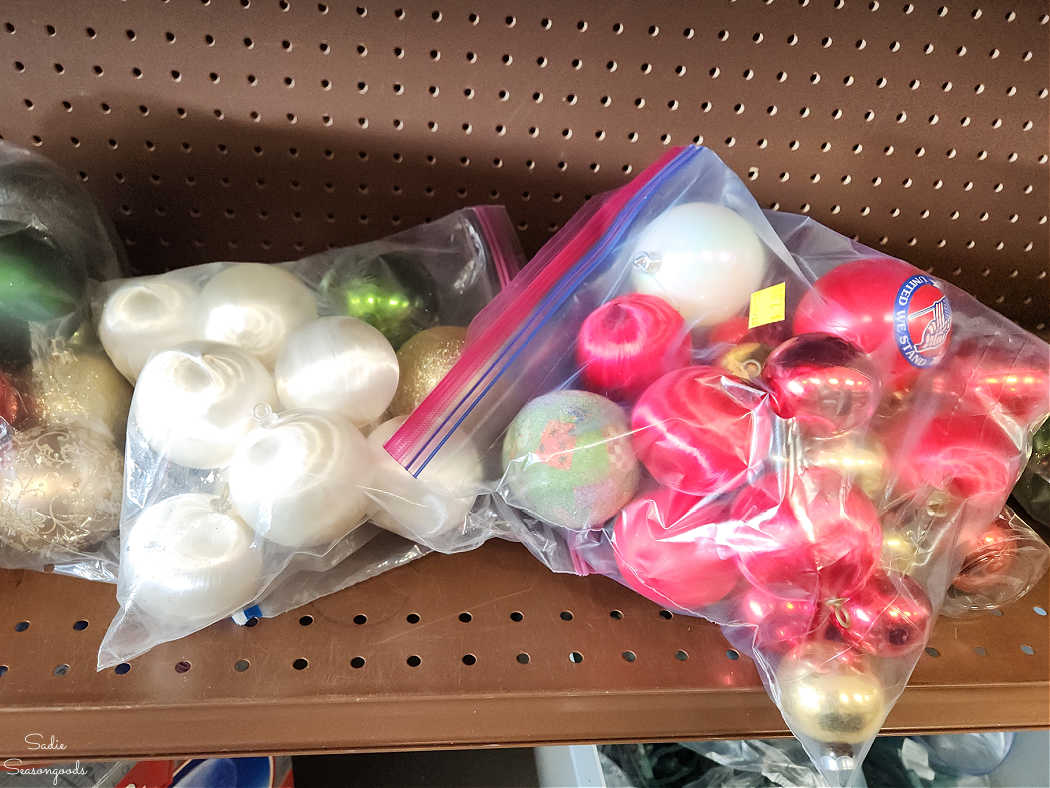
Image credit: Sadie Seasongoods.
To keep it simple, I opted to use my bag of mismatched sequins (that I sourced at a Creative Reuse Center), and some colorful pearl head straight pins. Pearl head pins are an easy way to combine two needs (straight pins and beads) into a single supply, eh?
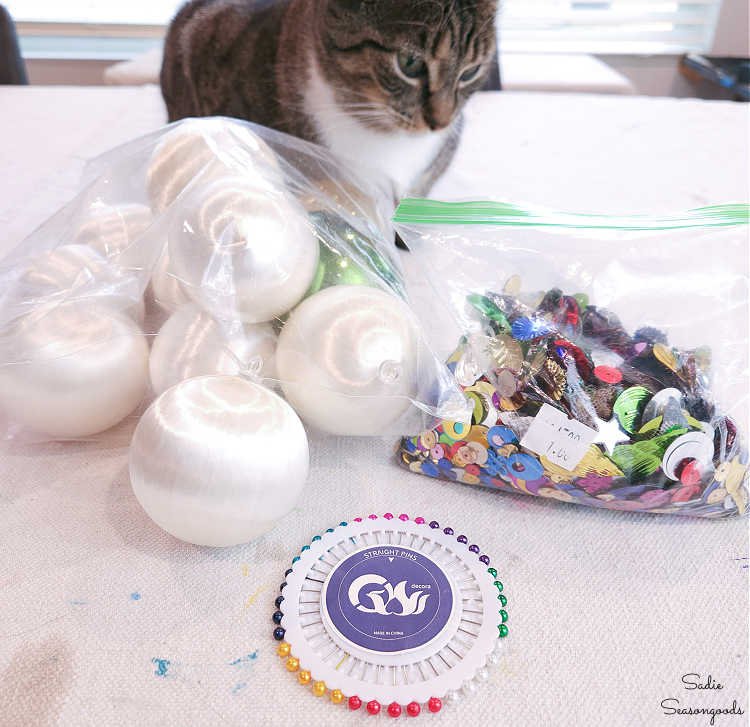
Image credit: Sadie Seasongoods.
Clearly I was going to have to be EXTREMELY careful, with Pixie so dangerously interested. Time for me to throw some peanuts on the back porch in hopes that a chipmunk will come by and distract her…
To make this beaded ornament, all I did was pair up some flower-shaped sequins with different colored pins. They really popped against the white satin Christmas ornament.

Image credit: Sadie Seasongoods.
I kept it very random and left white space in between the vintage sequins. And that was it!
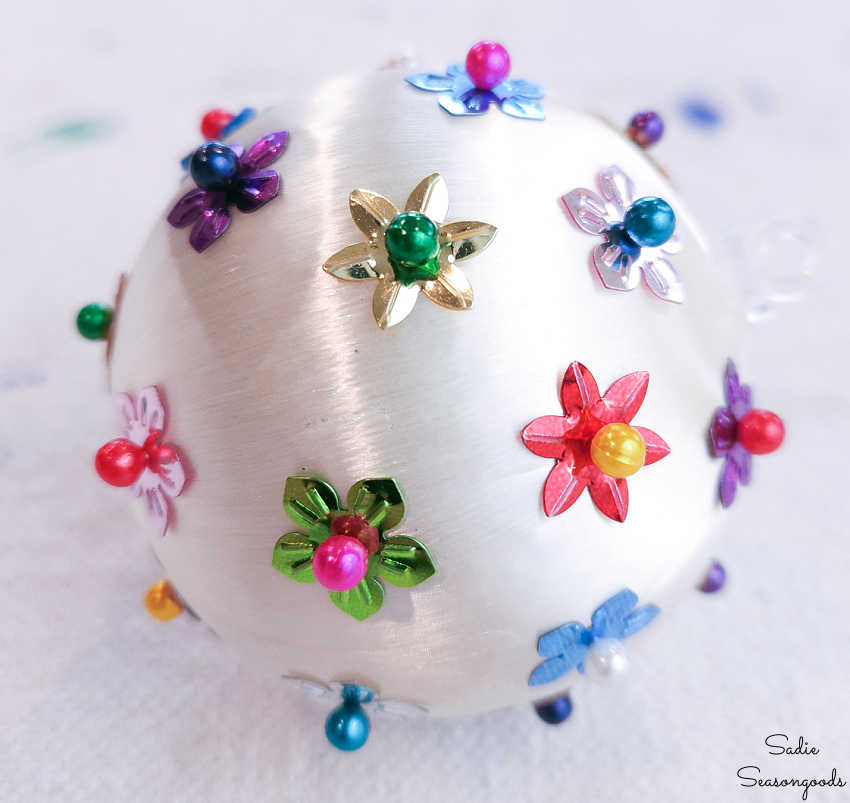
Image credit: Sadie Seasongoods.
Then, I did the same thing with some iridescent beads from another Creative Reuse Center store and some blue sequins that I’d separated out.
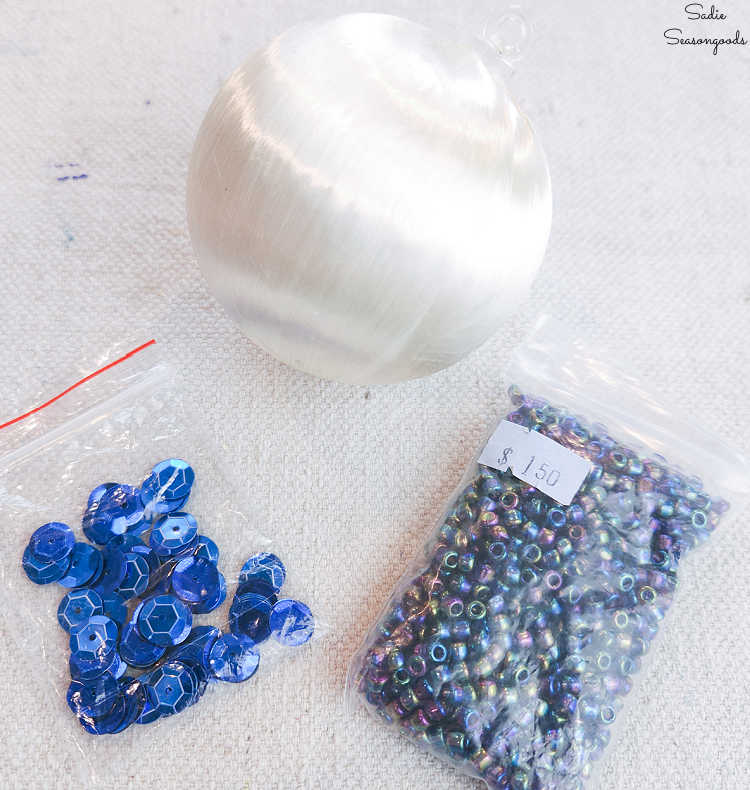
Image credit: Sadie Seasongoods.
As far as beaded Christmas ornaments go, these are pretty simple. But what a fun indoor activity to do when the weather is bitterly cold before Christmas. And depending on your supplies, you could make them as ornate and bodacious as you’d like.
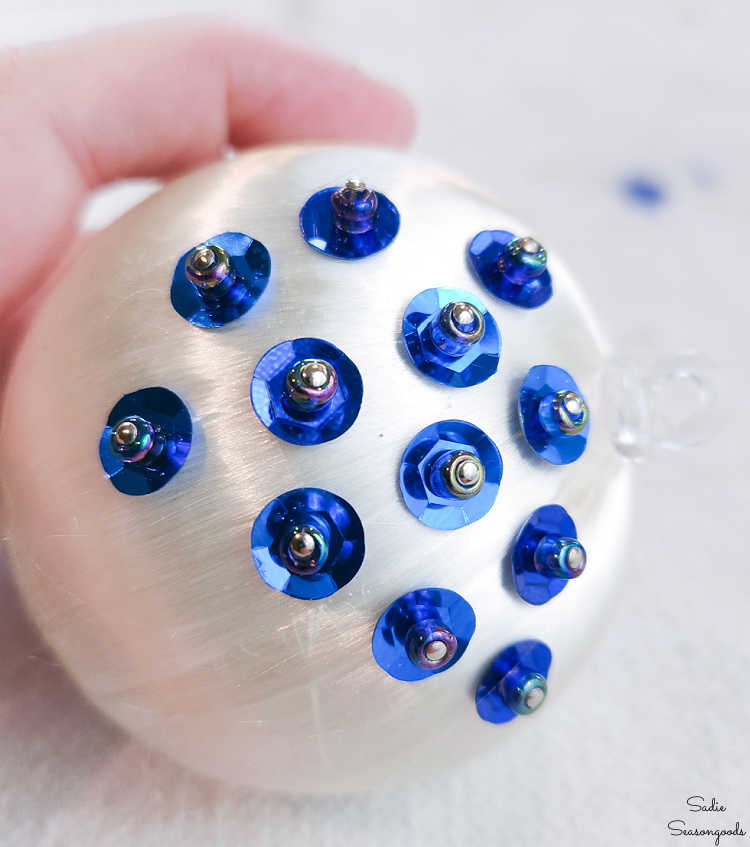
Image credit: Sadie Seasongoods.
That was all there was to it- one of my beaded ornaments was ornate and fancy, the others less so. But they were VERY quick and easy to make- and super cheap, since I already had (most of) the materials!
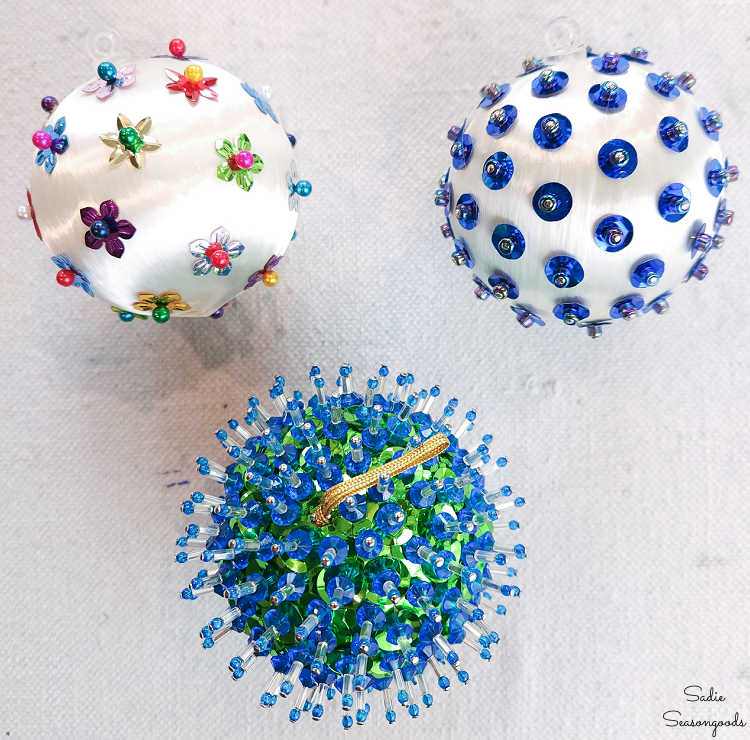
Image credit: Sadie Seasongoods.
Beaded Ornaments for the Christmas Tree
So, what do you think? Do you have fond memories of these types of beaded ornaments? Or would you rather they stay a past fad?
I really do love how they look, even if I don’t have any of my mom’s original creations. But, I can create some of my own (like these), and hunt down the ones I remember on Etsy and eBay.
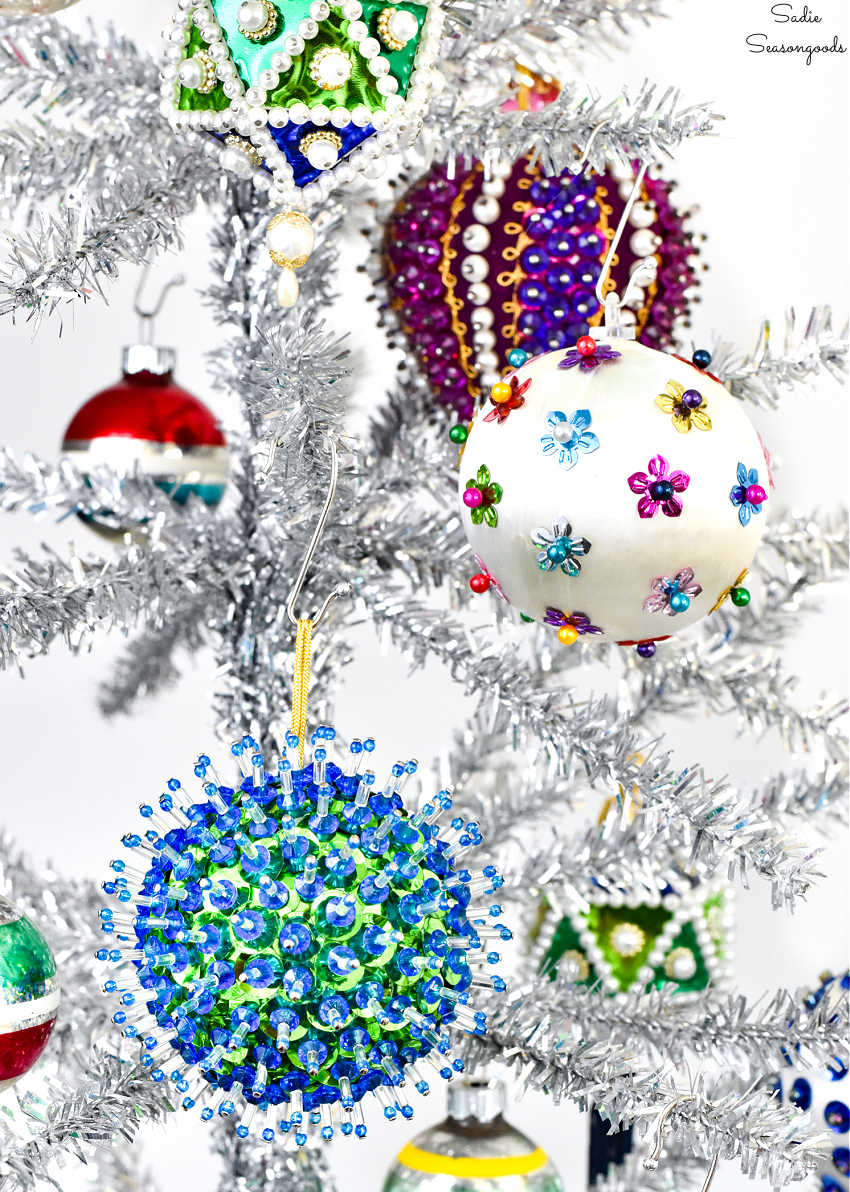
Image credit: Sadie Seasongoods.
As simple as this one turned out, I actually REALLY love it. I might have to hunt down a few more white satin Christmas ornaments to make more.

Image credit: Sadie Seasongoods.
I’m also partial to how they look on a silver tinsel tree! Mom always hung hers on our traditional green tree (always real), but I wish she could have seen how they looked on silver. Maybe she would have been less discouraged at how they looked- because to me, they were perfect.
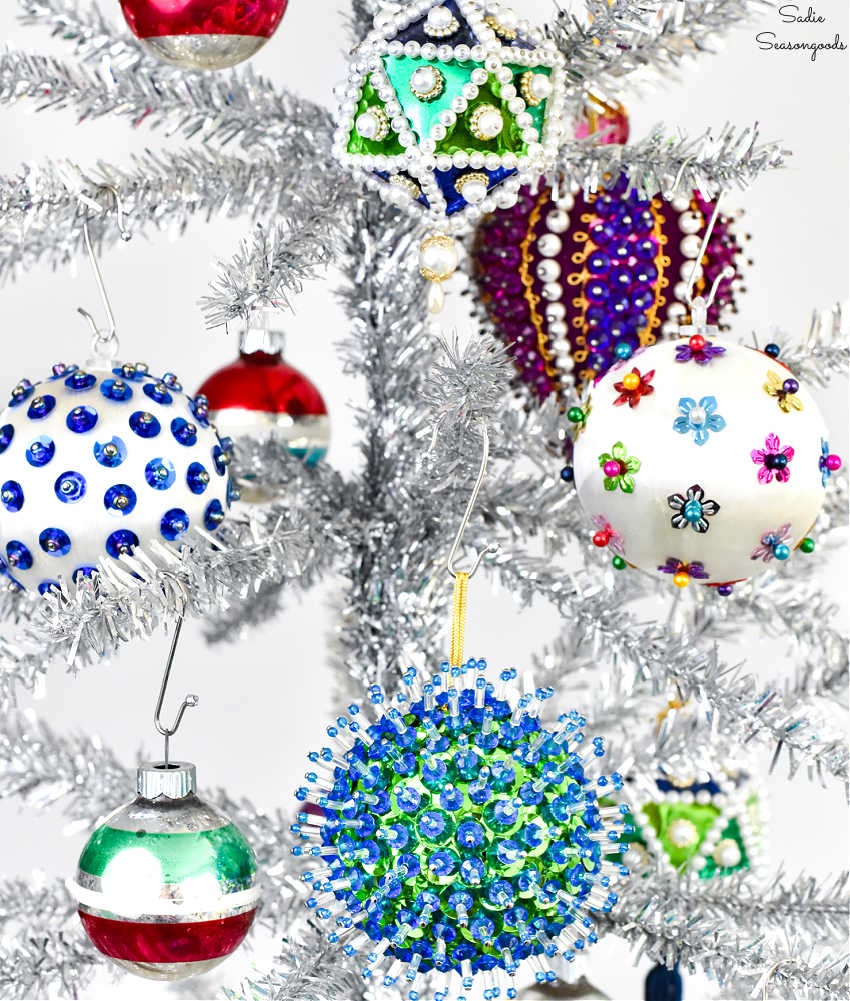
Image credit: Sadie Seasongoods.
Either way, thank you for strolling down this nostalgic lane with me. Even though my mom had been mentally gone for several years, this is still the first Christmas without her completely. So, it seemed fitting to close out the season with a craft that I associate so strongly with her memory. Hugs to all of you for being here with me through it…
And if you have a bunch of misfit sequins like I do, here’s another easy Christmas craft idea for them.
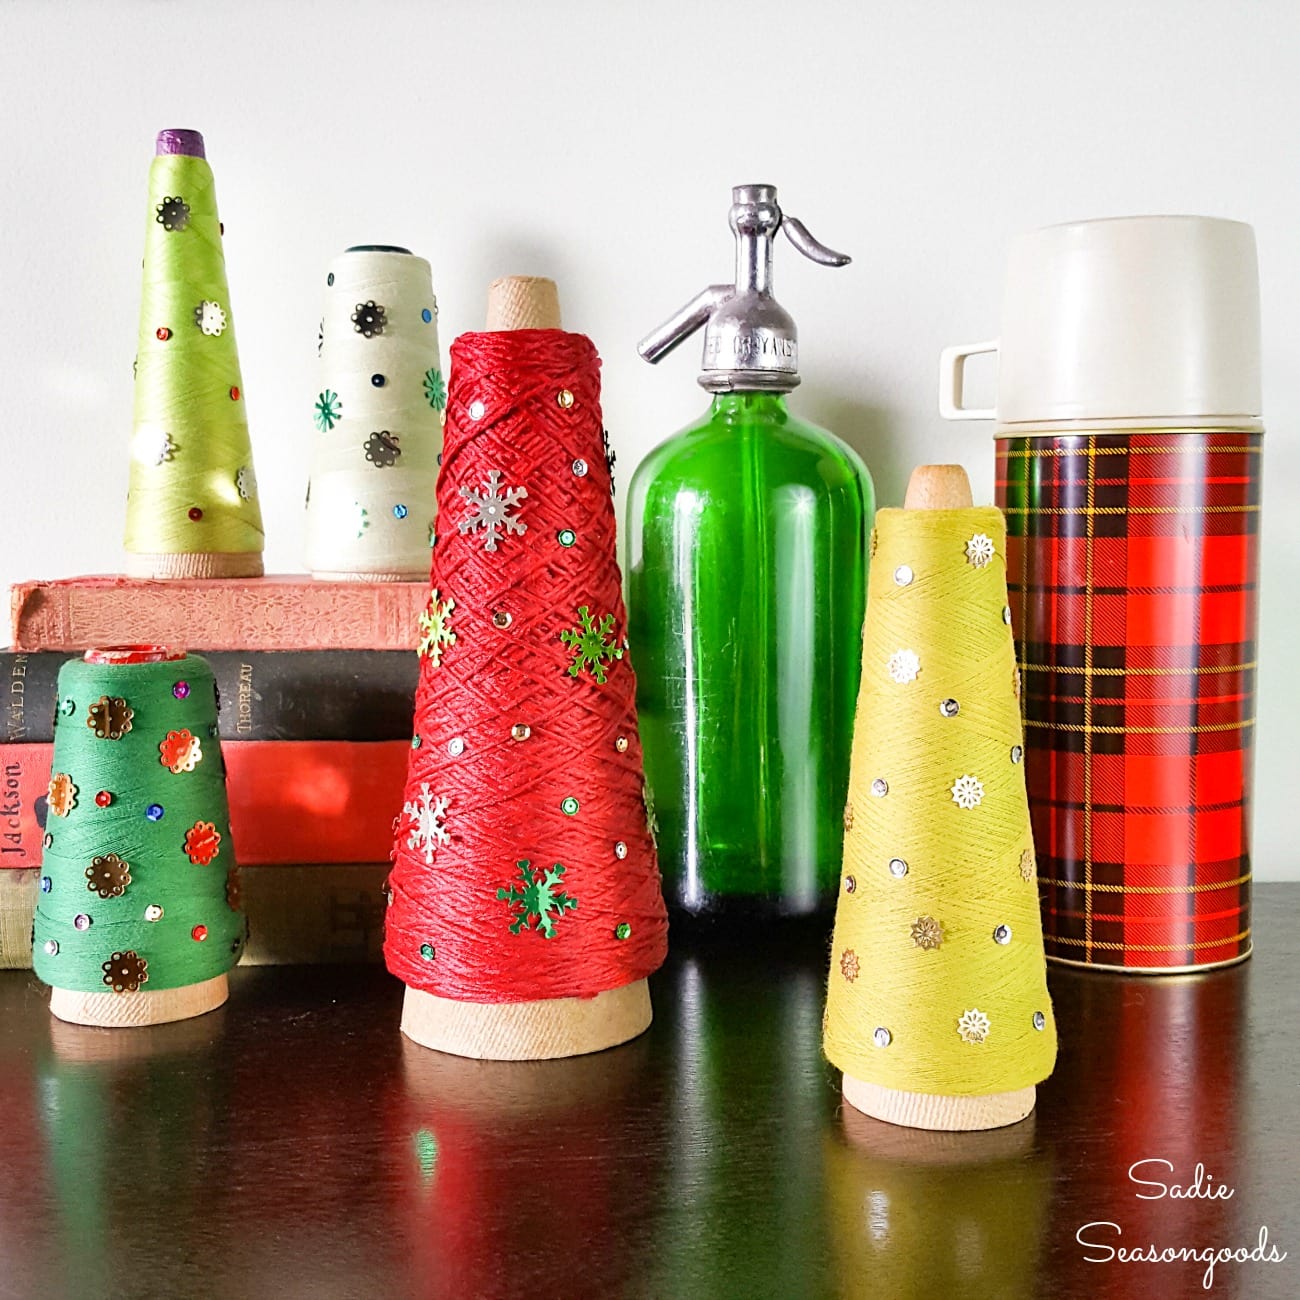
Image credit: Sadie Seasongoods.
Craft on!
S
Want to be notified when I publish my next upcycling project tutorial?
Join me on Social Media:


PIN ME!
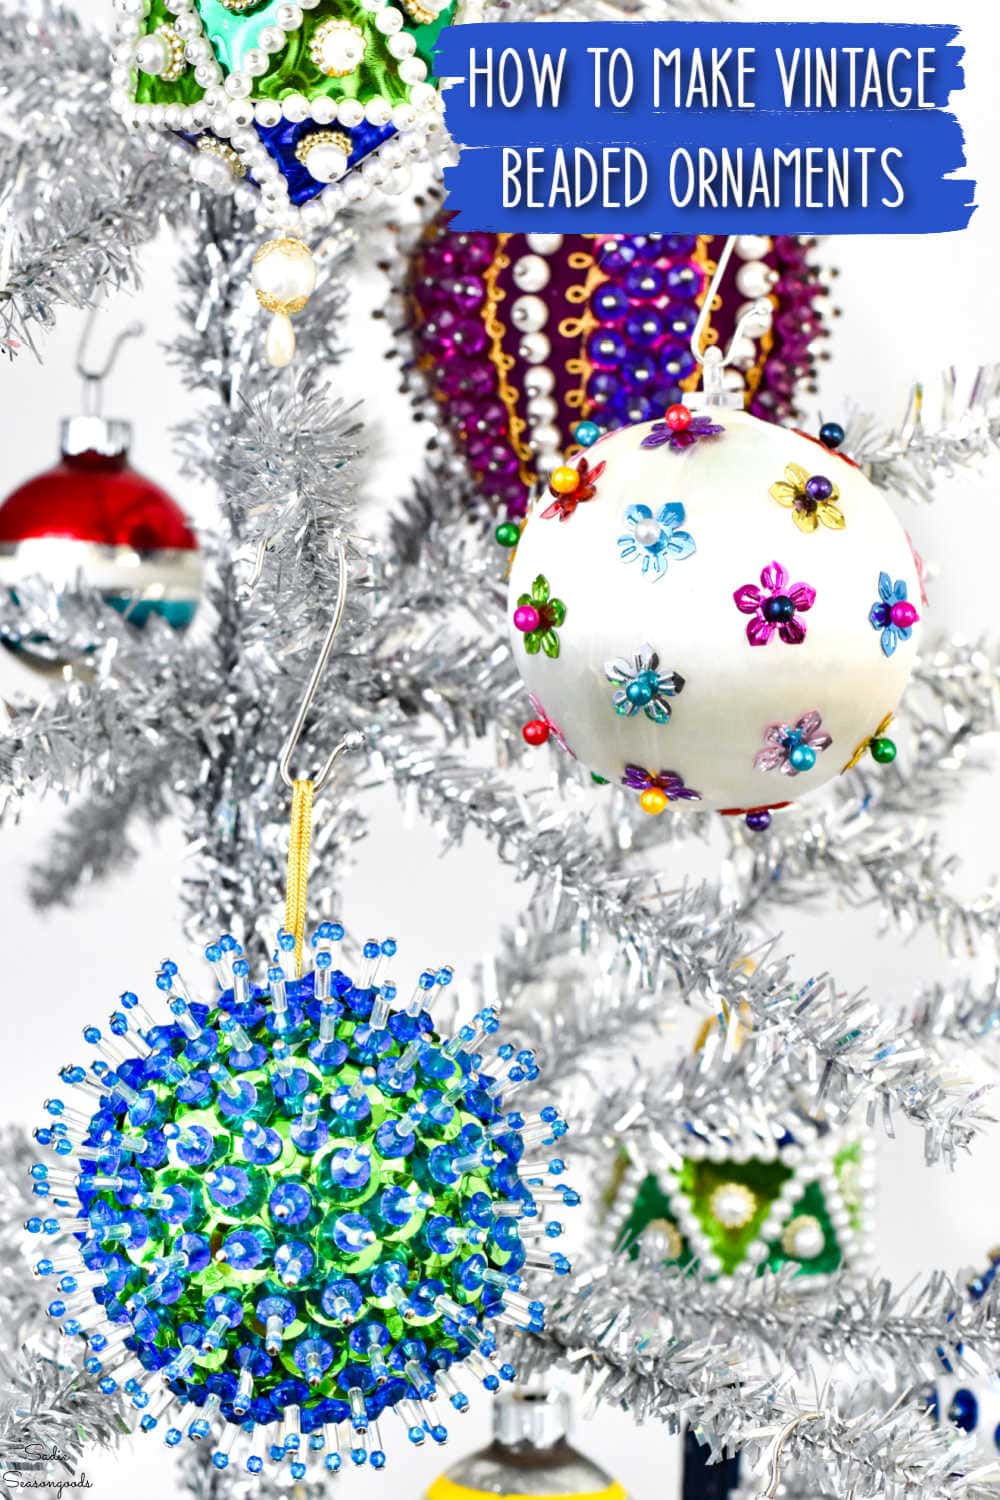
Image credit: Sadie Seasongoods.
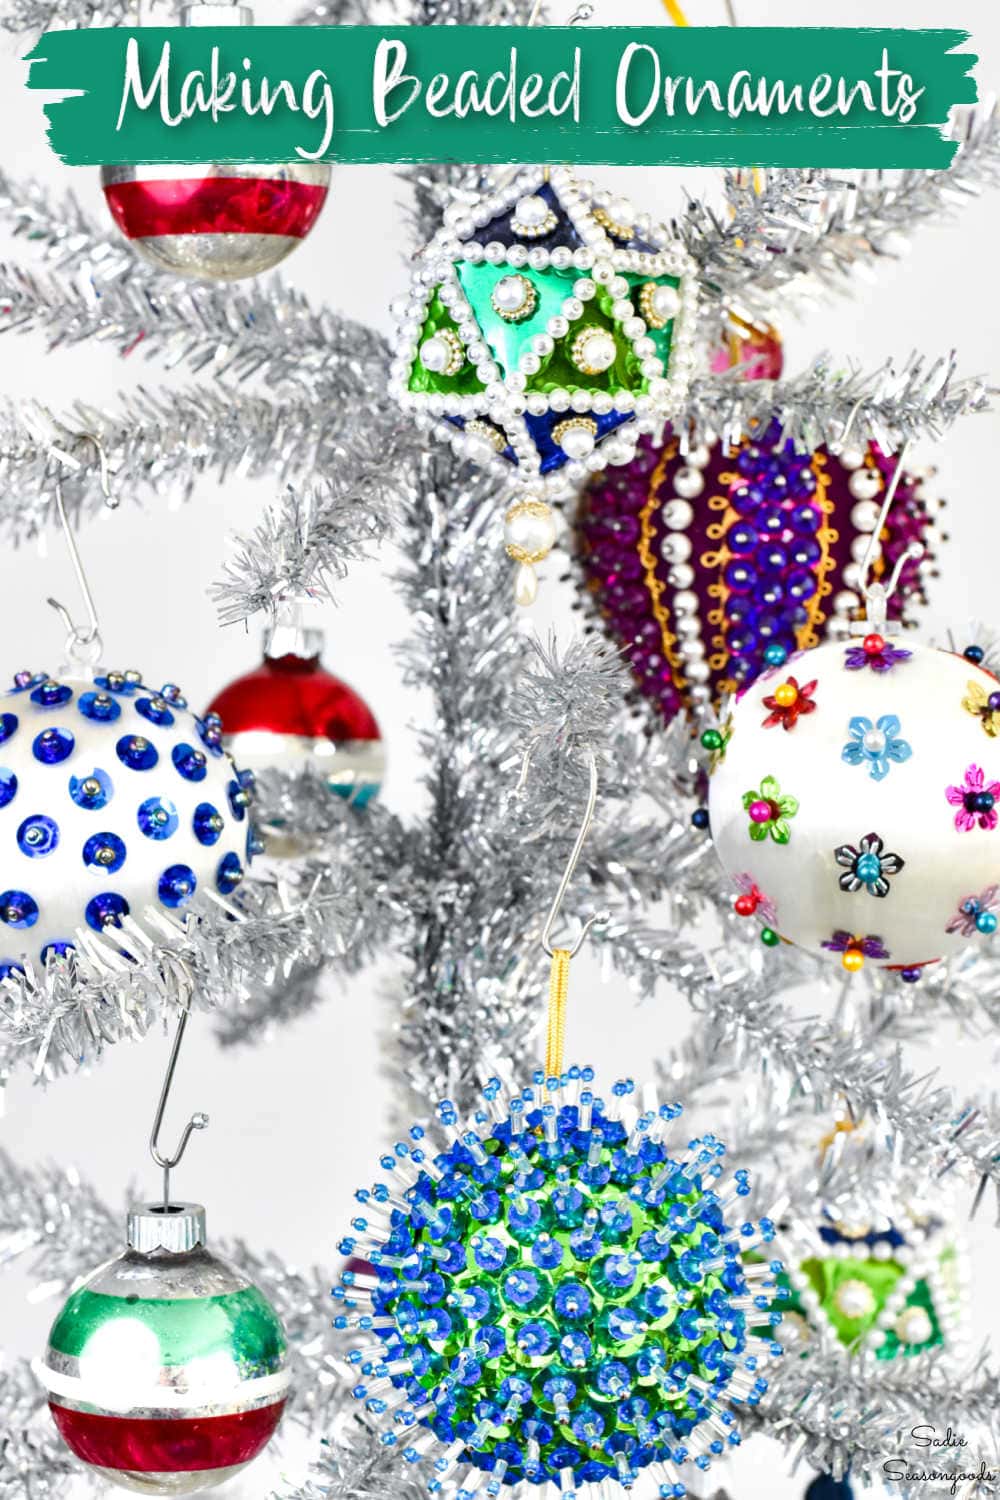
Image credit: Sadie Seasongoods.
Sarah Ramberg is the owner of Sadie Seasongoods, a website that celebrates all things secondhand. From upcycling ideas and thrifted decor to vintage-centric travel itineraries, Sadie Seasongoods is a one-stop shop for anyone who loves thrifting and approachable repurposing ideas. Sarah is also the author of “Crafting with Flannel” and has been featured in numerous media outlets and magazines.


So creative! This is a wonderful use of those old satin ornaments. I like that you did a few with space between the pins. Yes, my mother and I wore our fingers out pressing pins in styrefoam when I was a kid. I only have some sequined owls left, the others are long gone. Thread cones as Christmas trees? Brilliant!!