Between the cost of everything skyrocketing and my ongoing thrifting disappointments, I’ve been focusing on projects that use supplies I already have. And yarn is one thing I have quite a bit of, so I decided to try my hand at a DIY yarn wall hanging.
Even though I don’t know how to crochet and rarely knit anymore, I still have a healthy yarn stash. Some of it comes from a lack of willpower at Creative Reuse Centers…
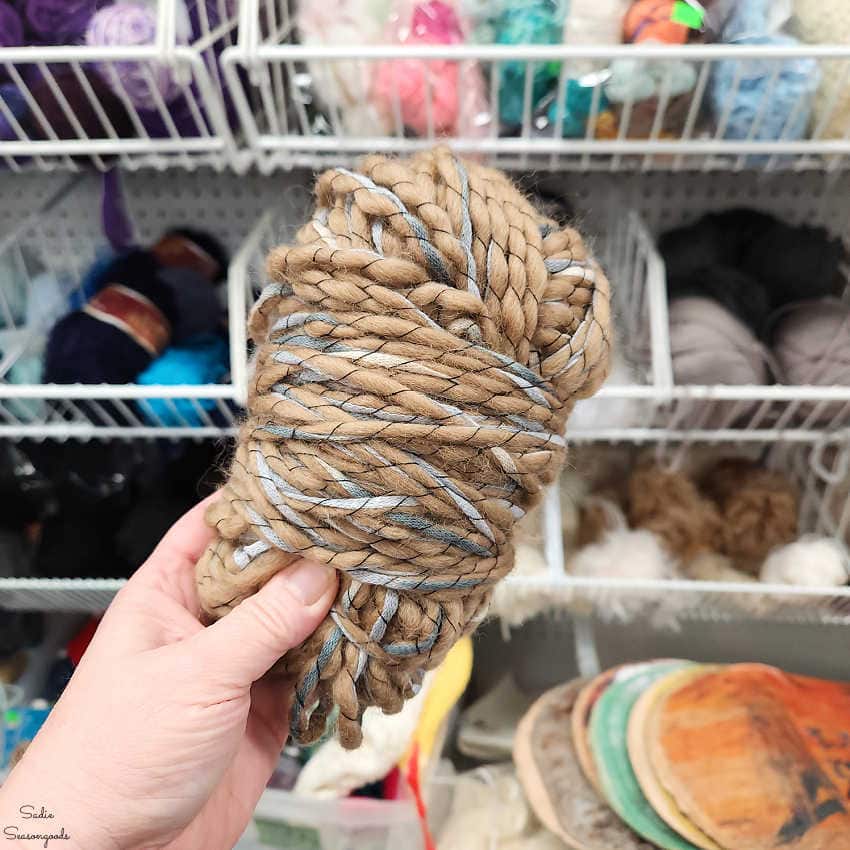
Image credit: Sadie Seasongoods.
And some of it is leftover from weaving projects, such as this pizza pan project from a few years ago…

Image credit: Sadie Seasongoods.
I kept seeing gorgeous, Bohemian-inspired yarn wall hangings on social media- they inspired this post. Some of them were more complicated with macrame knots and whatnot. But others were simple and very, very doable- and that’s the kind I’m going to make from my yarn stash.
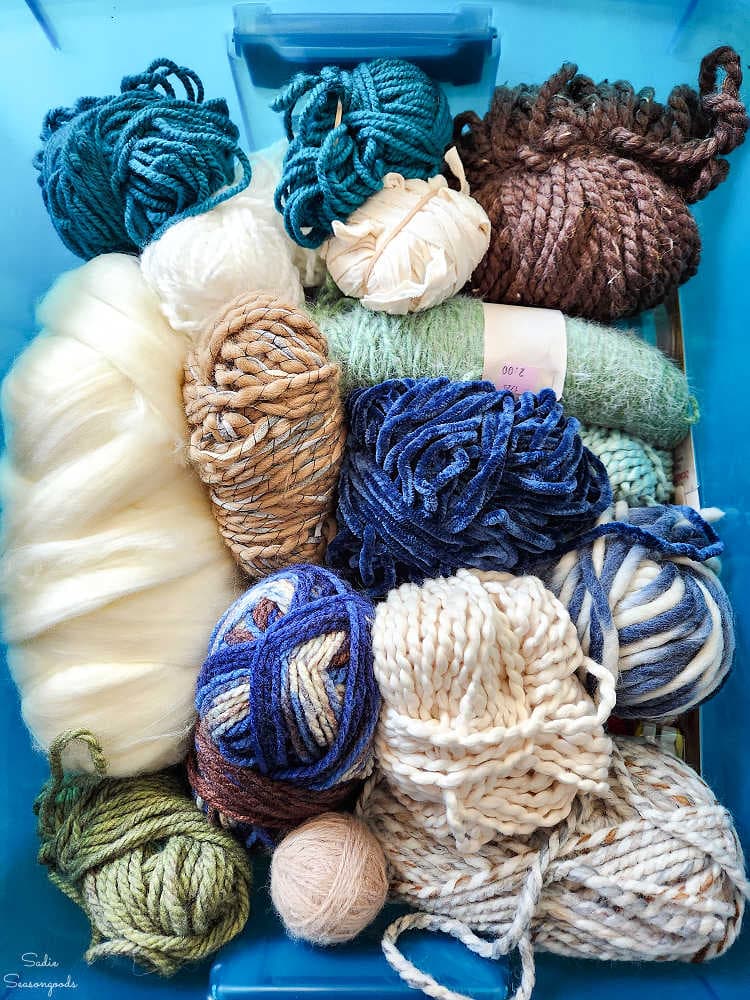
Image credit: Sadie Seasongoods.
So, let’s get right into it and show you what I created!
This post contains affiliate links for your crafting convenience. As an Amazon Affiliate, I earn from qualifying purchases. All blue, bold, and underlined text is a clickable link, either to a product or to a related post.
Making a DIY Yarn Wall Hanging
All of the wall hangings that lured me in used either a wooden dowel or a decently sized stick as the base. But I decided to use a funky piece of driftwood that I’ve held onto for years.
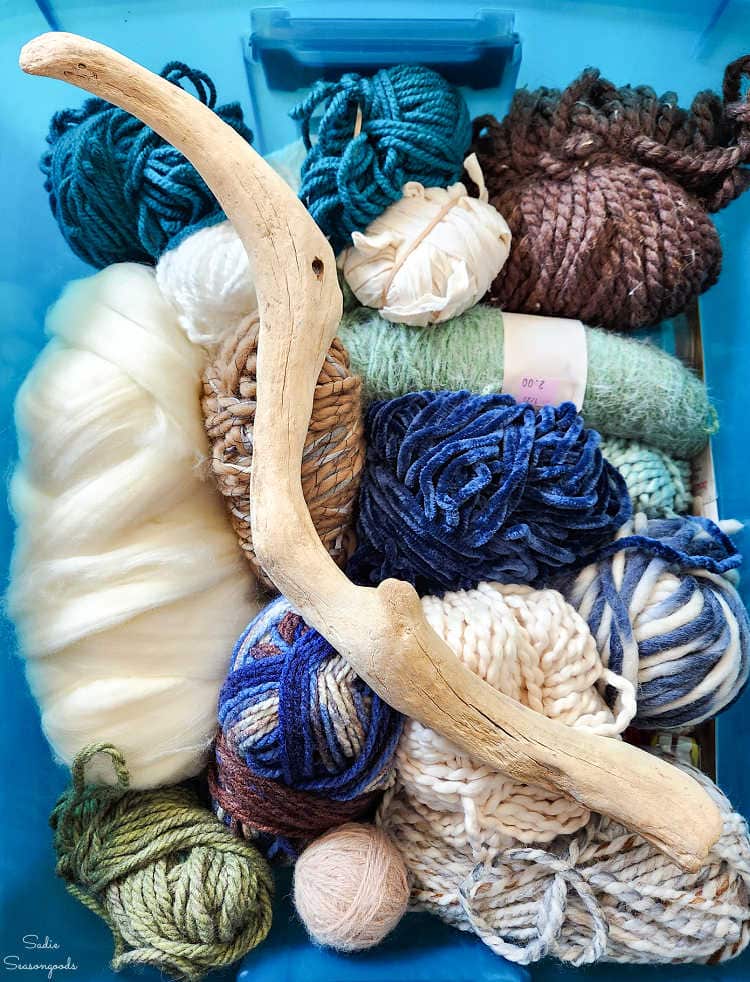
Image credit: Sadie Seasongoods.
I bought it at a quirky antique mall in Auburn, AL years ago. Never crafted with it, but it has occasionally popped up in project photos from time to time.
First things first, I needed to attach a hanger to my driftwood base. I tied some jute rope (just a single tie, not a knot) around each end and used a gathering knot over both ties to lock it them in place and hide the tail.
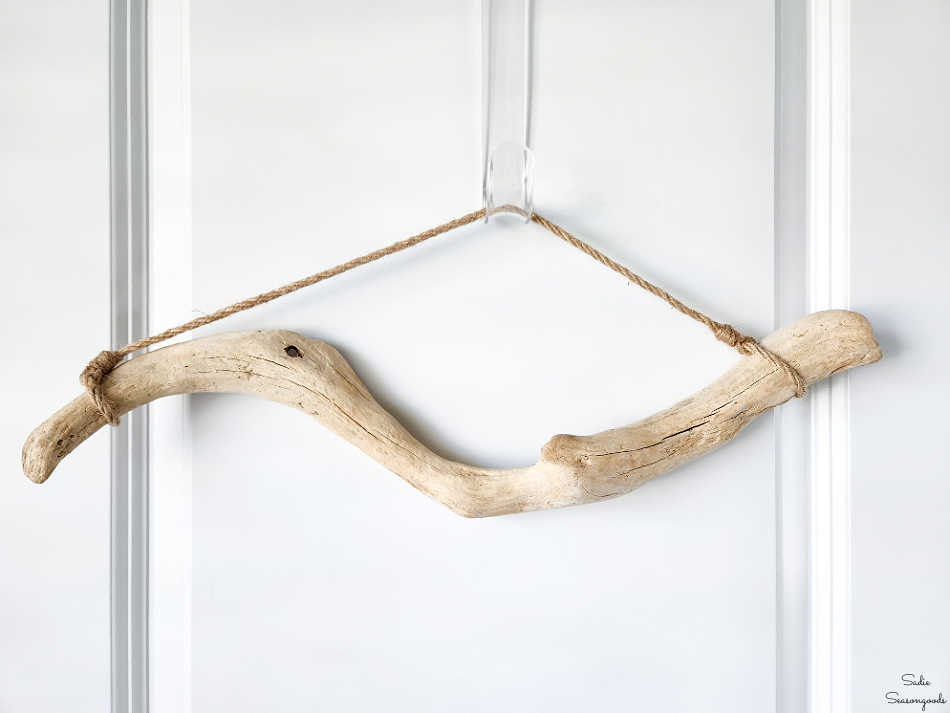
Image credit: Sadie Seasongoods.
Next, I guesstimated a long strand of yarn to use as a template as I cut more and more yarn. I should have made it longer than this, but I didn’t want to waste what I’d already cut, so I ran with it for now.
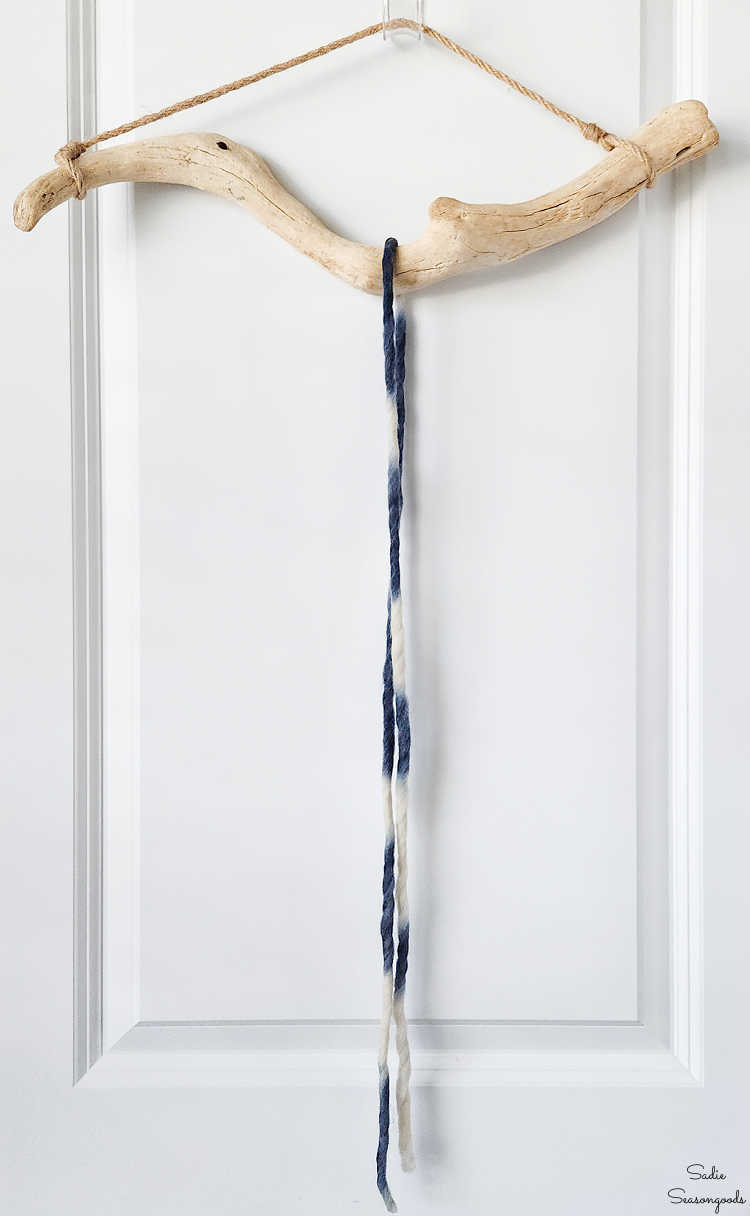
Image credit: Sadie Seasongoods.
Moral of the story? Cut longer than you think will be necessary!
From there, I cut three more strands of the same yarn, doubled them, and attached them to my piece of driftwood with a cow’s hitch knot.
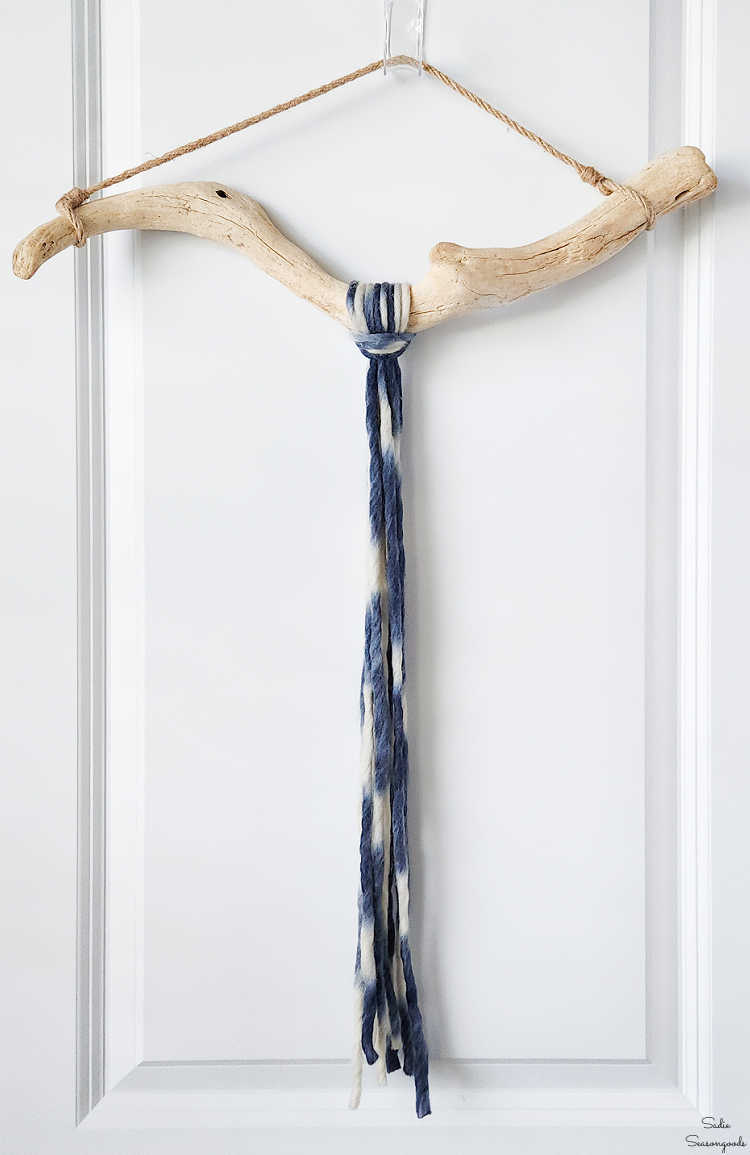
Image credit: Sadie Seasongoods.
Now it was time to work outwards in both directions on my DIY yarn wall hanging. To keep things quasi-symmetrical, I chose the same yarn on either side of the center bunch. But, for the next ones out, I chose two different yarns/jute that were in the same color family.
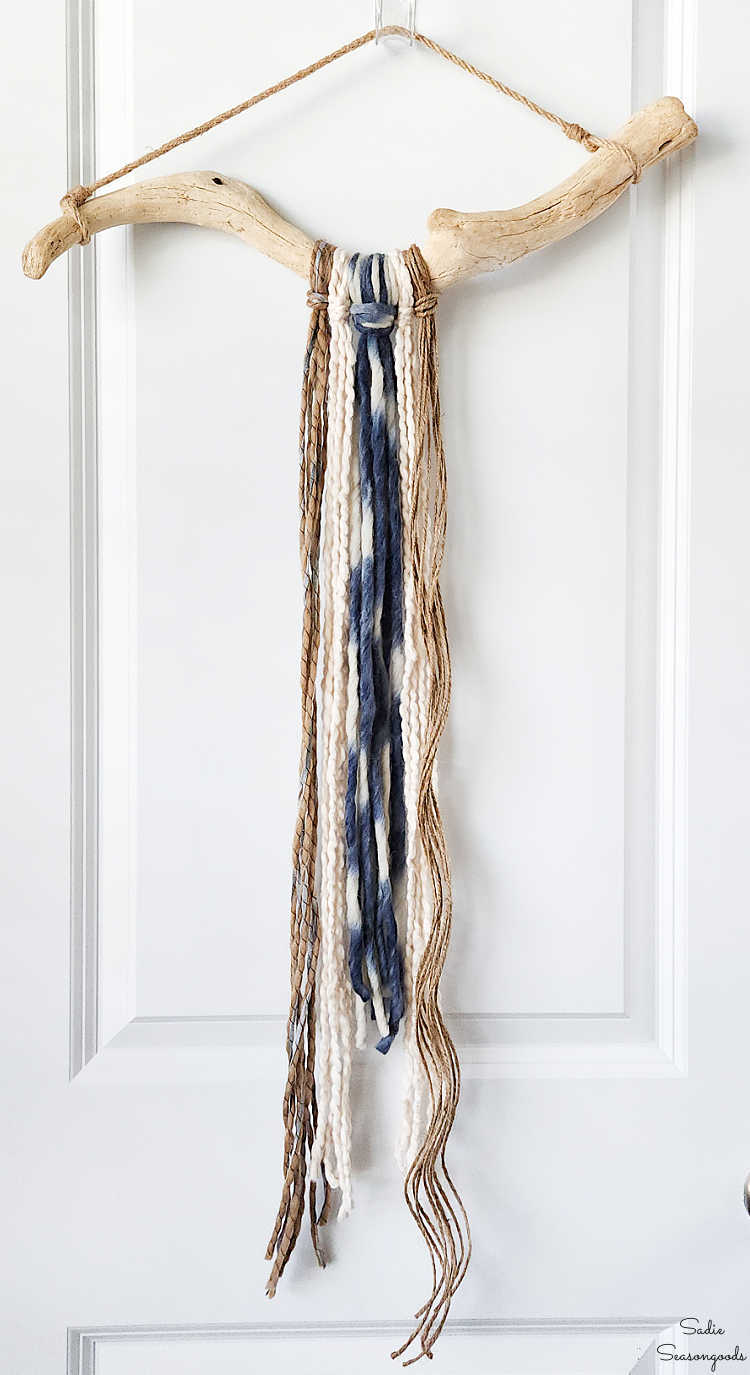
Image credit: Sadie Seasongoods.
As you can see, I cut them longer moving forward…and not exactly evenly, either. I decided that perfection was NOT the goal here- just a relaxed, soothing, craft experience.
Then, I continued with the same partial pattern- sometimes mirroring both sides with the same yarns. But sometimes choosing two different yarns in the same (general) color family to keep it interesting.
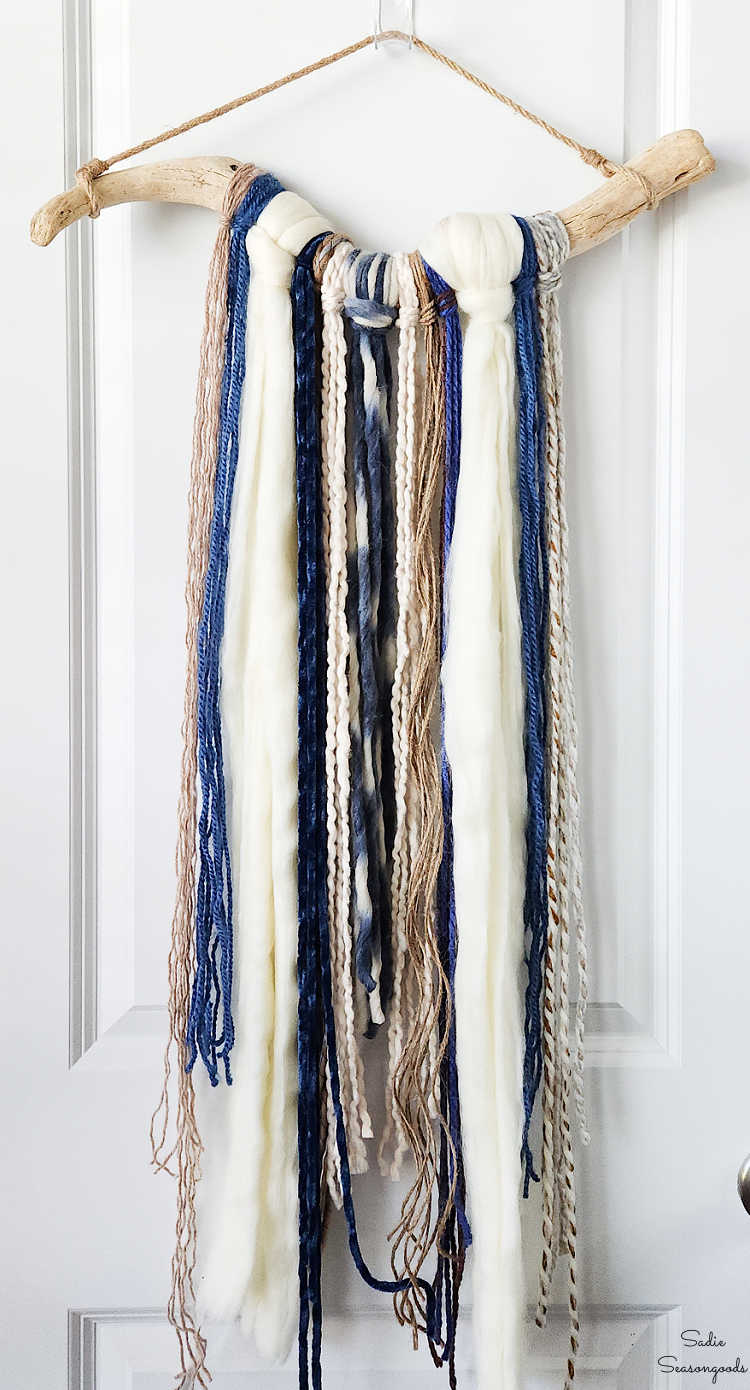
Image credit: Sadie Seasongoods.
What to Do with Leftover Yarn
Even though I wasn’t done attaching bunches of yarn, I occasionally changed things up here and there. Sometimes I used wooden beads on single strands of yarn/jute (also purchased from a Creative Reuse Center)…
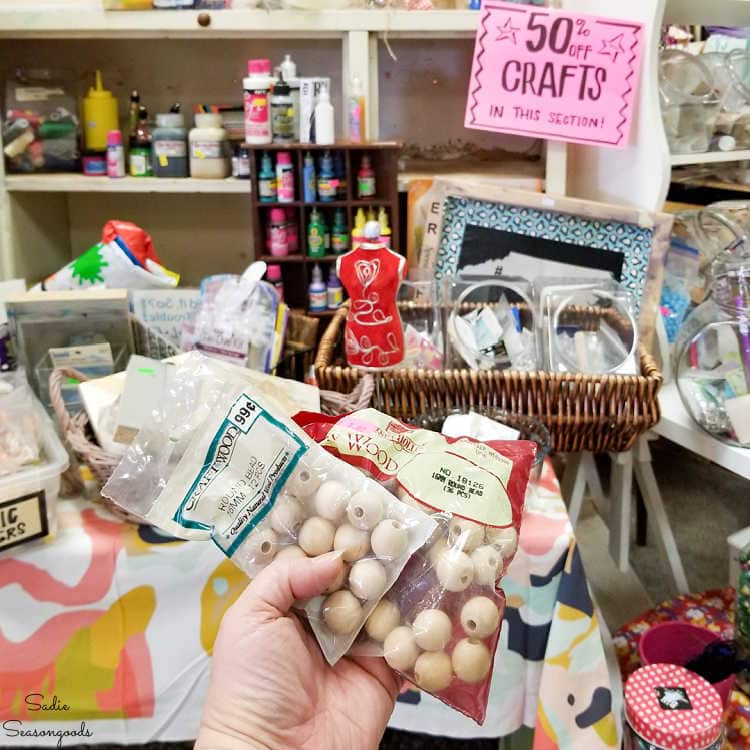
Image credit: Sadie Seasongoods.
And sometimes I ended up tying the entire bunch into a knot. I only did this if the strands were extra-extra-long.
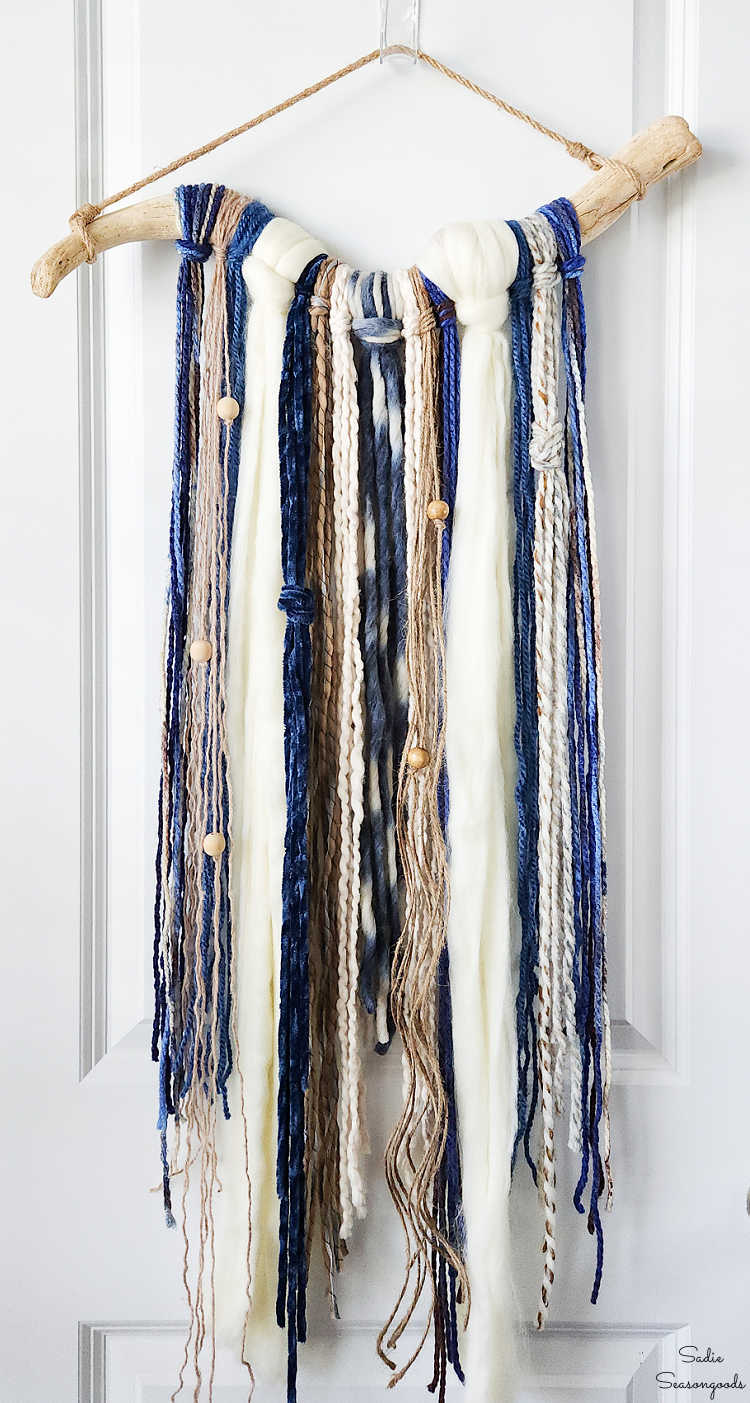
Image credit: Sadie Seasongoods.
I only did this sparingly, to add visual interest and infrequent and asymmetrical textural changes to my DIY yarn wall hanging. Doing so also broke up the pattern of long, smooth strands.
Finally, I reached the ends of my driftwood base where the hanger was attached. I purposefully used the same yarn on each end to give it a “finished” look. I also chose a dark color for this because our walls are pale.
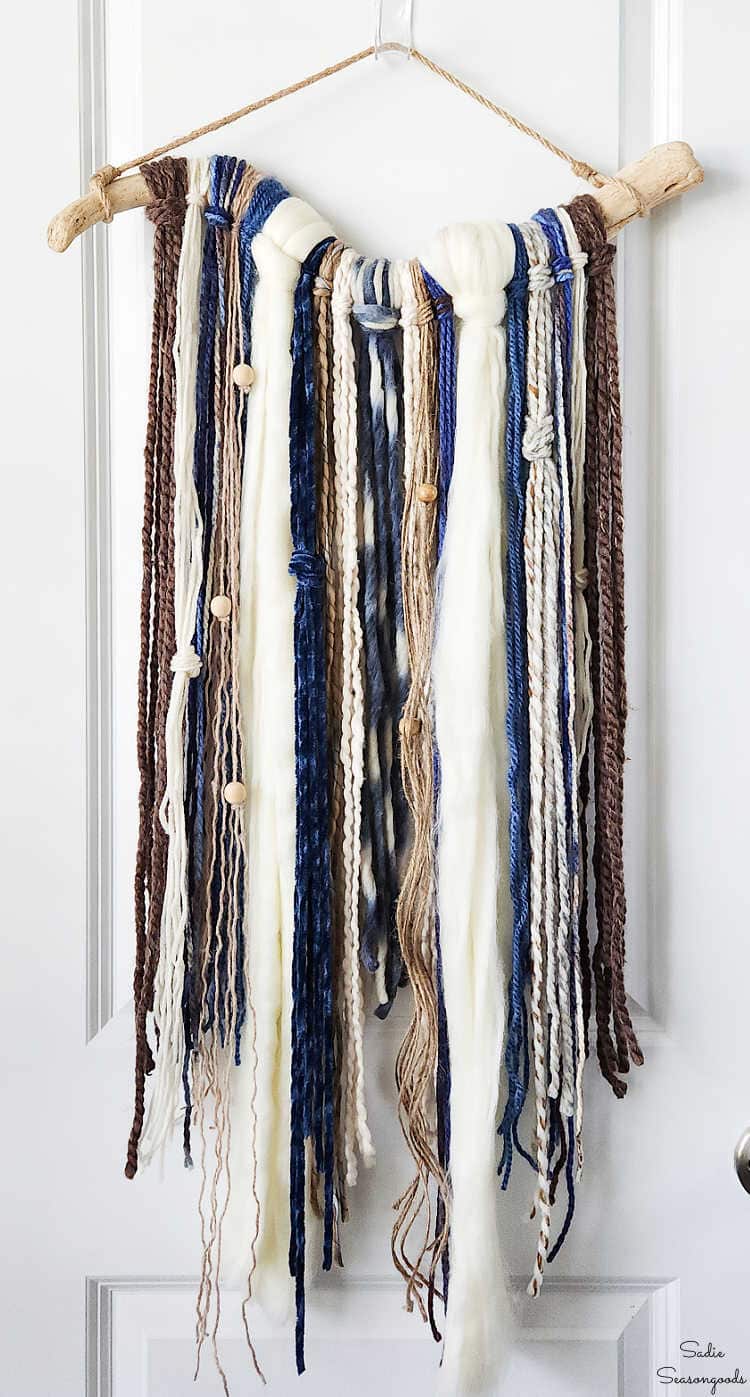
Image credit: Sadie Seasongoods.
That, of course, is a very specific consideration for my particular house. But, it might be something to keep in mind for your home, too. As an abstract way to kind-of-sort-of “frame” or bookend your wall hanging.
Last but not least, I trimmed the ends of the yarn strands to even them out. I asked my husband to use his arm to hold the yarn against the closet door as I cut. Some folks use tape for this step, but that would ruin the roving and fluffy yarn I used.
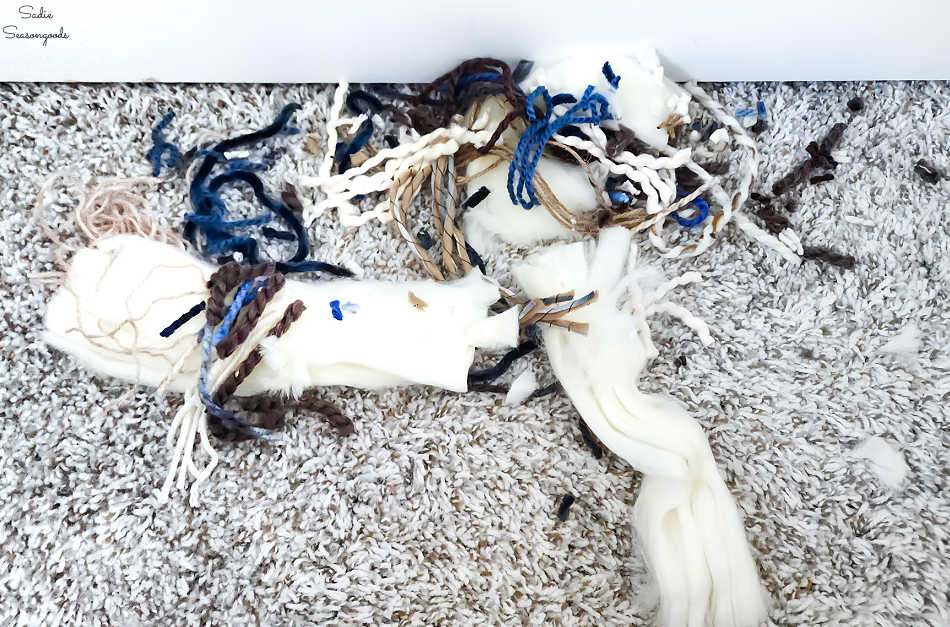
Image credit: Sadie Seasongoods.
I specifically used a point cutting technique with my scissors parallel to the yarn, instead of blunt cutting (scissors perpendicular to the yarn). This way, the ends were more natural looking and not as, well…blunt.
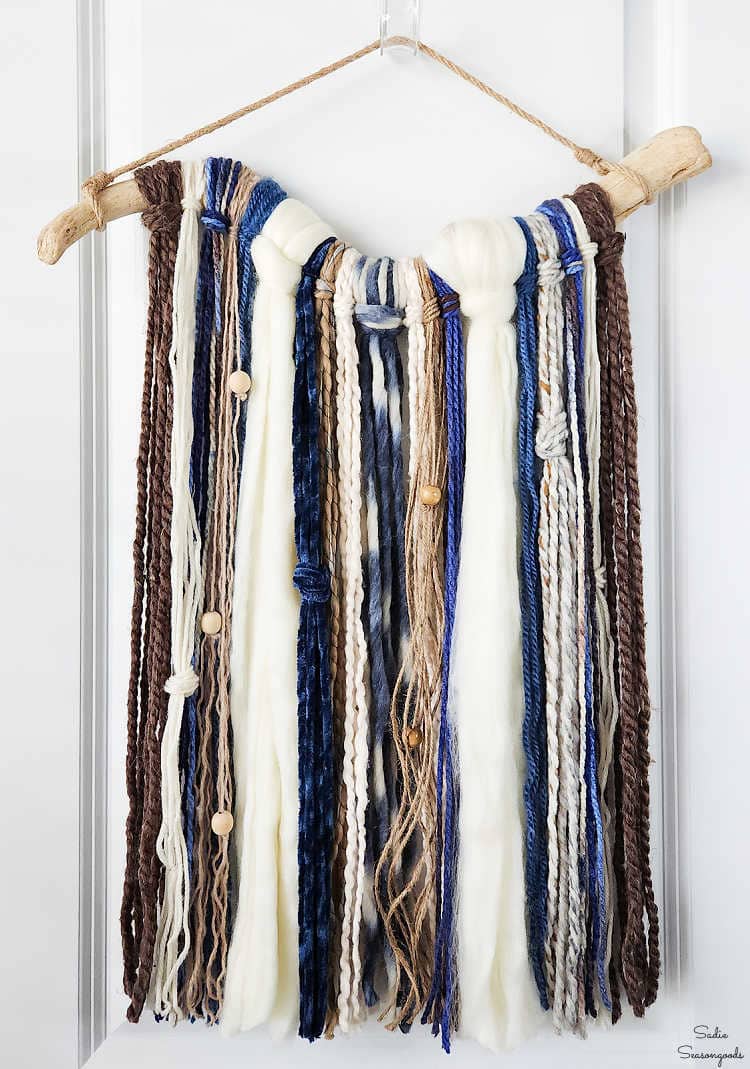
Image credit: Sadie Seasongoods.
DIY Yarn Wall Hanging with Leftover Yarn
I am SO tickled with how it turned out. I was secretly very intimidated to start on this project, which was clearly ridiculous. Because it really was easy to freestyle and turned out gorgeously.
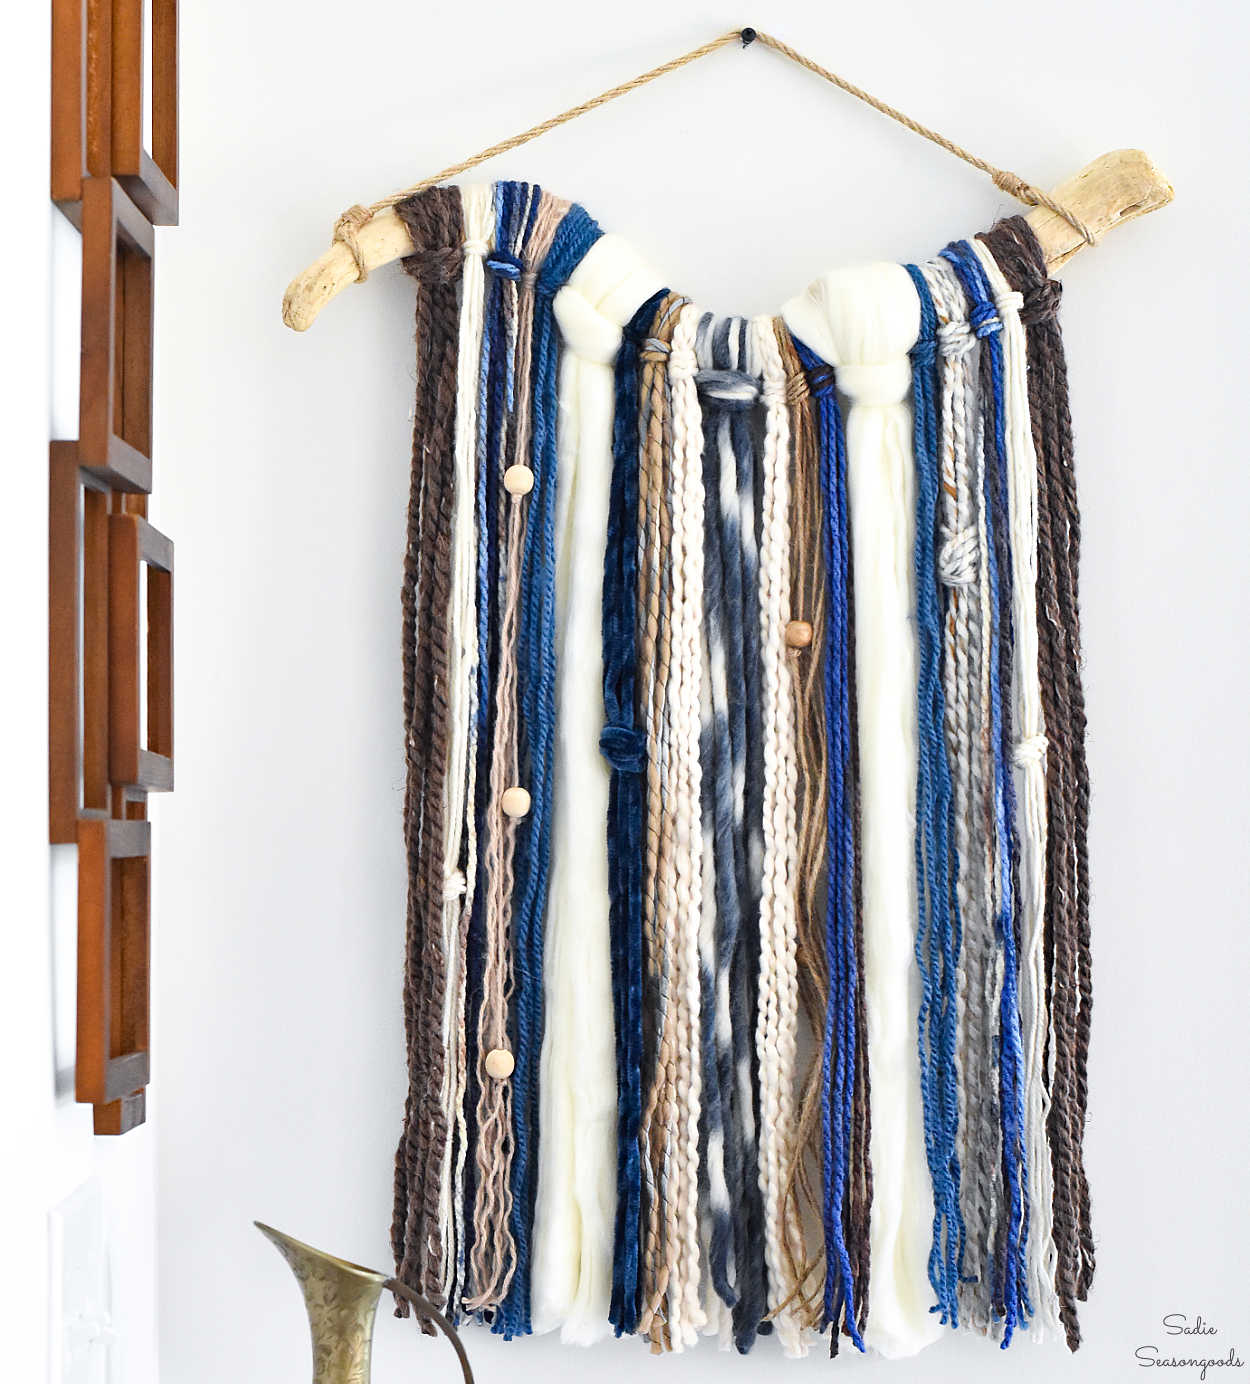
Image credit: Sadie Seasongoods.
If you, too, like how it turned out, then I’ll recap the tips that I think made a difference in the success. Because isn’t this such a cool way to use up some yarn balls and partial skeins you’ve hung onto over the years?
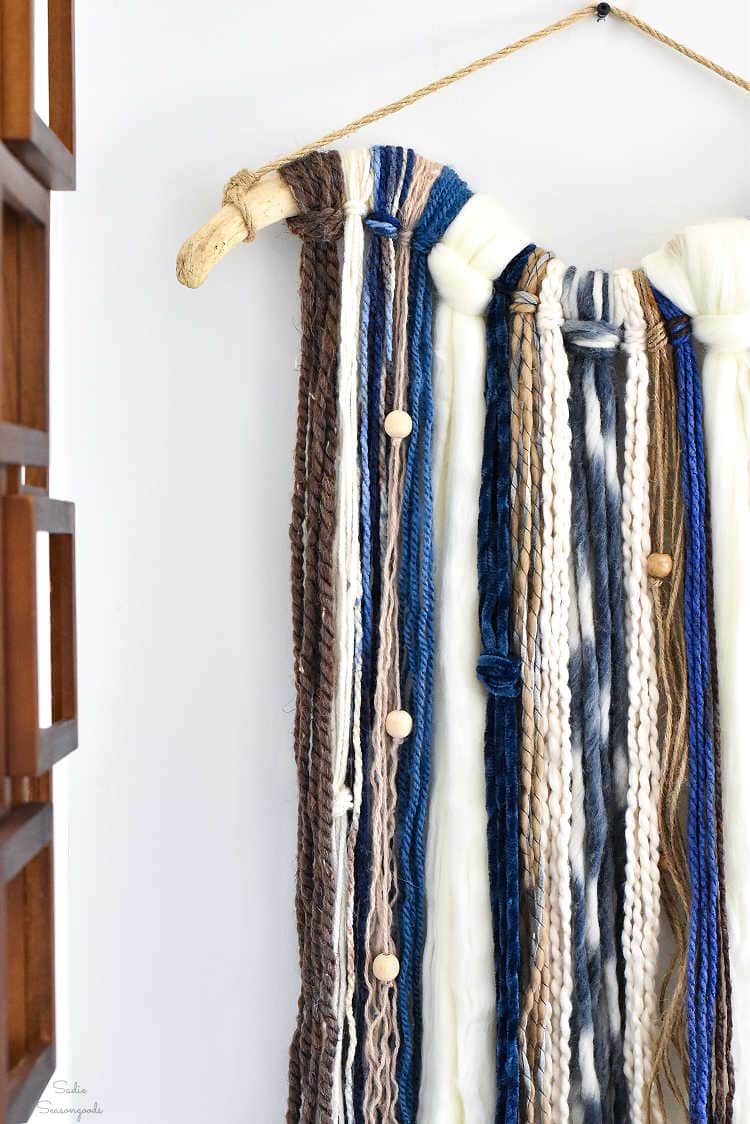
Image credit: Sadie Seasongoods.
In short:
- 60/40 matching yarn to complimentary yarn (different yarn, similar colors).
- Sparing use of wooden beads and knots. Gathering knots would add visual interest, too.
- Same yarns on the ends to “frame” your piece and make it look finished.
- Point cutting along the bottom; not blunt cutting.
I’ll also add that err on the side of long when cutting your strands, too. Especially if your wooden base has a wider circumference (like my driftwood). That alone ate up more yarn that I initially planned for.
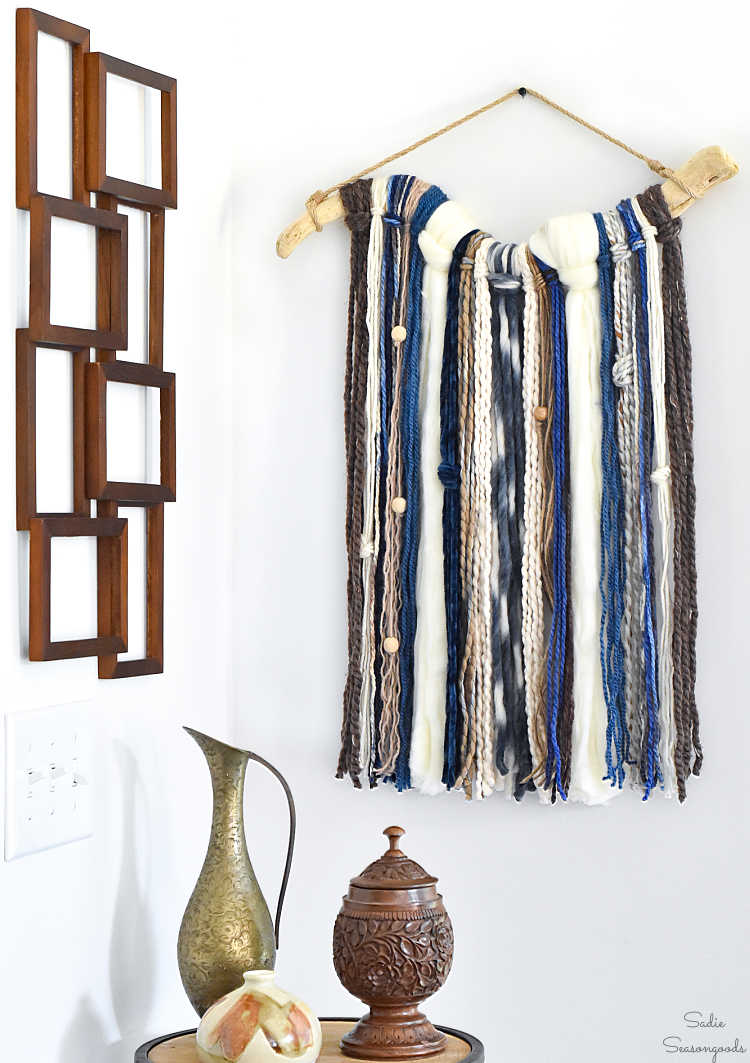
Image credit: Sadie Seasongoods.
And I didn’t account for the undulating shape of the driftwood. So, the same lengths of yarn were never going to hang evenly as I moved along the piece of wood.
I still have tons of yarn and will likely collect more of these in the future. As long as I have open wall space up high where my cats can’t reach, I’ll continue to play around with this kind of project. Think you’ll give it a go, as well?
And if you’re interested in other craft ideas that use up yarn, these yarn crafts are a great non-crochet and non-knitting way to create with your stash.
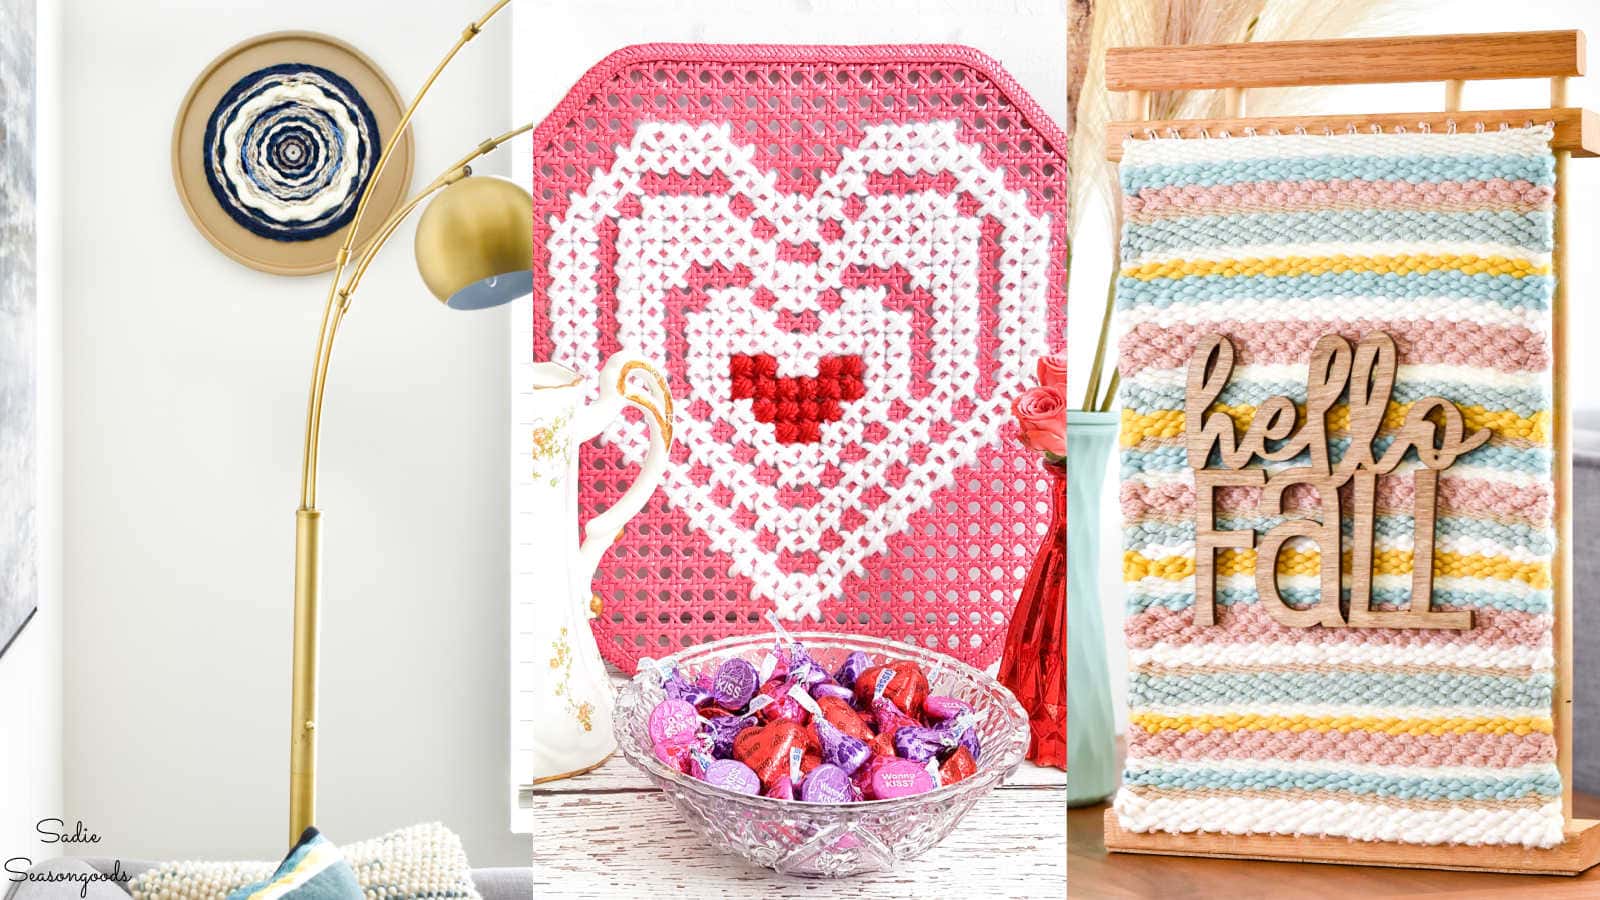
Image credit: Sadie Seasongoods.
Craft on!
S
Want to be notified when I publish my next upcycling project tutorial?
Join me on Social Media:



PIN ME!
Image credit: Sadie Seasongoods.
Image credit: Sadie Seasongoods.
Sarah Ramberg is the owner of Sadie Seasongoods, a website that celebrates all things secondhand. From upcycling ideas and thrifted decor to vintage-centric travel itineraries, Sadie Seasongoods is a one-stop shop for anyone who loves thrifting and approachable repurposing ideas. Sarah is also the author of “Crafting with Flannel” and has been featured in numerous media outlets and magazines.




I like that you added in beads and different textures. I made a similar one to this years ago, and one for my sewing room a few months ago. Such a fun craft!
Thank you so much, Gina! And yes, it really was the right kind of craft project I needed- free flowing, whimsical, and slightly unstructured.
Oh my gosh…. back in the day, I created this intense macrame wall hanging in art class and honestly? I adore yours SO much better, PLUS no endless knots! haha This is so stunning! Love the mix of different yarns so much! What a lovely way to tie an entire room scheme together!
Thank you so much, Donna! I loved making it because there was nothing stressful or even careful about it. Maybe this is how painters and sketch artists feel, LOL- just creating without borders!